TL;DR:
- Proper installation prevents leaks, errors, and voided warranties in appliance setup.
- Essential tools include wrenches, level, plumber’s tape, and fire-safe vent ducting.
- Professional help is recommended for gas appliances and code compliance to ensure safety and warranty protection.
Installing a major appliance sounds simple until you’re staring at a tangle of hoses, a gas shutoff you’ve never touched, and instructions written for someone with an engineering degree. Many Orange County and LA County homeowners waste hours on installs that end in leaks, error codes, or worse, a code violation that voids their warranty. Proper installation reduces energy use and prevents common failures like leaks and vibration. This guide gives you the exact steps, tools, and safety checks you need to get your washer, dryer, or oven running safely and correctly the first time.
Table of Contents
- Tools, parts, and prep: What you need before you start
- Step-by-step installation: Washer, dryer, and oven
- Safety warnings and common mistakes to avoid
- Testing your installation: How to verify success and safety
- Why local homeowners often underestimate appliance installation
- Get professional help for hassle-free installation
- Frequently asked questions
Key Takeaways
| Point | Details |
|---|---|
| Preparation is crucial | Gather all tools, parts, and instructions before starting installation. |
| Follow every step | Carefully follow each detailed step for washer, dryer, or oven install to avoid damage or code violations. |
| Safety can’t be skipped | Leave gas connections and any code-required wiring to licensed professionals for safety and compliance. |
| Test for success | Always test your appliance after installation to check for leaks, vibration, and operational issues. |
| Professional help matters | Expert installation can protect your warranty and prevent costly mistakes, especially in California. |
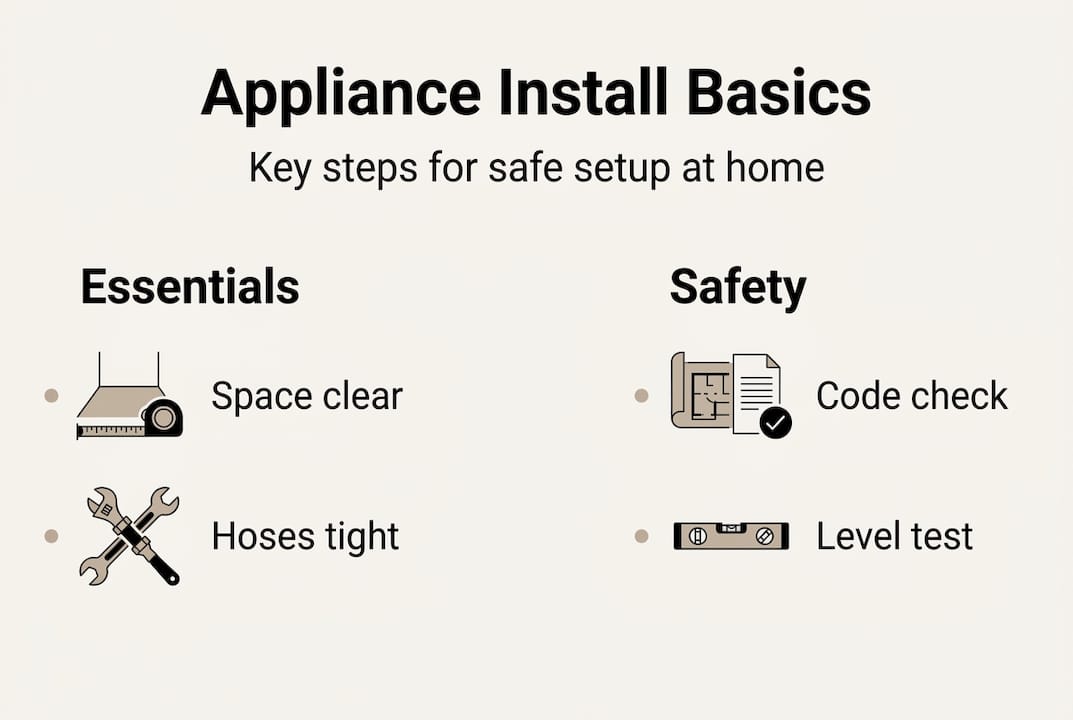
Tools, parts, and prep: What you need before you start
Before you touch a single connection, you need the right gear. Walking into an install unprepared is the fastest way to make a simple job into a half-day ordeal. Think of this section as your pre-flight checklist.
Here are the essential tools and parts you’ll need:
- Adjustable wrench for tightening hose connections without over-torquing
- Level to confirm your appliance sits perfectly flat
- Plumber’s tape (Teflon tape) to seal threaded water connections
- Flathead and Phillips screwdrivers for panels and brackets
- Rigid metal ducting for dryer venting (flexible foil is a fire hazard)
- Braided stainless steel water hoses for washers (far more durable than rubber)
- Anti-tip brackets for ovens and freestanding ranges
- Vent kit appropriate for your dryer model
- Power cord (many dryers and ovens are sold without one)
- Work gloves to protect your hands during positioning
Here’s a quick reference table to match tools and parts to each appliance:
| Item | Washer | Dryer | Oven |
|---|---|---|---|
| Braided water hoses | ✓ | ||
| Plumber’s tape | ✓ | ||
| Rigid metal duct | ✓ | ||
| Vent kit | ✓ | ||
| Anti-tip bracket | ✓ | ||
| Power cord | ✓ | ✓ | ✓ |
| Level | ✓ | ✓ | ✓ |
| Adjustable wrench | ✓ | ✓ | ✓ |
Before moving any appliance into place, measure the space carefully. Confirm the floor can handle the weight, especially for stacked laundry units. Locate your water shutoffs, gas shutoff (if applicable), and electrical outlets. Make sure the path from your door to the install location is clear of obstacles.
Review the installation safety basics for your specific appliance type before you start. It’s also worth printing out our installation checklist so nothing gets skipped.
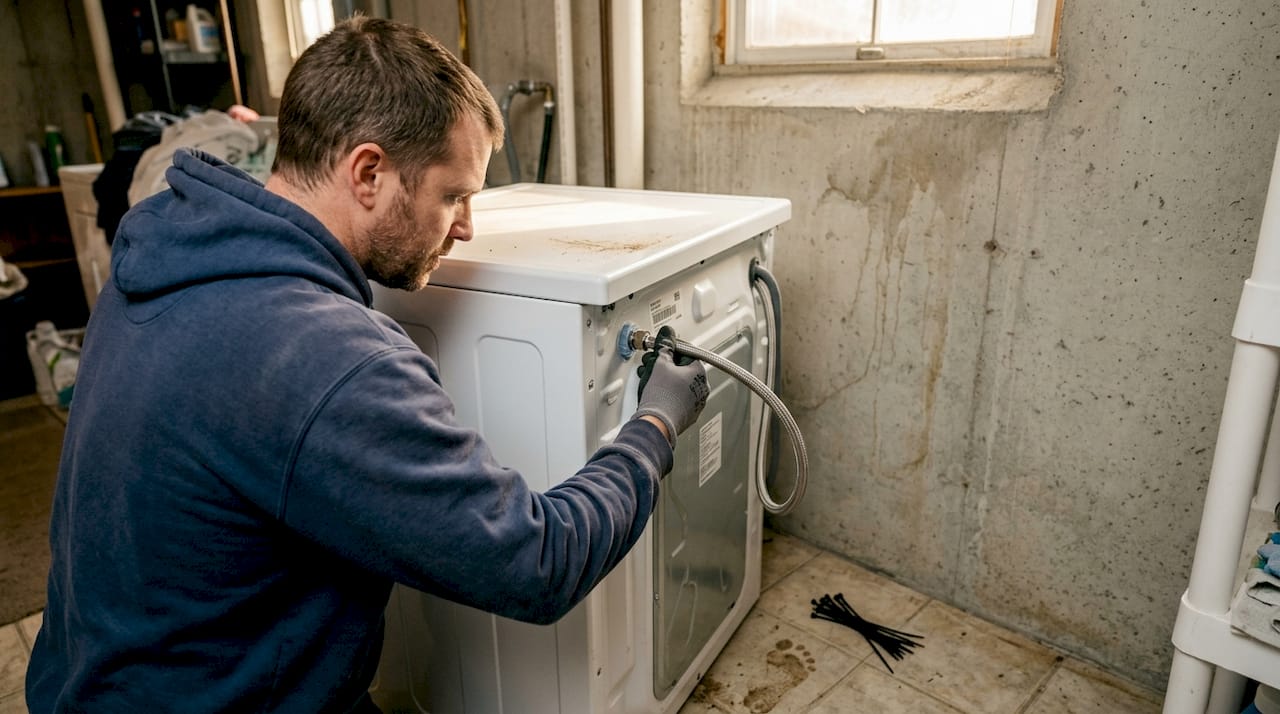
The full washer installation process includes unboxing, removing shipping bolts, positioning, connecting hot and cold hoses with plumber’s tape, attaching the drain hose to a standpipe, leveling with adjustable feet, connecting electrical, and testing for leaks.
Pro Tip: Always buy new braided stainless steel hoses when installing a washer. Reusing old rubber hoses is one of the top causes of water damage in laundry rooms. Also check your local Orange County or LA County code updates before starting, since clearance and venting rules can change year to year.
Step-by-step installation: Washer, dryer, and oven
Once you have everything in place, it’s time to follow the exact steps for each appliance. Don’t skip steps or reorder them. The sequence matters.
Washer installation
- Unbox the unit and remove all packing materials
- Remove the shipping bolts from the back panel (this is critical)
- Position the washer near the water connections
- Attach hot and cold water hoses using plumber’s tape on the threads
- Connect the drain hose to your standpipe or laundry tub
- Adjust the leveling feet until the unit is perfectly flat
- Plug in the power cord
- Run a short test cycle and check every connection for drips
Follow the full washer installation workflow if you want a deeper breakdown with photos.
Dryer installation
The dryer installation process involves positioning the dryer, connecting venting with rigid metal duct at a minimum 4-inch diameter, making gas or electric connections per local code, leveling the unit, installing anti-tip hardware if applicable, and running a test cycle.
- Slide the dryer into position, leaving room for venting at the back
- Attach rigid metal duct to the exhaust port
- Route duct to an exterior wall vent (never into an attic or crawlspace)
- For gas models, have a licensed technician connect the gas line
- For electric models, connect the power cord to the correct outlet (usually 240V)
- Level the dryer using the adjustable feet
- Run a short cycle and confirm warm air exits the exterior vent
Oven installation
- Slide the oven or range into the cutout or designated space
- For electric ovens, connect the power cord to the dedicated 240V outlet
- For gas ovens, stop here and call a licensed technician
- Install the anti-tip bracket by anchoring it to the floor
- Confirm the oven sits level using your level tool
- Run a heat cycle and verify the broiler and bake elements work
Pro Tip: Always cross-reference the manufacturer’s manual with your local building code. Clearance distances for ovens and venting requirements for dryers vary by city across LA and Orange counties. Follow the safe setup process to stay compliant.
| Appliance | Key connection | Venting needed | Anti-tip required | DIY gas connection |
|---|---|---|---|---|
| Washer | Water + drain | No | No | N/A |
| Dryer | Electric or gas | Yes (rigid duct) | Optional | No |
| Oven | Electric or gas | Minimal | Yes | No |
Safety warnings and common mistakes to avoid
Moving from the step-by-step playbook, let’s highlight what NOT to do and when to call for help.
Warning: Gas appliance connections must only be handled by a licensed professional. This is not a suggestion. In California, an unlicensed gas connection can result in fines, voided insurance, and serious injury risk.
Here are the most common mistakes homeowners make:
- Leaving shipping bolts in the washer. This causes violent vibration and can destroy the drum bearings within one cycle
- Using flexible foil dryer vent hose. It crushes easily, traps lint, and is a leading cause of dryer fires
- Skipping the leveling step. An unlevel washer or dryer creates noise, vibration, and premature wear
- Forgetting anti-tip brackets on ovens. A child pulling on an open oven door can tip a 200-pound range forward
- Ignoring clearance requirements. California codes require specific distances between appliances and combustible surfaces
California has strict rules around appliance install safety, including proper venting exhausted to the outdoors and clearances from walls and cabinetry. These aren’t optional. Violating them can affect your homeowner’s insurance claim if something goes wrong.
Professional installation also protects your warranty. Many manufacturers require proof of code-compliant installation for warranty claims to be valid. Review installation best practices to understand what documentation to keep.
Pro Tip: Take photos of every connection before pushing the appliance into its final position. If a leak or fault shows up months later, those photos are your best troubleshooting tool and your warranty documentation.
Testing your installation: How to verify success and safety
With everything hooked up, the final and most overlooked step is making sure all systems are go. Don’t assume it works just because nothing is visibly wrong.
Post-installation testing checklist:
- Washer: Run a full wash cycle on cold. Watch the hose connections during the fill cycle. Check the standpipe for overflow. Listen for unusual noise or vibration
- Dryer: Run a 10-minute heat cycle. Go outside and confirm warm air is exiting the exterior vent. Feel the duct connections for air leaks
- Oven: Set to 350°F and let it preheat fully. Check that the bake element glows evenly. Test the broiler separately
- All appliances: Check for error codes on the display panel after the first cycle
- Washer and dryer: Recheck all hose and duct connections 24 hours after first use, since connections can loosen slightly after initial thermal expansion
A properly tested installation using rigid venting and correct leveling directly improves energy efficiency and extends the appliance’s lifespan. Vibration from an unlevel unit stresses internal components every single cycle.
Look for these warning signs after testing: water pooling under the washer, the dryer taking more than one cycle to dry a normal load, the oven heating unevenly, or any burning smell. These are signals that something in the install needs attention before regular use.
For a full breakdown of what to look for, check our easy setup tips page, which covers post-install verification in detail.
Why local homeowners often underestimate appliance installation
Here’s what years of service calls across Orange County and LA County have taught us: most appliance problems that look like mechanical failures are actually installation errors that were never caught.
The pattern repeats constantly. A homeowner installs a washer correctly by most standards, but skips the leveling step because the floor feels flat. Two years later, the bearings fail early and the repair bill is steep. Or a dryer gets vented with flexible foil duct because it was easier to route. Within 18 months, restricted airflow causes overheating and a service call that costs more than the original install would have.
Code requirements are the other hidden trap. What’s acceptable in one city may not meet code in another part of LA County. These small location-specific rules are the main source of failed DIYs and costly callbacks we see. Following our safe appliance workflow accounts for these local differences.
A professional install doesn’t just guarantee code compliance. It also protects your warranty, satisfies your insurance requirements, and solves years of noise and reliability problems before they start. The foundation of a well-running appliance is almost always a correct installation.
Get professional help for hassle-free installation
If you’ve worked through this guide and feel confident, great. But for gas appliances, built-in units, or any install where local code feels unclear, bringing in a licensed technician is the smartest move you can make.

Our team serves homeowners across Orange County and LA County with fast, code-compliant appliance installation. We follow installation best practices on every job, from simple washer hookups to complex built-in oven setups. We also handle Samsung appliance repair and most major brands. If you want everything done right the first time, use our full installation guide or book a service appointment directly through our site. Peace of mind is worth it.
Frequently asked questions
Do I need a permit to install appliances in Orange or LA County?
For major appliances involving gas, electrical, or plumbing connections, a permit is often required to meet local code. California codes require proper venting, exhaust to the outdoors, and specific clearances.
Can I install a gas dryer or oven myself?
Gas connections require a licensed professional for both legality and safety under California regulations. Attempting this yourself risks fines, voided insurance, and serious injury.
What’s the biggest mistake DIYers make with washer installation?
Shipping bolts must be removed before running the washer, or the drum will sustain serious damage within the first cycle. It’s the single most common and most costly oversight.
How do I check my installation for safety?
Test for leaks and operation after every install by running a full cycle, checking all connections for moisture, and confirming the dryer vent exhausts properly to the outside.
Does a professional installation affect my appliance warranty?
Yes. Many warranties require proof of professional installation for validity, particularly for gas or built-in units where code compliance is a condition of coverage.
Recommended
- Step by Step Appliance Repair: Easy Home Fixes
- Appliance Installation Tips: Avoid Common Mistakes
- Appliance Installation Guide for Safe and Easy Setup – MDTECH APPLIANCE REPAIR
- Best practices for appliance installation: safety first – MDTECH APPLIANCE REPAIR
- Step-by-step HVAC repair guide for SW Florida homes