Every Orange County and Los Angeles County homeowner knows the stress of a broken refrigerator or washing machine when you least expect it. Acting quickly can save precious time and money, but jumping into DIY repairs without the right tools or precautions can turn a minor hassle into a bigger headache. This guide breaks down each step, starting with gathering essential safety equipment and moving through the process so you can tackle urgent appliance problems at home with greater confidence.
Table of Contents
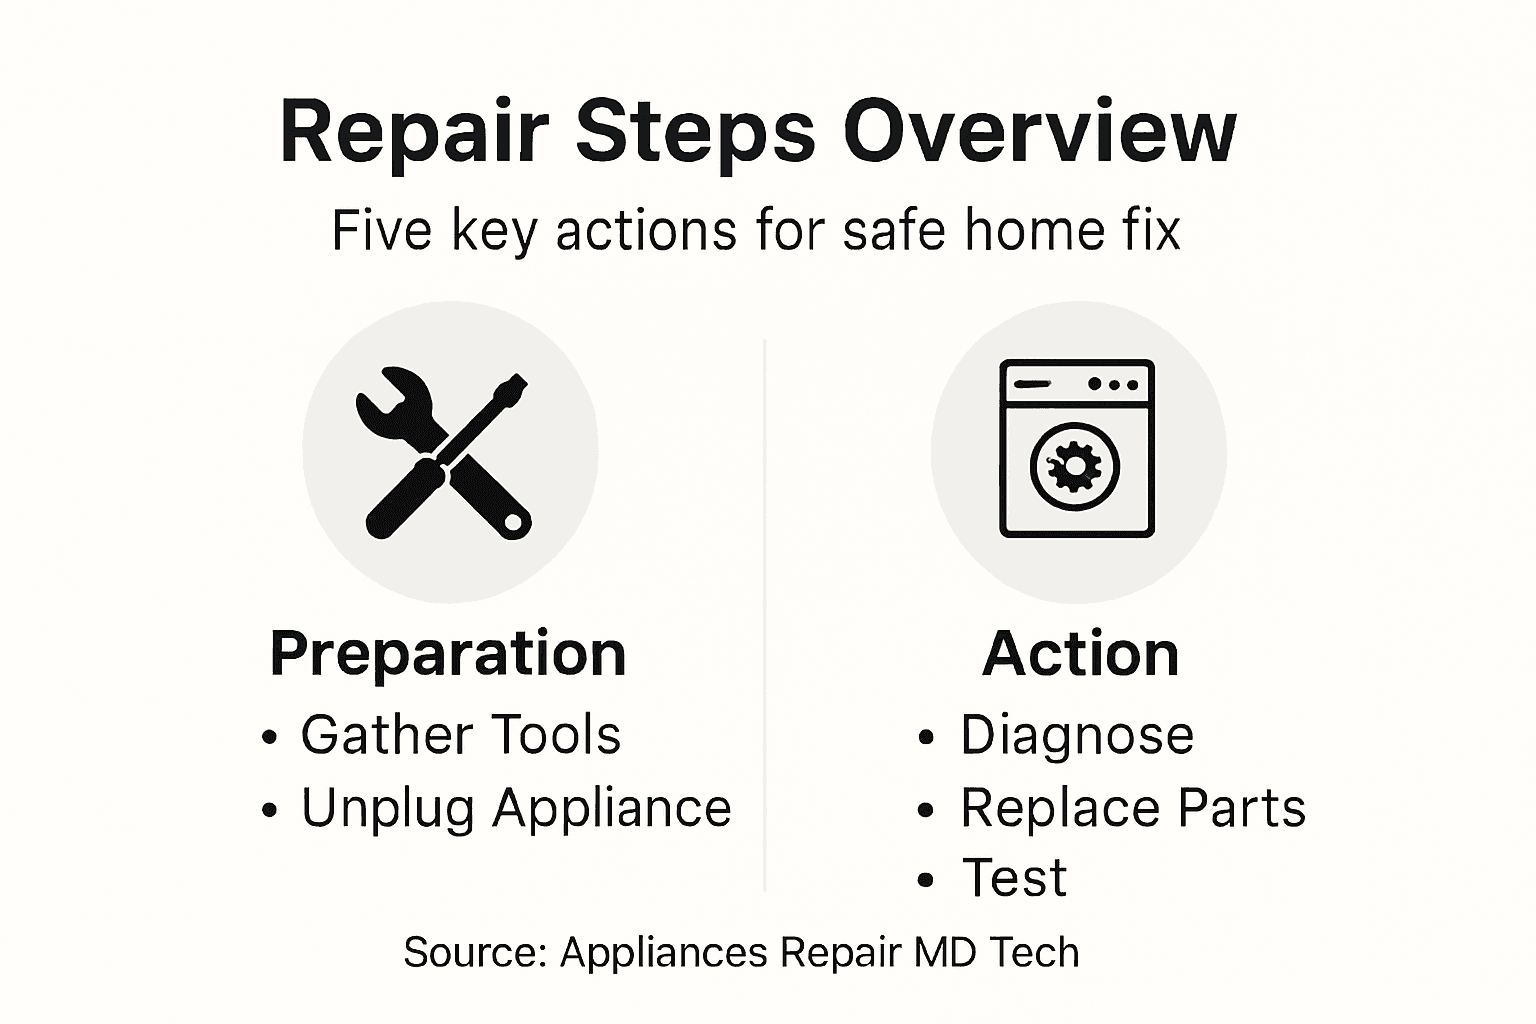
- Step 1: Gather Tools and Safety Equipment
- Step 2: Disconnect and Inspect the Appliance
- Step 3: Diagnose the Problem Area
- Step 4: Replace or Repair Faulty Components
- Step 5: Test and Verify Appliance Operation
Quick Summary
| Key Point | Explanation |
|---|---|
| 1. Assemble Necessary Tools | Gather essential hand tools and safety equipment to ensure safe and efficient appliance repair. |
| 2. Disconnect Safely | Always unplug appliances and check power before inspecting, to avoid electrical hazards. |
| 3. Conduct Diagnoses Systematically | Systematically test and document appliance issues to accurately identify malfunctions. |
| 4. Follow Proper Repair Techniques | Carefully replace or repair faulty components, ensuring compatibility and condition to restore functionality. |
| 5. Test Functionality Thoroughly | Run thorough tests on the appliance post-repair to confirm all functions operate correctly and safely. |
Step 1: Gather Tools and Safety Equipment
Preparing for an appliance repair starts with assembling the right tools and protective gear. This critical first step ensures you can work safely and efficiently while minimizing potential risks.
Your toolkit should include essential hand tools like adjustable wrenches, screwdrivers (flathead and Phillips head), pliers, and a multimeter for electrical testing. Depending on the specific appliance, you might also need specialized tools like socket sets, wire strippers, or appliance-specific repair kits. Always check the manufacturer’s recommendations for exact tool requirements.
Safety equipment is non negotiable when working with electrical appliances or mechanical systems. Personal protective gear is essential for preventing potential injuries. Your safety kit should include safety glasses to protect your eyes from debris, thick work gloves to shield your hands, and closed-toe shoes with good traction. For electrical work, consider adding insulated rubber gloves and a non-conductive work mat.
Here’s a summary of common safety risks and how each piece of equipment mitigates them:
| Safety Risk | Relevant Gear | Protective Function |
|---|---|---|
| Electrical shock | Insulated rubber gloves | Prevents direct current exposure |
| Eye injury from debris | Safety glasses | Shields eyes from flying objects |
| Hand cuts or scratches | Thick work gloves | Provides barrier from sharp parts |
| Slips or drops | Closed-toe shoes | Offers grip and foot protection |
| Static electricity buildup | Non-conductive mat | Reduces static shock risk |
Pro Tip: Organize your tools in a clear, accessible toolbox or rolling cart before starting any repair to save time and reduce frustration during the repair process.
Step 2: Disconnect and Inspect the Appliance
Disconnecting and inspecting your appliance is a crucial safety step that prevents potential electrical or mechanical accidents during repair. Your goal is to thoroughly assess the appliance’s condition and ensure a safe working environment before beginning any repair work.
Safety disconnection procedures are critical for preventing electrical hazards. Start by locating the main power source or circuit breaker for the specific appliance. Turn off the power completely and unplug the unit from its electrical outlet. For gas appliances, shut off the gas supply valve to eliminate any potential fuel risks. Use a voltage tester to double-check that no electrical current is present before touching any internal components.
Carefully inspect the appliance for visible signs of damage, wear, or malfunction. Check power cords for fraying or exposed wires, examine seals and gaskets for degradation, and look for any unusual rust, corrosion, or mechanical stress. Recommended inspection protocols suggest documenting any issues you discover, which can help diagnose the root cause of the appliance problem.
Pro Tip: Take clear, well-lit photographs of the appliance and any damaged components before disassembly to help you remember exact positioning and assist with reassembly later.
Step 3: Diagnose the Problem Area
Diagnosing your appliance’s specific issue requires a systematic and careful approach that helps you pinpoint the exact source of malfunction. Your goal is to gather enough information to understand what component needs repair or replacement.
Most common appliance problems often follow predictable patterns that can guide your diagnostic process. Start by listening carefully to the appliance and observing its performance. Strange noises, unusual smells, inconsistent operation, or complete failure can provide critical clues about underlying issues. Pay attention to specific symptoms like unusual heating patterns, unexpected shutdowns, or irregular mechanical movements.
Utilize your multimeter and diagnostic tools to conduct systematic tests on electrical components and mechanical systems. Electronic equipment troubleshooting techniques recommend checking voltage, continuity, and resistance across different circuit components. Document your observations meticulously, noting any test results, unusual readings, or visible damage. This detailed record will help you determine whether you can perform the repair yourself or need professional assistance.
Pro Tip: Create a simple diagnostic worksheet before starting your investigation to track symptoms, test results, and potential component failures systematically.
Step 4: Replace or Repair Faulty Components
Replacing or repairing faulty appliance components requires precision, patience, and careful attention to detail. Your goal is to restore the appliance to full functionality while minimizing additional damage during the repair process.
Home appliance repair techniques recommend a systematic approach to component replacement. Begin by comparing the faulty part with the replacement component to ensure exact matching. Carefully remove the damaged part using appropriate tools like screwdrivers, pliers, or socket wrenches. Take photographs or make sketches of the original component placement to help with precise reinstallation.
Cost considerations play a significant role in your repair decision. Appliance repair cost analysis suggests comparing the price of replacement parts against the potential cost of a new appliance. Some components are relatively inexpensive and straightforward to replace, while others might indicate more significant underlying issues. Always verify warranty status and consider professional assessment if you are unsure about the repair complexity or your technical skills.
Compare when to consider DIY repair versus hiring a professional:
| Situation | DIY Repair Advantage | Professional Advantage |
|---|---|---|
| Basic part replacement | Saves money, quick fix | Expertise rarely needed |
| Multiple complex failures | May lack expertise | Accurate diagnosis and repair |
| Under manufacturer’s warranty | Preserves warranty status | Ensures compliant, documented work |
| Involves gas components | Risk of leaks | Specialized safety procedures |
| Repeated unresolved issues | Time-consuming attempts | Diagnostic tools, faster solution |
Pro Tip: Always purchase replacement parts from the manufacturer or authorized dealers to ensure compatibility and maintain potential warranty coverage.
Step 5: Test and Verify Appliance Operation
Testing and verifying your appliance’s operation is the critical final stage of any repair process. Your goal is to confirm that the repair was successful and the appliance functions safely and effectively before returning it to regular use.
Portable appliance testing provides a systematic approach to ensuring electrical safety and operational integrity. Begin by performing a visual inspection of all repaired components and connections. Plug in the appliance and run a complete operational cycle, monitoring its performance closely. Listen for unusual sounds, watch for irregular movements, and check that all functions operate smoothly and as expected.
Safety inspection procedures recommend a comprehensive testing protocol. Verify each specific function of the appliance methodically tracking temperature, power consumption, and mechanical performance. Pay special attention to any previously problematic areas, ensuring the repair has completely resolved the initial issue. If you notice any persistent problems or unexpected behaviors, stop using the appliance and consider consulting a professional technician.
Pro Tip: Keep a repair log documenting the specific components replaced, tests performed, and any observations to help track the appliance’s maintenance history.
Take Control of Your Appliance Repairs with Expert Help
If you found yourself overwhelmed by the detailed steps in the “Step by Step Appliance Repair Guide for Homeowners” you are not alone. Identifying faults, safely disconnecting appliances, and testing repaired parts require skill and caution to avoid risks like electrical shocks or incorrect installations. Facing these challenges alone can be stressful and time-consuming especially when you want your essential appliances running smoothly again.

Turn your repair frustration into confidence by connecting with licensed professionals through Appliances Repair MD Tech. Our technicians specialize in handling issues outlined in the guide, such as diagnosing problems accurately, safely replacing faulty components, and confirming your appliance operates perfectly afterward. Whether it is a refrigerator, washer, dryer, or gas appliance, we offer prompt, reliable service across Orange County and Los Angeles County. Don’t risk delays or further damage book an appointment now to get your home back to comfort and convenience without the stress. Explore all our trusted services at Appliance Repair Solutions and get help from experts committed to your safety and satisfaction.
Frequently Asked Questions
What tools do I need to start an appliance repair?
You will need essential hand tools like adjustable wrenches, screwdrivers, pliers, and a multimeter for electrical testing. Gather these tools before starting to ensure a smooth repair process.
How do I safely disconnect my appliance before repair?
To safely disconnect your appliance, locate the main power source, turn off the power completely, and unplug the unit. For gas appliances, shut off the gas supply valve as well to eliminate potential hazards.
What steps should I follow to diagnose an appliance issue?
Diagnosing an appliance issue involves careful observation of performance and using a multimeter to check electrical components. Document your findings as you go, which will help determine the specific repair needed.
How do I know if I should repair or replace a faulty appliance part?
Compare the cost of replacement parts with the cost of a new appliance. If the part is inexpensive and easy to replace, it’s usually better to repair it, but for significant failures, consider professional help.
What should I do after repairing the appliance?
After the repair, perform a visual inspection and run a complete operational cycle to ensure everything is working correctly. Track your observations and keep a repair log to monitor the appliance’s maintenance history.
How can I ensure my appliance is safely tested after a repair?
Conduct a comprehensive testing protocol by checking each function of the appliance and monitoring its performance closely. Make sure to address any remaining issues immediately, as safety should always be your top priority.