TL;DR:
- Diagnostic troubleshooting involves systematic testing to confirm the root cause before repair.
- Homeowners should check basics like power and airflow first, then use error codes and component tests.
- A thorough diagnosis prevents repeat failures, saves money, and extends appliance lifespan.
Most homeowners assume an appliance breakdown comes down to one bad part. Swap it out, done. But that thinking leaves a lot of money on the table. Research points to 40% of repair failures being caused by overlooked basics like clogged vents, power issues, or simple cleaning needs rather than a failed component. Diagnostic troubleshooting is the methodical process that separates guesswork from real answers. When you understand how it works, you can make smarter decisions, avoid unnecessary part costs, and have far more productive conversations with repair technicians in Orange and Los Angeles Counties.
Table of Contents
- What is diagnostic troubleshooting?
- When and why should you use diagnostic troubleshooting?
- Common steps in appliance diagnostic troubleshooting
- Avoiding common pitfalls: What most homeowners get wrong
- Why a systematic approach beats guesswork every time
- Need help with appliance troubleshooting or repairs?
- Frequently asked questions
Key Takeaways
| Point | Details |
|---|---|
| True troubleshooting saves money | A systematic approach prevents wasted repairs and repeat breakdowns. |
| Start with basics | Most appliance issues are solved by checking airflow, cleaning, and connections first. |
| Smart features aid diagnosis | New appliances may display error codes or instructions that speed up problem solving. |
| Know your limits | If a problem isn’t obvious or simple, safe professional help is your best option. |
What is diagnostic troubleshooting?
With the problem of guesswork in mind, let’s break down what diagnostic troubleshooting actually involves.
Diagnostic troubleshooting is not about randomly swapping components until something works. It is a structured, step-by-step method of ruling out causes one by one until the actual root problem is confirmed. Think of it the way a doctor approaches a diagnosis: they don’t prescribe surgery before running basic tests. The same logic applies to your dryer, refrigerator, or dishwasher.
The core difference between true troubleshooting and trial-and-error part replacement is confirmation before action. A proper diagnosis means you test a component, verify it has failed, and only then replace it. Swapping parts blindly might occasionally fix the issue, but it’s expensive, time-consuming, and often misses an underlying cause that brings the machine right back down again.
Professional technicians follow a standard sequence. They observe the symptoms first, identify the most common failures associated with those symptoms, test those possibilities systematically, and only confirm a repair path once they have evidence. This is what appliance diagnostics looks like in practice.
Here’s a comparison of the two approaches:
| Approach | Method | Outcome |
|---|---|---|
| Trial-and-error | Replace parts until it works | Costly, repeat failures likely |
| Diagnostic troubleshooting | Test, confirm, then repair | Precise, lasting fix |
| Smart appliance diagnosis | Error codes and resets | Fast, targeted results |
For smart appliances, the process gets even more streamlined. Many modern washers, dryers, and refrigerators display error codes that point directly to the troubled system. A Samsung dryer error code, for example, can tell you whether to check airflow first before assuming the heating element has failed, since overheating from poor airflow can trip thermal cutoffs and mimic a broken element. If your refrigerator compressor feels hot to the touch, the smart diagnostic path is to check the start relay before condemning the compressor itself.
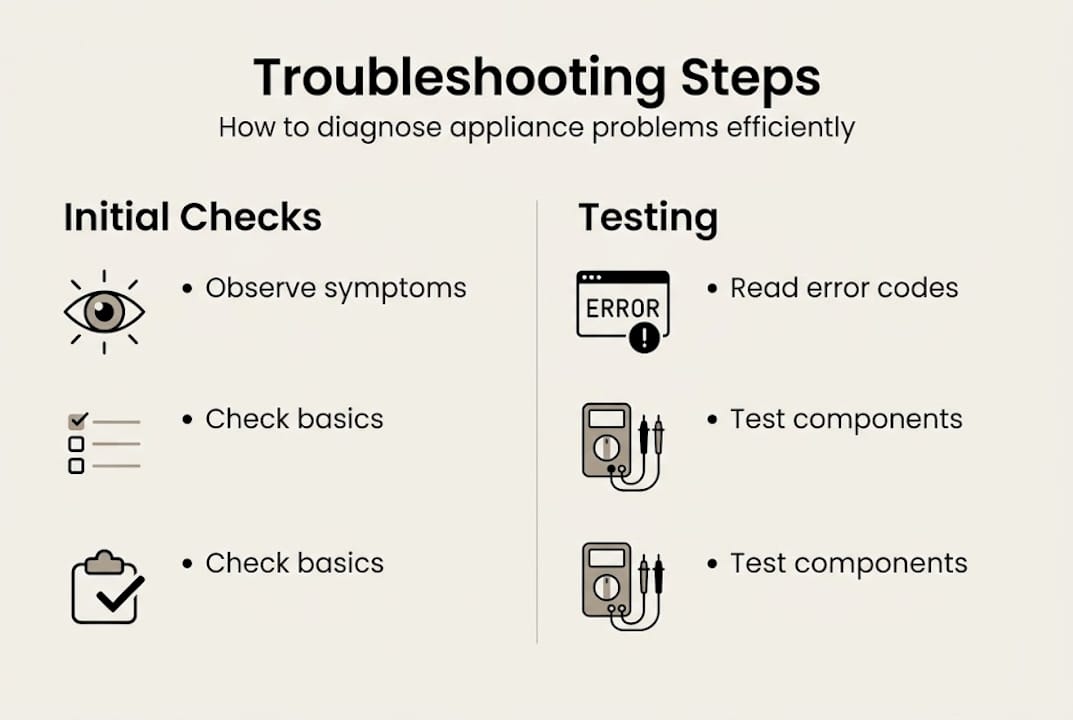
Here are the core steps in a proper diagnostic process:
- Observe the symptom precisely (what is the appliance doing or not doing?)
- Check simple causes first: power supply, airflow, water supply, and cleanliness
- Consult error codes on smart appliances before touching any components
- Test components using a multimeter or continuity tester
- Confirm the failure before ordering or installing any parts
Following these troubleshooting steps consistently leads to better outcomes and fewer wasted service calls.
When and why should you use diagnostic troubleshooting?
Now that you know what diagnostic troubleshooting is, let’s examine why and when it matters most.
Not every appliance problem needs a technician on day one. Many simple issues like a dryer not starting because of a tripped breaker or a dishwasher not draining because of a clogged filter can be resolved with basic checks any homeowner can do. DIY troubleshooting works well for obvious, accessible problems, and basic DIY steps resolve roughly 60% of common appliance complaints.
But here is where most homeowners run into trouble. They fix the visible symptom without understanding what caused it. A dryer that won’t heat is a perfect example. The heating element might look like the culprit, but if the vent line is partially blocked, that blockage caused the element to overheat and fail. Replace the element without clearing the vent, and the new part burns out in weeks. Full diagnosis prevents this cycle.
“Pros stress full diagnosis to avoid repeat failures. Checking the vent before replacing the heating element is not optional. It’s the difference between a lasting fix and a repeat service call.”
Here is a numbered framework for deciding when to troubleshoot yourself and when to call a pro:
- Start with basics: Check power, airflow, water supply, and filters before assuming a part has failed.
- Look up error codes: If your appliance has a display, search the exact code in the owner’s manual or manufacturer website.
- Try a reset: Many modern appliances recover from minor faults with a simple power cycle.
- Assess your comfort level: If the next step involves testing electrical components with a multimeter, that’s a natural stopping point for most homeowners.
- Recognize repeat failures: If the same issue keeps returning after repairs, signs of deeper problems are likely present and a thorough professional diagnosis is the right move.
Comprehensive diagnosis before repair protects your wallet. Repeat service calls, unnecessary part costs, and appliance downtime all add up fast.
Common steps in appliance diagnostic troubleshooting
To apply diagnostic troubleshooting effectively, here’s a typical step-by-step method you can use at home.
The process is repeatable no matter which appliance you’re working on. Whether it’s a dishwasher that won’t drain or a dryer that runs but won’t heat, the fundamental sequence stays the same.

Step 1: Initial observation. Write down exactly what the appliance is doing. Is it making noise? Not starting? Heating unevenly? Specific symptoms narrow the field immediately.
Step 2: Rule out simple issues. Check the power outlet, circuit breaker, water supply valve, and any accessible vents or filters. You’d be surprised how many service calls trace back to a tripped breaker or a clogged lint trap.
Step 3: Use smart features. If your appliance shows an error code, look it up before anything else. A code pointing to a sensor issue is very different from one pointing to a motor fault.
Step 4: Progressive testing. Move to component testing using a multimeter. Test continuity on heating elements, door switches, thermostats, and thermal fuses before assuming they’ve failed.
Step 5: Confirm before replacing. Only order parts after a test confirms a component is out of spec.
Here’s a quick reference for common symptoms and their most likely starting points:
| Symptom | First check | Second check |
|---|---|---|
| Dryer won’t heat | Vent blockage | Heating element |
| Fridge not cooling | Condenser coils | Evaporator fan |
| Dishwasher won’t drain | Filter and drain hose | Drain pump |
| Washer won’t spin | Load balance | Lid switch or motor |
Pro Tip: Cleaning coils and vents every few months resolves a surprising number of apparent appliance failures before any repair is needed. Dirt and blockages account for far more breakdowns than most homeowners realize.
These essential troubleshooting steps apply broadly and give you a confident starting point for almost any household appliance problem.
Avoiding common pitfalls: What most homeowners get wrong
Even with a step-by-step process, it’s easy to fall into common mistakes. Let’s make sure you avoid them.
The biggest trap is mistaking a symptom for the root cause. A dryer that won’t heat is not automatically a failed heating element. That’s the symptom. The cause could be a blocked vent, a tripped thermal cutoff, a bad thermostat, or yes, a failed element. Jumping to the element skips three other possibilities that might be cheaper and faster to fix.
Here are the most common mistakes homeowners make during appliance troubleshooting:
- Skipping the basics: Airflow, power, water supply, and cleaning checks get ignored in favor of more dramatic repairs.
- Ignoring error codes: Smart appliances give you a head start. Not reading those codes is leaving free diagnostic information on the table.
- Replacing parts without testing: Ordering a heating element before confirming it has failed wastes money and time, especially if the real culprit is a $10 thermal fuse.
- Fixing the symptom, not the cause: As the overheating airflow issue shows, a new part installed in a system that still has the underlying problem will fail again quickly.
- Overlooking the compressor shortcut: A hot compressor on your refrigerator often points to the start relay, not compressor failure. Testing the relay first can save hundreds of dollars.
Pro Tip: Before ordering any part online, confirm the failure with a multimeter test. Resistance and continuity readings take less than five minutes and eliminate costly guesswork. Use a step-by-step repair guide to walk through tests safely.
Pausing to think through the full picture before acting is what separates a successful repair from an expensive learning experience. The appliance troubleshooting guide on our site walks through these common scenarios in plain language.
Why a systematic approach beats guesswork every time
With the main pitfalls out of the way, what does long-term experience reveal about troubleshooting at home?
We’ve seen it play out the same way dozens of times in Orange and Los Angeles Counties. A homeowner replaces a heating element. The dryer works for three weeks. Then it fails again. They call for service and we find a vent line so packed with lint it had been strangling airflow for months. The original element wasn’t the problem. The vent was. The second element failed for the exact same reason the first one did.
Quick fixes feel satisfying in the moment, but they set you up for frustration later. DIY basics resolve 60% of issues, but the other 40% need a deeper look. Real appliance pros always start with the simple stuff before moving on to components. That’s not being slow or overly cautious. That’s being efficient.
A systematic approach also extends the life of your appliances. When you find and fix the actual cause, you stop the wear pattern that was grinding the machine down. Following essential troubleshooting steps consistently is a skill any homeowner can build over time. The payoff is real: fewer repeat repairs, lower costs, and appliances that last years longer.
Need help with appliance troubleshooting or repairs?
If you’d like trusted expert help or want to deepen your repair skills, here’s where to go next.
Sometimes the diagnostic process points to something beyond a safe DIY fix, and that’s completely normal. Our licensed technicians serve homeowners across Orange and Los Angeles Counties and are equipped to handle everything from brand-specific issues to complex electrical faults.

If you own a Samsung appliance and need expert service, our Samsung appliance repair team knows these machines inside and out. Need to replace a specific component? Our appliance parts replacement guide walks you through the process safely. And if you’re weighing whether to fix or replace an aging machine, our repair vs replacement breakdown helps you make a smart financial decision. Book online anytime and we’ll handle the rest.
Frequently asked questions
What are the basic steps in diagnostic troubleshooting?
Start with symptom observation, rule out simple causes like power and airflow, and test components in sequence before replacing any part. Never skip the basics, even when a more complex failure seems obvious.
How is diagnostic troubleshooting different from just swapping parts?
Diagnostic troubleshooting uses step-by-step testing to find the true cause, while swapping parts is guesswork that may not fix the problem. Pros stress full diagnosis specifically to avoid costly repeat failures.
Can smart appliances help with troubleshooting?
Yes, smart appliances often provide error codes and resets that speed up diagnosis and point to specific problems, saving significant time and guesswork.
How often should homeowners perform preventive checks to avoid appliance failures?
Cleaning coils and vents every few months can prevent many breakdowns and significantly reduce repair costs over the life of your appliances.
When should you call a repair pro instead of troubleshooting yourself?
If basic troubleshooting doesn’t solve the problem or you’re unsure how to test electrical components safely, contact a professional. Full diagnosis by a pro ensures you don’t miss an underlying cause that will bring the appliance back down again.
Recommended
- Preventive maintenance saves homeowners up to 5x in costs
- Why Timely Maintenance Prevents High Costs: 545% ROI
- The Essential Guide to Repair Over Replace Appliances – MDTECH APPLIANCE REPAIR
- Dryer Troubleshooting Steps: Quick Fix Guide
- The Hidden Costs of Backflow Failure: Why Prevention is Cheaper Than Repairs –