Most American homeowners in Orange County and Los Angeles County know the headache that comes from a simple appliance install gone wrong. Mistakes during setup lead to more than frustration, with over thirty percent of service calls caused by easy-to-avoid installation errors. If you want peace of mind and hope to steer clear of costly repairs, practical advice on prepping your space and tools will make each step of your next appliance project smooth from start to finish.
Table of Contents
- Step 1: Prepare Installation Area And Gather Tools
- Step 2: Inspect Appliance For Damage And Read Manuals
- Step 3: Connect Utility Lines And Secure Appliance
- Step 4: Test Appliance Functionality And Safety
- Step 5: Review Installation And Finalize Setup
Quick Summary
| Key Point | Explanation |
|---|---|
| 1. Prepare the Installation Area Thoroughly | Clear the space, clean, and measure dimensions to ensure a perfect fit for the appliance. Check all utility connections to avoid last-minute issues. |
| 2. Inspect the Appliance Before Installation | Conduct a visual inspection for any visible damage and thoroughly read the manufacturer’s manual for specific setup instructions and safety guidelines. |
| 3. Safely Connect Utility Lines | Follow manufacturer specifications for connecting water, gas, and electrical lines, ensuring all connections are secure to prevent hazards. |
| 4. Test Appliance Functionality After Installation | Run the appliance through a complete cycle to check for proper operation, monitoring for unusual sounds or issues that may require professional assistance. |
| 5. Document Installation for Future Reference | Take photographs of connections and notes on the installation process to aid in troubleshooting or warranty claims later on. |
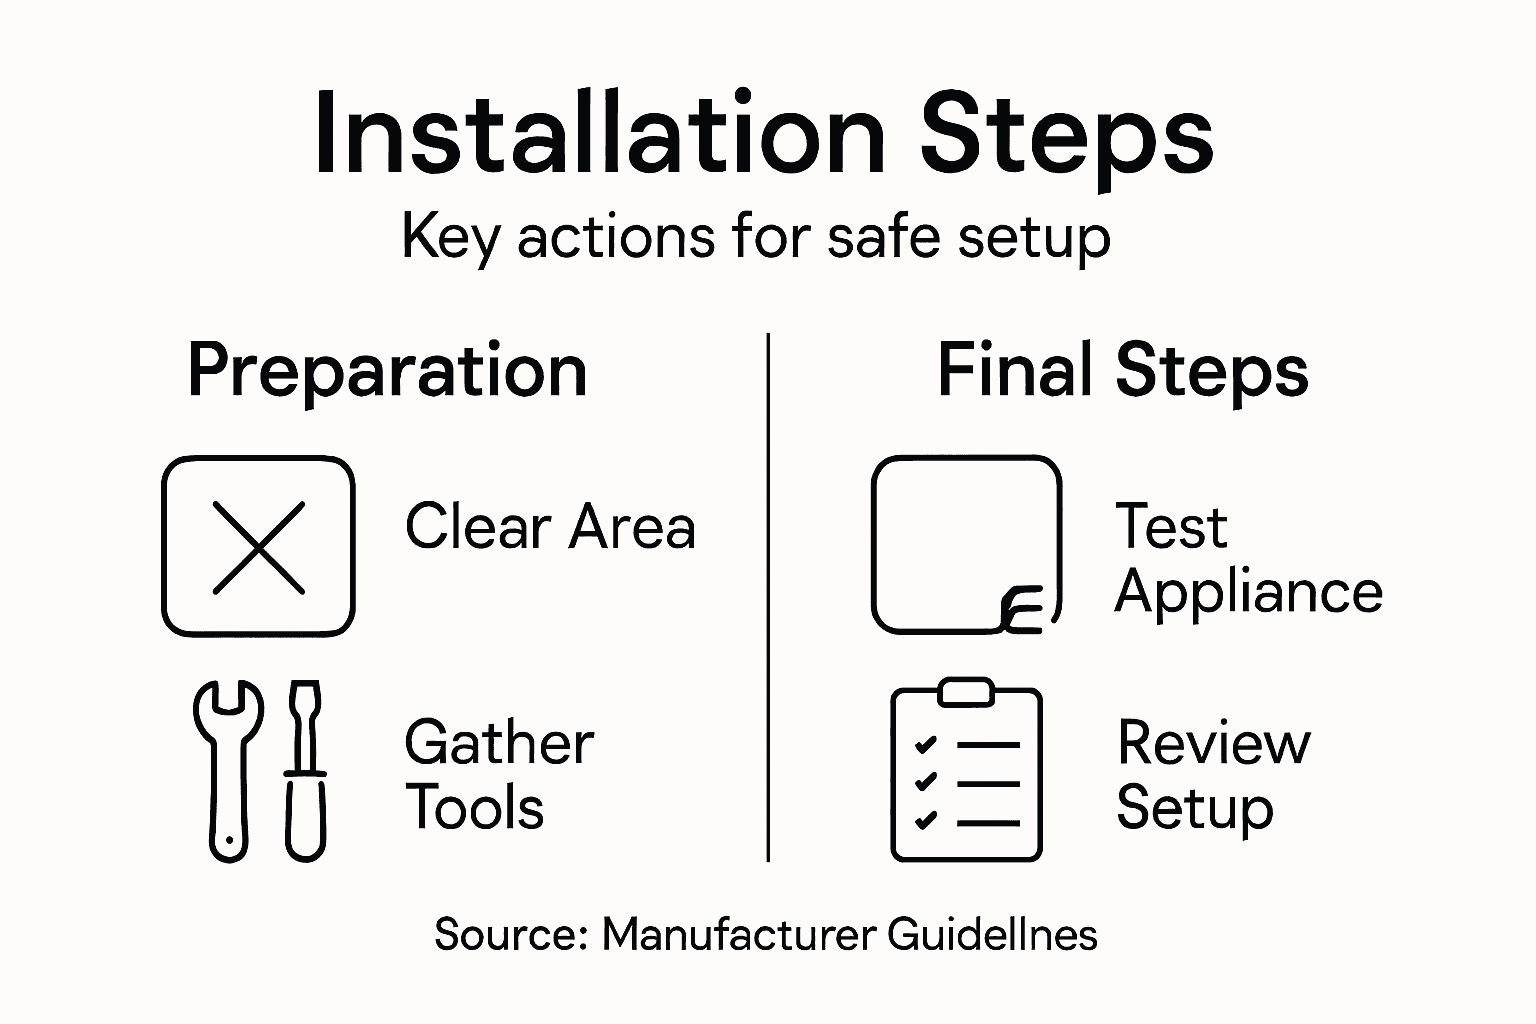
Step 1: Prepare Installation Area and Gather Tools
Successful appliance installation begins with smart preparation of your workspace and selecting the right tools. Understanding how to set up your installation area can save you hours of frustration and prevent potential damage to your new appliance.
Before diving into the installation, review the manufacturer’s specific requirements. Residential code guidelines recommend checking clearance measurements and ensuring proper accessibility. Start by clearing the designated installation space completely. Remove any obstacles, clean the area thoroughly, and measure the exact dimensions to confirm your new appliance will fit perfectly. Check electrical outlets, water connections, and ventilation requirements to avoid last minute surprises.
Gathering the right tools is your next critical step. Based on professional installation recommendations, you will need a few essential items: a measuring tape, adjustable wrench, screwdriver set, level, work gloves, safety glasses, and potentially a helper to manage larger appliances. Organize these tools within easy reach before beginning the installation process. Having everything prepared prevents unnecessary interruptions and helps you work efficiently.
Pro Tip: Always keep a digital camera or smartphone nearby to document your workspace and take photos of connections before disconnecting anything, which can help with reassembly or troubleshooting.
Step 2: Inspect Appliance for Damage and Read Manuals
Before installing your new appliance, a thorough inspection and careful manual review are crucial steps that can prevent potential problems and ensure safe operation. Your goal is to confirm the appliance is in perfect condition and understand its specific installation requirements.
Start by performing a comprehensive visual examination of the appliance. Residential code safety procedures recommend checking for any visible damage such as dents, scratches, or shipping impacts. Inspect the power cord, plug, and any external components for signs of wear or damage. Pay close attention to seals, connections, and moving parts. If you discover any issues, contact the manufacturer or retailer immediately before proceeding with installation.
Here’s a summary of essential checks to perform before appliance installation:
| Check Type | Purpose | What to Look For |
|---|---|---|
| Physical Condition | Prevent future damage | Dents, scratches, broken parts |
| Power Connections | Ensure electrical safety | Frayed wires, loose plugs |
| Moving Parts | Verify smooth operation | Jammed or misaligned components |
| Seals & Connections | Avoid leaks and hazards | Cracked seals, weak connections |
Next, locate and carefully read through the manufacturer’s installation manual. According to portable appliance testing guidelines, these documents provide critical safety information and specific setup instructions unique to your model. Take time to review installation requirements, recommended tools, electrical specifications, and any warranty conditions. Make notes of specific clearance measurements, ventilation needs, and any special preparation steps required for your particular appliance.
Pro Tip: Create a digital or physical folder to store the appliance manual and keep all installation documentation organized for future reference and potential warranty claims.
Step 3: Connect Utility Lines and Secure Appliance
Connecting utility lines and properly securing your appliance is a critical step that requires precision and careful attention to safety guidelines. Your goal is to create reliable connections that will ensure optimal performance and prevent potential hazards.
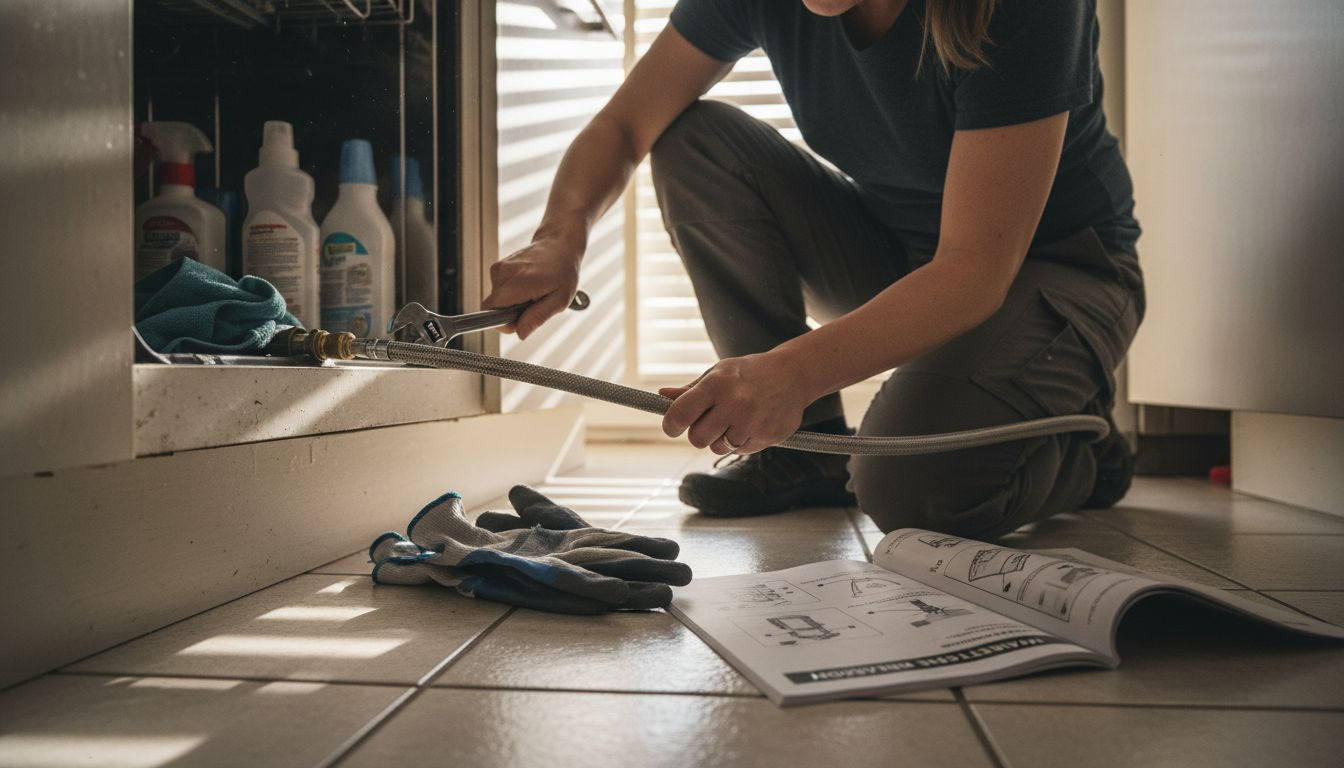
Appliance installation codes emphasize the importance of matching connections exactly to manufacturer specifications. Begin by carefully examining the utility connection points for electrical, water, or gas lines. Ensure you have the correct adapters and connectors before starting. For electrical connections, verify that the circuit breaker matches the appliance’s power requirements. When connecting water lines, use new flexible supply lines and check for any signs of wear or potential leaks. Gas appliances require extra caution and may need professional installation to ensure proper sealing and prevent potential gas leaks.
Compare the different utility connections and their safety concerns:
| Utility Type | Connection Method | Key Safety Concern | Who Should Connect? |
|---|---|---|---|
| Electrical | Wiring to outlet | Proper grounding, overload | Experienced DIY or pro |
| Water | Flexible supply lines | Leak and pressure checks | DIY with care |
| Gas | Sealed fittings | Leak prevention, ventilation | Licensed technician |
Securing the appliance involves more than just connecting utility lines. Carefully position the appliance in its designated space, using a level to ensure it sits perfectly flat. Check manufacturer recommendations for specific mounting requirements some appliances need additional anchoring to prevent tipping or movement. Electrical installation guidelines recommend double checking all connection points and ensuring no stress is placed on utility lines during final positioning. Take your time with this step test connections gently and verify everything is tight and secure before considering the installation complete.
Pro Tip: Take clear photos of your utility connections before covering them up this can be invaluable if you need to troubleshoot or explain the setup to a professional in the future.
Step 4: Test Appliance Functionality and Safety
Testing your newly installed appliance is the final and most critical step to ensure everything works correctly and safely. Your goal is to verify proper operation and identify any potential issues before fully commissioning the appliance.
Safety inspection procedures recommend a comprehensive testing approach that goes beyond simply turning the appliance on. Start by running a complete initial cycle while closely monitoring performance. For electrical appliances, check that all controls function smoothly and that there are no unusual sounds, vibrations, or electrical smells. For gas or water connected appliances, carefully inspect all connection points for potential leaks. Use soapy water around gas connections to detect any bubbling that might indicate a gas leak. Electrical appliances should be tested for proper grounding and consistent power draw.
According to portable appliance testing guidelines, you should perform a full operational test under various settings. Run the appliance through its complete range of functions checking temperature controls, cycle variations, and any specialized features. Pay attention to any error codes or warning lights that might indicate underlying issues. If you notice anything unusual during testing such as inconsistent performance or unexpected noises stop using the appliance immediately and contact the manufacturer or a professional technician for further evaluation.
Pro Tip: Keep the appliance manual nearby during testing and record any observations or unusual behaviors this documentation can be crucial if you need warranty service or professional support.
Step 5: Review Installation and Finalize Setup
After completing the installation process, a thorough final review is crucial to ensuring your appliance is safe, functional, and ready for long term use. This last step provides an opportunity to double check all aspects of your installation and address any potential concerns before putting the appliance into regular service.
Safety inspection procedures recommend a systematic approach to your final review. Start by carefully examining all connection points one last time. Verify that utility lines are securely fastened and show no signs of stress or potential leakage. Check that the appliance sits level and has adequate ventilation space around all sides. Confirm that all protective coverings have been removed and that the appliance looks clean and undamaged. Pay special attention to any areas that might have been challenging during installation and ensure they meet manufacturer specifications.
According to electrical installation guidelines, your final review should include a comprehensive documentation process. Take clear photographs of the installation showing all key connection points and positioning. Make notes about the installation date, any specific challenges you encountered, and the steps you took to resolve them. Store the manufacturer’s manual and warranty information in an easily accessible location. If you have any lingering doubts or noticed anything unusual during the installation process, do not hesitate to contact a professional technician for a final verification.
Pro Tip: Create a digital folder on your computer or cloud storage to save all installation documentation photographs and notes this will be invaluable for future maintenance or potential warranty claims.
Ensure Your Appliance Installation Is Safe and Stress-Free with Expert Help
The journey through appliance installation can be challenging from preparing your workspace to testing utility connections and verifying safety. Common concerns like ensuring proper electrical grounding, avoiding water or gas leaks, and following manufacturer guidelines are crucial to prevent damage and hazards. If you want peace of mind after reading the “Appliance Installation Guide for Safe and Easy Setup” and want to avoid the hassle of complex steps such as thoroughly inspecting seals or securing utility lines, our team is here to help. We understand that proper setup affects everything from appliance functionality to household safety.

Get trusted, professional assistance for your refrigerator, washer, dryer, oven, or dishwasher installation. Serving Orange County and Los Angeles County, Appliances Repair MD Tech connects you with licensed technicians who deliver quick, reliable service tailored to your brand and model. Whether you need urgent installation or scheduled support, take the next step now with our easy online booking system. Visit our homepage to schedule an appointment and ensure a flawless, worry-free appliance setup today.
Frequently Asked Questions
How can I prepare my installation area for a new appliance?
Begin by clearing the designated space and cleaning it thoroughly. Measure the area to ensure your new appliance will fit, and check for easy access to electrical outlets and utility connections.
What tools do I need for safe appliance installation?
Gather essential tools such as a measuring tape, adjustable wrench, screwdriver set, level, work gloves, and safety glasses. Organize these tools within easy reach to prepare for a smooth installation process.
What should I look for when inspecting my new appliance?
Inspect your new appliance for visible damage, including dents and wear on cords or connections. Verify that all components are in good condition before proceeding with the installation and contact the retailer if you find any issues.
How do I connect utility lines to my appliance safely?
Follow manufacturer specifications and ensure you have the correct adapters for electrical, water, or gas connections. Check that each connection is secure, and for gas appliances, consider hiring a professional to avoid leaks.
What steps should I take to test my appliance after installation?
After installation, run a complete initial cycle and monitor for any unusual sounds or issues. Check all functions and connections for performance consistency; if problems arise, stop using the appliance and seek professional assistance.
How can I document my installation for future reference?
Take clear photographs of key connection points and make notes about any challenges you faced during installation. Organizing this documentation can be helpful for future maintenance or warranty claims.