Most American households in Orange County and Los Angeles County depend on their dryer for daily convenience, yet dryer fires account for over 2,900 home incidents nationwide each year. When your appliance stops working normally, tackling basic troubleshooting yourself can make a real difference in safety and cost. This guide helps local homeowners address common dryer problems step by step, protecting their homes and keeping laundry routines running smoothly.
Table of Contents
- Step 1: Prepare the Dryer for Safe Inspection
- Step 2: Check the Power and Connections
- Step 3: Inspect Airflow and Ventilation
- Step 4: Examine Heating and Drum Operation
- Step 5: Test and Confirm Drying Performance
Quick Summary
| Important Insight | Explanation |
|---|---|
| 1. Unplug the Dryer First | Always unplug the dryer before inspecting to eliminate electrical hazards while you work. |
| 2. Inspect Power Connections | Ensure the power cord, plug, and outlet are in good condition to prevent electrical issues and ensure proper dryer function. |
| 3. Check Airflow and Ventilation | Inspect the exhaust duct for blockages and use rigid metal ducts to ensure efficient airflow and reduce fire risks. |
| 4. Examine Heating Elements and Drum | Test the heating element and inspect the drum for smooth operation to diagnose potential mechanical issues affecting performance. |
| 5. Validate Drying Performance | Run a test load of mixed fabrics and monitor for dryness to evaluate the dryer’s efficiency and identify any underlying issues. |
Step 1: Prepare the Dryer for Safe Inspection
Safety starts with smart preparation when getting ready to inspect your home dryer. Before diving into any diagnostic steps, you need to create a secure workspace that prevents potential electrical or mechanical risks. Reducing fire hazards begins with careful setup.
First, unplug the dryer completely from its electrical outlet. This critical step eliminates any chance of unexpected electrical currents while you work. Next, pull the dryer away from the wall carefully, giving yourself enough space to inspect the back panel, electrical connections, and exhaust ducting. Wear work gloves and have a flashlight ready to examine hard-to-see areas thoroughly. Checking for potential damage requires a systematic approach.
Inspect the power cord for any fraying, cuts, or exposed wiring. Look closely at the plug and ensure no prongs are bent or damaged. Check the area around the electrical outlet for any scorch marks or discoloration that might indicate previous electrical issues. These preliminary steps create a foundation for a safe and effective dryer inspection.
Pro Tip: Keep a fire extinguisher nearby during your dryer inspection as an extra safety precaution, and always work in a well-ventilated area with good lighting.
Here’s a comparison of key safety checks and their purposes during a dryer inspection:
| Checkpoint | What to Look For | Why It Matters |
|---|---|---|
| Power cord inspection | Fraying or exposed wires | Prevents electrical shock or fire |
| Plug and outlet assessment | Scorch marks or discoloration | Reveals previous electrical issues |
| Dryer placement | Adequate spacing, no obstruction | Reduces risk and improves access |
| Fire extinguisher presence | Within easy reach | Allows quick response to emergencies |
| Ventilation check | Unblocked, undamaged ductwork | Supports efficient, safe operation |
Step 2: Check the Power and Connections
Power problems are often the silent culprits behind dryer malfunctions. Your goal in this step is to systematically verify all electrical connections and ensure your dryer receives proper power supply. Understanding electrical configurations is key to successful troubleshooting.
Start by examining your dryer’s power cord carefully. Modern dryers require a four-prong cord with separate hot wires, neutral wire, and ground wire for maximum safety. Older homes might have three-prong outlets, which require specific adapter techniques. Check that the circuit breaker dedicated to your dryer is fully engaged and has not tripped. Verifying circuit functionality prevents potential electrical failures.
Inspect the power plug and outlet for any signs of wear, discoloration, or damage. Look for scorch marks, bent prongs, or loose connections that could indicate underlying electrical issues. Wiggle the plug gently to confirm a secure fit and watch for any sparking or unusual resistance. A firm, clean connection is crucial for consistent dryer performance.
Pro Tip: Use a multimeter to test outlet voltage and confirm it matches your dryer’s electrical requirements before performing further diagnostics.
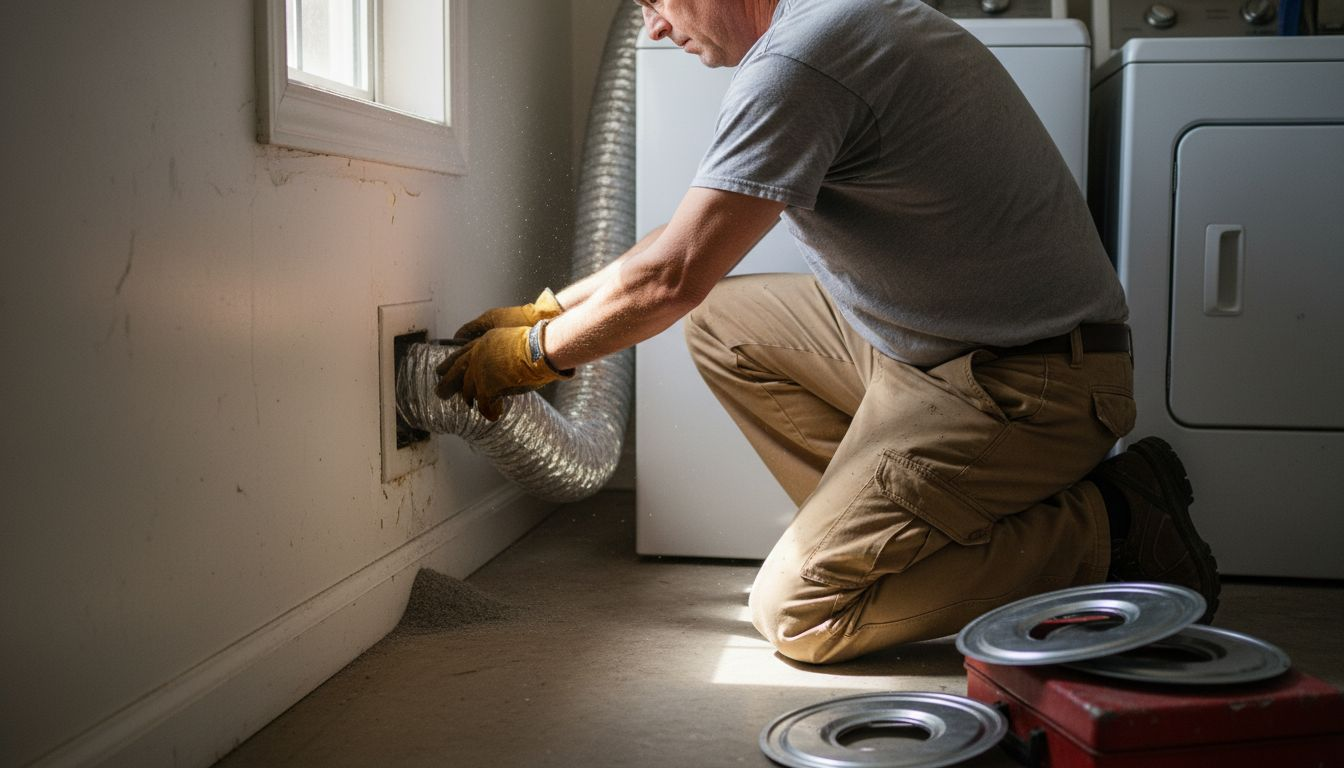
Step 3: Inspect Airflow and Ventilation
Proper airflow is the lifeblood of efficient dryer performance. Your mission is to thoroughly examine the ventilation system and ensure nothing restricts your dryer’s ability to expel hot air and moisture. Understanding ventilation requirements helps prevent potential safety hazards.
Begin by disconnecting the exhaust duct from the back of the dryer and inspecting its entire length. Look for any signs of crushing, kinking, or damage that could impede airflow. Metal ductwork is preferred over flexible plastic or foil ducts, as it provides smoother air passage and reduces lint accumulation. Measuring airflow can provide precise insights into your dryer’s ventilation performance.
Trace the ductwork to its exterior exit point and remove the vent cover. Check for lint buildup, bird nests, or any obstructions that could block air movement. The exterior vent should be clear and unimpeded, allowing hot air to escape freely. Pay special attention to the vent angle and length, as longer or more convoluted paths can significantly reduce airflow efficiency.
This summary highlights how different duct types impact dryer safety and performance:
| Duct Type | Airflow Efficiency | Safety Risk |
|---|---|---|
| Rigid metal | Excellent | Low |
| Semi-rigid metal | Good | Moderate (crush risk) |
| Flexible plastic | Poor | High (fire hazard) |
| Foil | Fair | Moderate-High |
Pro Tip: Use a lightweight piece of tissue paper near the exterior vent to test airflow movement verify proper ventilation.
Step 4: Examine Heating and Drum Operation
Your dryer’s heating system and drum movement are critical components that determine its overall performance. This step will help you diagnose potential mechanical and electrical issues that could be preventing your dryer from functioning correctly. Understanding the intricate relationship between heating elements and drum operation is key to effective troubleshooting.
Start by manually rotating the drum to check for smooth movement. Listen carefully for any grinding, squealing, or unusual noises that might indicate bearing or motor problems. Next, inspect the drive belt for signs of wear, cracking, or slackness. The mechanical components of a dryer work together to create an efficient drying process, so any disruption can significantly impact performance.
Test the heating element using a multimeter to verify electrical continuity. Look for visible signs of damage such as burn marks or physical deformation. Check the thermal fuse and thermostat for potential failures that could prevent proper heat generation. A comprehensive examination of these components will help you identify whether you can repair the dryer or need professional intervention.
Pro Tip: Always disconnect power before performing any internal component testing and wear insulated gloves to protect yourself from potential electrical hazards.
Step 5: Test and Confirm Drying Performance
Validating your dryer’s actual performance goes beyond visual inspection and requires systematic testing. Your goal is to ensure the machine can effectively remove moisture from different fabric types while maintaining their quality. Following standardized testing procedures helps evaluate the dryer’s overall efficiency.
Prepare a test load with mixed fabric types including cotton towels, lightweight shirts, and heavier items like denim. Run a complete drying cycle and carefully assess the results. Check each item for complete dryness, paying attention to moisture levels in seams and thick areas. Monitoring moisture content is crucial for preventing fabric damage and ensuring consistent drying performance.
Measure the actual drying time and compare it to the manufacturer’s recommended cycle length. Feel the fabrics for any remaining dampness, and note any unusual heat levels or extended drying times. If items remain wet or emerge overly hot, this could indicate underlying issues with heating elements, moisture sensors, or overall dryer functionality that might require further investigation or professional repair.

Pro Tip: Use a digital moisture meter for precise fabric dryness assessment and track your dryer’s performance over multiple test cycles.
Expert Dryer Repairs When Troubleshooting Isn’t Enough
Dryer breakdowns and airflow problems cause frustration and disrupt your daily routine. If you have followed the detailed steps to inspect your power connections, ventilation, and heating elements but still face drying inefficiency or unusual noises, it is time to call in experts who understand these issues deeply. At Appliances Repair MD Tech, we specialize in diagnosing complex dryer problems and offering fast, reliable repairs across Orange County and Los Angeles County.

Don’t risk safety or risk costly damages trying to fix electrical or mechanical faults alone. Book your appointment online today to benefit from our team of licensed technicians who provide thorough dryer maintenance and repairs. Experience peace of mind knowing your dryer will operate safely and efficiently once again. Visit Appliance Repair Services in Your Area to schedule your service and restore drying reliability now.
Frequently Asked Questions
How do I prepare my dryer for inspection?
To prepare your dryer for inspection, first unplug it to ensure safety from electrical hazards. Then, pull it away from the wall for better access and check the power cord for any fraying or damage.
What should I check if my dryer is not heating?
If your dryer is not heating, check the heating element, thermal fuse, and thermostat for potential failures. Use a multimeter to test for electrical continuity and replace any damaged components to restore proper heating.
How can I ensure proper airflow in my dryer?
To ensure proper airflow, inspect the exhaust duct for any damage or obstructions, such as lint buildup. Disconnect the duct and clean it thoroughly, making sure the exterior vent is also clear, and restore it securely to maintain optimal airflow.
Why is my dryer taking too long to dry clothes completely?
A dryer that takes too long to dry clothes may have airflow issues or heating element failures. Conduct a thorough inspection of the ductwork and heating components, and test the drying performance with a mixed fabric load to identify the cause of extended drying times.
What steps can I take if my dryer drum isn’t turning?
If your dryer drum isn’t turning, first check the drive belt for wear or slippage. If the belt is intact, inspect the motor and drum bearings for potential mechanical failures that might require professional repair.