
If your water heater is leaking, turn off its power or gas control and shut off the cold-water inlet valve right now, before you do anything else. That single move stops most active damage in its tracks. Once the unit is de-energized and isolated from its water supply, you can slow down and figure out where the water is actually coming from.
Do the following in order:
- Electric units: flip the breaker labeled for the water heater at your electrical panel.
- Gas units: turn the gas control valve to “pilot” (do not just kill the thermostat).
- Then close the cold-water inlet valve on top of the tank, not your home’s main shutoff, unless the inlet valve is inaccessible or broken.
- Grab towels or a shop vac, set a bucket under any active drip, and snap a photo of the leak and the model/serial label on the tank.
- If water is pooling near outlets or the breaker panel, or you smell gas, stop, evacuate, and call your gas utility or 911 before touching anything.
Cutting power before water matters more than most people realize: an electric heating element can burn out or scorch if it stays energized while dry, and a gas unit left running without adequate water flow can overheat dangerously.
Key Takeaways
A leaking water heater is a safety-first, location-first problem: cut power and water immediately, then let the leak’s position on the tank tell you whether it’s a quick repair or a sign the unit needs replacing.
| Point | Details |
|---|---|
| Shut off energy before water | Cutting power or gas first prevents dry-firing an electric element or overheating a gas unit. |
| Location predicts severity | Top and side leaks are often repairable fittings or valves; bottom leaks usually mean tank replacement. |
| Test the T&P valve | Lift the lever briefly; continuous discharge afterward signals a failed valve, not normal operation. |
| Apply the 50% rule | If repair costs exceed half the price of a new installed unit, replacement is the better value. |
| Call Appliancesrepairmdtech for tank issues | Licensed technicians handle valve swaps, drain valve replacement, and full installation across Orange and Los Angeles counties. |
Table of Contents
- Water Heater Leaking Water: Where It’s Coming From Matters
- Immediate Steps to Take Once the Water Heater Is Off
- How to Find Exactly Where a Water Heater Is Leaking
- Fixing a Leaking Water Heater Yourself: What’s Realistic
- Repair or Replace? A Framework That Actually Holds Up
- Stopping Leaks Before They Start: A Maintenance Routine That Works
- MDTECH Perspective: What Experience Shows and When to Call Us
- Getting Help Fast When Your Water Heater Starts Leaking
- Sources
Water Heater Leaking Water: Where It’s Coming From Matters
Not every drip means the same thing. Where the water shows up on the tank tells you almost everything about how serious the problem is and whether you’re looking at a quick fix or a full replacement.
-
Top of the tank. Leaks here usually trace back to loose inlet or outlet fittings, or a cracked plastic nipple where the pipes connect to the heater. These are mechanical connection problems, not tank failures, and they’re often fixable with a wrench and some new thread sealant.
-
Side of the tank. Water running down the side almost always comes from the temperature and pressure (T&P) relief valve or its discharge pipe. This one is tricky because it can mean two very different things: the valve is doing exactly what it’s designed to do, releasing pressure because the tank is overheating or over pressurized, or the valve itself has failed and needs replacement.
-
Bottom of the tank. This is the one homeowners dread, and for good reason. A water heater leaking from the bottom is frequently a sign of internal tank corrosion, and once the steel tank itself has rusted through, there’s no patching it. Tank leaks mean replacement, full stop. Bottom leaks can also come from the drain valve, which is a much cheaper fix.
Beyond location, a few other factors contribute to leaks and related common water heater problems: sediment buildup that traps heat and stresses the tank walls, an exhausted anode rod that leaves the steel unprotected, water pressure that’s too high for the tank’s rating, and worn heating element gaskets on electric units. One more wrinkle: condensation on a cold tank in a humid basement gets mistaken for a leak constantly, especially during winter when incoming water is much colder than the surrounding air.
Immediate Steps to Take Once the Water Heater Is Off
With power and water isolated, your job shifts to containment and documentation, and doing this correctly protects both your home and your ability to get warranty or insurance coverage later.
- Turn off the energy source before the water supply. Doing it in reverse risks dry-firing an electric element or letting a gas unit overheat with no water moving through it.
- Shut off only the water heater’s dedicated inlet valve. There’s rarely a reason to kill water to the entire house over a heater leak.
- Set buckets or a wet/dry shop vac under the drip, lay towels around the base, and move any nearby boxes, rugs, or stored items off the floor.
- Check the subfloor and surrounding drywall for early signs of water damage, especially if the heater sits in a closet or upstairs utility space.
- Photograph the leak, the puddle’s spread, and the appliance label showing model and serial number. A technician will ask for this, and it speeds up diagnosis.
If you see standing water anywhere near electrical outlets, hear a hissing or popping sound from the tank, or catch a whiff of gas, leave the area and call your gas company or 911 immediately. That’s not a DIY situation under any circumstance.
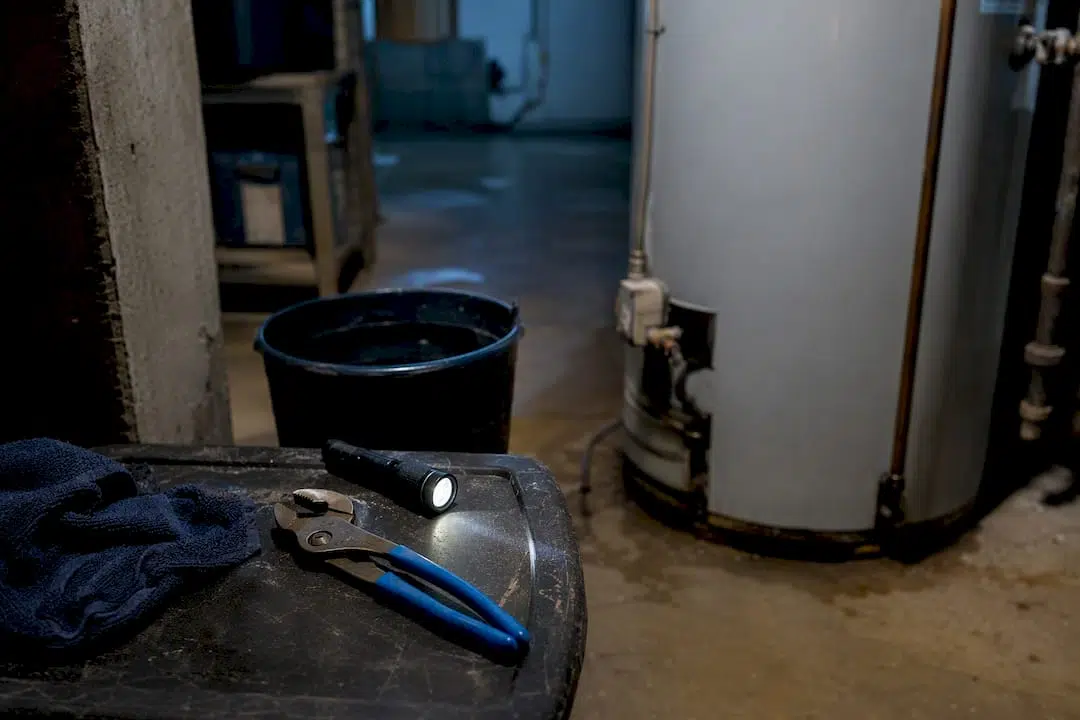
Pro Tip: Keep a small flashlight and a pair of channel-lock pliers stored near your water heater. When a leak happens at 6 a.m. before coffee, not hunting for tools saves real time.
How to Find Exactly Where a Water Heater Is Leaking
A wet floor doesn’t always point straight to the source, water travels, pools, and runs along uneven concrete before it ever reaches your feet. A short, methodical inspection saves you from guessing.
-
Dry everything first. Wipe down the tank exterior, the floor beneath it, and all visible pipe connections with a towel. This resets your view so the next drop of water tells you something.
-
Wait and watch. Give it 20 to 30 minutes, then walk back with a flashlight. Water reappearing at a specific point, a fitting, a seam, the drain valve, tells you that’s your source. This wipe-and-wait approach is the simplest way to rule out a false alarm.
-
Check the top connections. Feel around the hot and cold water nipples where pipes enter the tank. A slow drip here often means a loose fitting rather than tank failure.
-
Inspect the T&P valve and discharge pipe. Look at the valve on the side or top of the tank and trace its discharge tube down toward the floor. If it’s wet along its length, the valve may be releasing normally or may have failed, and testing it (covered next) tells you which.
-
Examine the drain valve at the bottom. A slow weep here is common and often just needs tightening or a new washer.
-
Rule out condensation. If water only shows up on cold mornings, distributes evenly across the tank rather than pooling from one spot, and disappears as the day warms up, you’re likely dealing with condensation rather than a true leak.
Use a flashlight, work gloves, and a stable step stool if your unit sits up on a platform. Never touch electrical components with wet hands, and if the unit is gas, don’t use an open flame to check for leaks anywhere near it.
Fixing a Leaking Water Heater Yourself: What’s Realistic
Some water heater repairs are well within reach for a reasonably handy homeowner. Others are a fast track to a bigger problem, or a genuine safety hazard.
Jobs that are typically safe to tackle yourself:
- Tightening a loose top fitting with a wrench (don’t overtighten, you can crack the nipple).
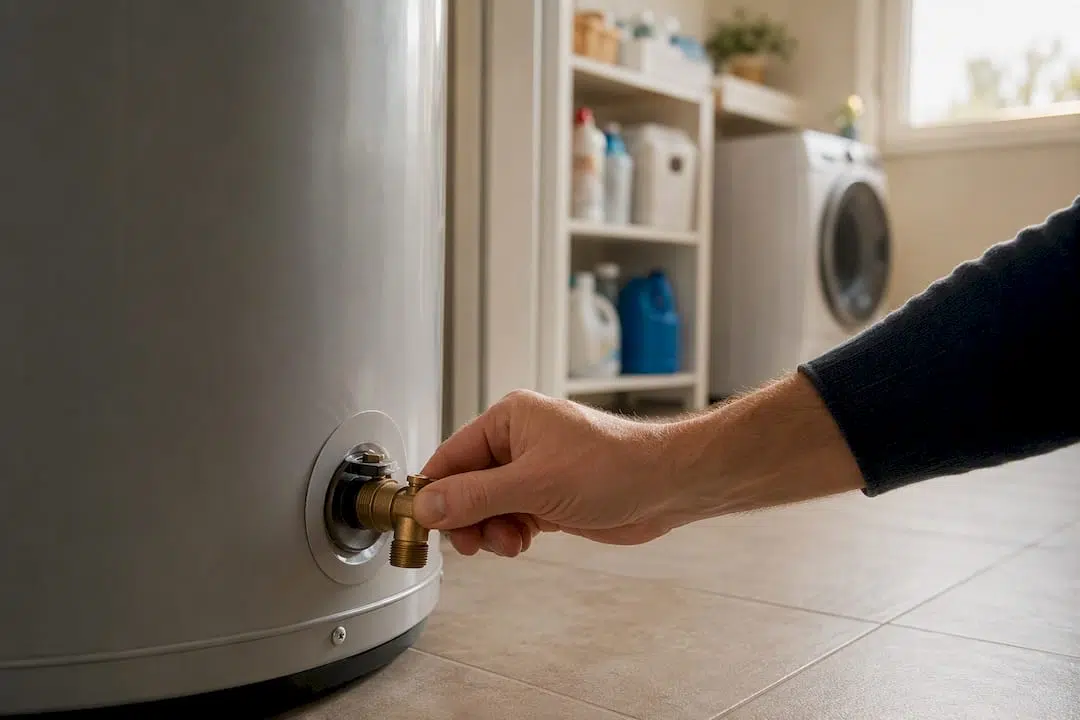
- Replacing a leaking plastic drain valve, usually a $10 to $15 part and about 30 minutes of work once the tank is partially drained.
- Testing the T&P valve by lifting its lever briefly. If it stops dripping after the test, it’s fine. If it keeps discharging, the valve itself has failed and needs replacement.
Stop and call a licensed technician if you see any of the following: rust-colored water or visible corrosion on the tank body, a gas smell anywhere near the unit, exposed or damaged electrical wiring, or a leak coming from a heating element gasket on an electric model. These point to problems that require specialized tools, code compliance, or simply can’t be patched.
If you decide to proceed with a basic DIY fix, follow this order every time: energy off, water off, drain a few gallons through the drain valve to relieve pressure, then replace the part using Teflon tape or pipe dope on threaded connections. A DIY drain valve swap typically runs under $20 in parts. A professional service call for the same job, plus diagnosis and labor, generally lands in a different cost bracket entirely, which is exactly why many homeowners handle the small stuff themselves and call in help for anything touching the tank’s structure or electrical components.
Repair or Replace? A Framework That Actually Holds Up
Most water heaters last 8 to 12 years, and units past the 10-year mark carry meaningfully higher risk of cascading failures, meaning one repair today often just delays a bigger one next month.
A few rules make this decision faster:
- Tank leak = replace. A corroded tank shell can’t be sealed or patched safely. If the water heater is leaking from the bottom because of a rusted-through wall, replacement is your only real option.
- Valve or connection leak = often repairable. Fittings, drain valves, and T&P valves are individual parts, not the tank itself, and swapping them is usually straightforward for a technician.
- Apply the 50% rule. If a repair quote comes in at more than half the cost of a new, installed unit, replacement is almost always the better long-term value.
- Watch for supporting signals. Rust-tinted hot water, rumbling or popping noises from sediment, and a pattern of repeat repairs all point toward a unit that’s nearing the end of its service life, even if today’s leak seems minor.
Replacing a unit proactively, before it fails completely, also gives you room to choose a properly sized, more efficient model instead of scrambling for whatever’s in stock during an emergency.
Stopping Leaks Before They Start: A Maintenance Routine That Works
Most leak causes trace back to skipped maintenance, not bad luck. A short annual routine catches problems while they’re still cheap to fix.
- Flush the tank once a year to clear sediment that traps heat and accelerates corrosion at the tank floor.
- Test the T&P valve annually, and replace it if it won’t reseat or keeps dripping after testing.
- Inspect or replace the anode rod every 3 to 5 years. This sacrificial rod protects the tank from corrosion from the inside, and once it’s spent, the tank itself starts rusting.
- Check your home’s water pressure. Anything consistently above 80 psi stresses the tank and its fittings; a pressure-reducing valve or expansion tank helps.
- Add a drain pan and a water leak detector under the unit, especially if it sits in a finished space or above living areas.
Lowering your water heater’s thermostat and cutting back on unnecessary hot water use also reduces wear on the tank over time, which adds up across a decade of service.
Pro Tip: Write the anode rod replacement date on a piece of tape stuck to the tank. It’s the single most forgotten maintenance task, and the cheapest insurance against an early tank failure.
MDTECH Perspective: What Experience Shows and When to Call Us
The most common mistake we see isn’t a bad repair, it’s delay. Homeowners notice a small drip, decide to “watch it,” and come back a week later to a flooded closet. Condensation gets misdiagnosed as a leak just as often, sending people into panic mode over a non-issue, while a genuinely corroded tank sometimes gets a hopeful patch job that buys a few weeks at best. Our licensed technicians handle same-week scheduled visits for valve and fitting issues, and dispatch faster when a homeowner describes active flooding, gas odor, or a tank leaking from the bottom seam.
Getting Help Fast When Your Water Heater Starts Leaking
Once you’ve shut things down and figured out roughly where the water’s coming from, the next call matters. Appliancesrepairmdtech gives Orange County and Los Angeles County homeowners a straight path to a licensed technician instead of a guessing game with online tutorials and mismatched parts. We handle everything from a simple T&P valve swap to full tank replacement and installation, on a schedule that fits an active leak, not a two-week wait list.
Before you book, have a few things ready: photos of the leak and the model/serial label, clear access to the unit, and a quick rundown of what you’ve noticed, sound, smell, timing, water color. That information lets our technician arrive prepared instead of starting from zero. For anything beyond a valve or fitting, our repair vs. replacement guide walks through the cost comparison in more detail, and our plumbing pipe repair page covers related fixes if the leak turns out to be upstream of the tank itself. Book online now and get a technician on the schedule before a small drip turns into a bigger repair bill.
Sources
- Why Is My Water Heater Leaking? | A.O. Smith
- Water Heater Lifespan: When to Repair vs. Replace – Rheem
- How to Fix a Leaking Water Heater – The Spruce
- Deciding Between Water Heater Repair and Replacement – Bradford White