
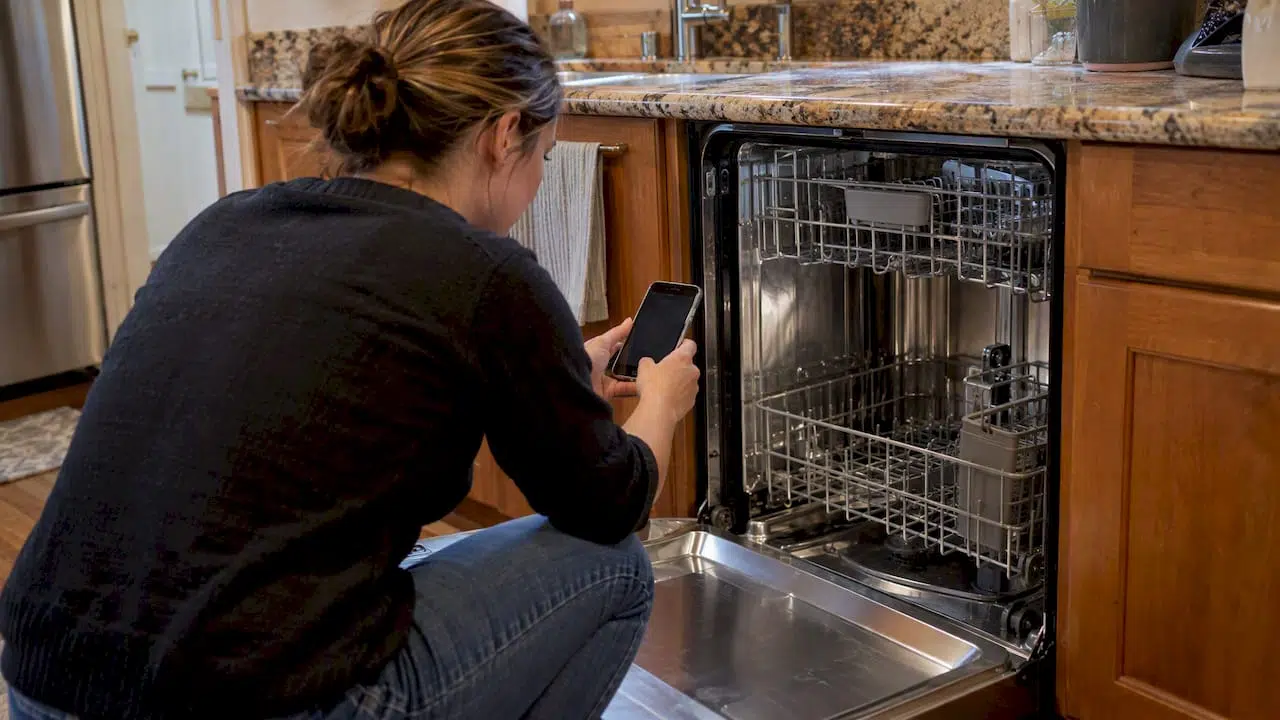
Stop the cycle, cut power at the breaker or unplug the unit, and shut off the water supply under the sink. Then wipe up standing water so your floor and cabinets stay protected. Before you touch anything else, note where the water shows up: the front of the door, the bottom center, or underneath and behind the unit. That one detail points to the likely failure.
TL;DR:
- A front leak often points to a dirty or flattened gasket; water underneath or behind suggests hoses, clamps, or a missing drain hose loop.
- One to two cups left in the tub after a cycle can be normal; floor puddles or heavy accumulation suggest drainage, overfill, or seal trouble.
- With power and water off, clean the gasket, clear the filter and spray arms, tighten hose clamps, and level the dishwasher before replacing parts.
- Call a technician for suspected pump failure, a cracked tub, persistent overfilling, electrical faults, or leaks that continue after basic checks.
- Diagnostics typically cost $50 to $80, labor runs $75 to $125 per hour, and replacement may beat complex repairs on dishwashers over 10 years old.
Table of Contents
- What causes a dishwasher leaking from the bottom?
- What should you do right away?
- How does the leak location point to the cause?
- Which DIY fixes actually stop a bottom leak?
- When should you call a pro, and what will it cost?
- How can you prevent dishwasher leaks?
- Why we say DIY the simple checks and book service for the rest
- Book a licensed technician for your leaking dishwasher
- FAQ
- Sources
What causes a dishwasher leaking from the bottom?
Most bottom leaks trace back to a short list of parts. Matching your symptom to the right one saves you from pulling the machine apart for nothing. Manufacturer guidance from Maytag lists the same families of causes and ties them to where the water appears.
- Door gasket or seal failure: dirt, compression or cracks let water slip out, usually at the front corners or along the door edge.
- Clogged filter or drain: water that cannot leave the tub rises and spills past the door during a cycle.
- Loose, cracked or poorly clamped hoses: the inlet and drain hoses sit under or behind the unit, so these leaks show up on the floor beneath it.
- Stuck inlet valve or float assembly: if the tub overfills, the extra water has nowhere to go but out.
- Worn pump seal, sump housing leak or cracked tub: these tend to drip from the center or bottom of the machine.
- An unlevel dishwasher or over-sudsing: a tilted tub throws water at the door seal, and too much foam pushes water out past the door.
A small amount of water sitting in the tub after a cycle is not automatically a problem. GE Appliances support says one to two cups left in the bottom of the tub is often normal, while water on the floor or heavy accumulation points to a drainage, overfill or seal issue.
What should you do right away?
Treat the first few minutes as damage control, and gather clues while you do it. Whirlpool’s guidance is to disconnect power before any repair, close the water valve and keep towels handy.
- Cancel the cycle and cut power by flipping the breaker or unplugging the dishwasher.
- Close the shutoff valve under the sink that feeds the dishwasher. If you cannot find it or it will not turn, shut off the water to the house.
- Soak up standing water with towels or a wet/dry vacuum, then lay dry towels down to protect the floor.
- Write down when the leak happens: at the start, during fill, during the wash, during the drain, or all the time.
- Note where the water pools, because a puddle at the front and a puddle at the back call for different checks.
Pro Tip: Shut off both power and water before you crawl under the sink or pull the unit out. Water and electricity share that cramped space.
How does the leak location point to the cause?
Once the machine is safe, use the water’s location to pick the smallest, safest check first. Work from the easiest inspection to the hardest.
- Front or door: look at the door gasket for debris, cracks or flattened spots. Check that nothing tall is blocking or deflecting the spray arms, and confirm the door latches squarely. A latch that does not close properly can let water reach the floor, as Maytag’s guide to dishwasher leaks points out.
- Bottom or center: look at the tub base. A little water is normal, but a pool means a drainage or overfill problem. Then look at the pump area, sump and seals for active drips.
- Under or behind: with power off, remove the kickplate and check the inlet and drain hose connections, the clamps, and the hoses themselves for cracks or corrosion. Also check the drain hose high loop or its connection to the disposal, since a missing loop lets dirty water flow backward. This Old House calls an inadequate high loop a frequent but non-obvious cause of backflow and drainage leaks.
- Watching a live leak: only after power and water safety steps are handled, place dry paper towels at the likely leak points, restore power and water, and run a short part-cycle. The towels that get wet tell you which area to focus on. Stop the cycle the moment you see water escape.
Once you have a likely culprit, the next section covers the fixes most homeowners can handle. If the leak seems tied to a cycle that never fully empties, our guide on dishwasher drain fixes walks through that path in more detail.
Which DIY fixes actually stop a bottom leak?
Start with the cheapest, lowest-risk steps and work toward the harder ones. Keep the power and water off for anything that involves reaching into the tub base or under the unit.
- Clean and reseat the door gasket. Family Handyman reports that many door-corner leaks come from a dirty or compressed seal, and that cleaning it with hot water and detergent and pressing it back into its channel often fixes the leak without a replacement. A toothbrush gets into the corners. Dry it, then seat it evenly.
- Clear the filter, sump area and spray arms. Pull the filter, rinse out food debris, and check that the spray arms spin freely and are not clogged. Then run the drain or cancel function so the drain motor activates. Family Handyman’s no-drain fix also suggests cleaning the air gap and clearing the drain tube under the sink when water will not leave the tub.
- Tighten clamps and replace tired hoses. Snug any loose hose clamps. If a hose is brittle, cracked or weeping at the fitting, replace it with a manufacturer-approved part rather than patching it. Route the drain hose with a high loop, which, according to This Old House, prevents backflow and odors and helps keep the connection leak-free.
- Level the unit. Set a level on the door opening, check front-to-back and side-to-side, and adjust the leveling legs until the door closes square against the seal.
- Test the float and inlet valve. Lift the float and make sure it moves freely. If water keeps filling when the machine is off, close the water valve and call a technician, since a sticking inlet valve is not a good candidate for a home fix.
Skip kitchen hacks while you are at it. Consumer Reports cautions that pump seals and motors are vulnerable to debris and harsh cleaning, and that tricks like straight vinegar can wear internal seals and tubing and lead to leaks.
Pro Tip: Take step-by-step photos and jot down the model and serial number before you disassemble anything. It makes any follow-up professional repair faster.
For a broader walkthrough, our guide to fixing dishwasher leaks covers seal care in more depth.
When should you call a pro, and what will it cost?
Call a technician if you suspect a failed pump or pump seal, a cracked tub, a persistent overfill, or an electrical or control problem, or if your DIY checks did not stop the leak. Angi’s hiring guidance says repair pros advise against DIY work on pumps, motors and electronic control boards, because mishandling raises safety risks and can complicate the repair that follows.
- Diagnostic fees are common. They often count toward the final repair if you go ahead with it.
- Labor and parts add up separately. Pumps, motors and control boards cost more to fix than hoses, latches or gaskets.
- Ask for itemized written quotes that split out diagnosis, parts and labor so you can compare.
- Check warranty and recall status before you pay for anything.
Diagnostic fees commonly run $50 to $80, and Angi also puts typical labor rates at $75 to $125 per hour. Those two numbers explain why a simple hose swap and a pump job land so far apart on the final bill.
As a repair-versus-replace rule of thumb, Angi’s leak guidance says it is often more cost-effective to replace a dishwasher that is over 10 years old than to pay for complex internal repairs. Consumer Reports adds that you should check warranties, recalls and diagnostic fees before deciding. Our repair vs replacement page lays out how we think about that call.
How can you prevent dishwasher leaks?
A few small habits cut your odds of finding another puddle.
- Clean the filter and wipe the door gasket on a regular schedule, and run a cleaning cycle monthly so buildup does not compress or foul the seal.
- Use only dishwasher detergent. Dish soap creates too much foam, and foam forces water out past the door. Load tall items so they do not hit the spray arms.
- Check hoses and clamps once a year, and keep the drain hose high loop intact so water cannot flow backward.
- Re-check leveling any time the unit has been moved, and press the gasket back into place if it has flattened over time.
If your dishwasher also leaves puddles because it overfills, our steps to stop dishwasher overflows cover that scenario, and our troubleshooting checklist handles other common faults.
Why we say DIY the simple checks and book service for the rest
We back safety-first DIY for the gasket, filter, hose clamp and leveling checks, because those are the fixes that most often stop a bottom leak and carry little risk when power and water are off. We draw the line at the pump, the motor, a cracked tub and any overfill that keeps coming back. Those jobs need the right parts and tools, and a wrong guess can turn a small drip into a floor repair. Whoever you hire, ask for a written quote that itemizes diagnosis, parts and labor. If you would rather have a technician handle it, we send one to your door.
— MDTECH
Book a licensed technician for your leaking dishwasher
We offer on-site appliance repair and kitchen appliance repair, and our technicians diagnose and repair leaking dishwashers at your home. Before the visit, have your dishwasher’s model and serial number ready, along with a short description of the leak: where the water appears and when it starts. That detail shortens the diagnosis. You can see everything we cover on our appliance repair services page, then book your visit there.
FAQ
What are the most common leaks on a dishwasher?
The most common leaks come from the door gasket, a clogged filter or drain, loose or cracked hoses, a faulty inlet valve or float, and worn pump seals. Where the water appears usually narrows the list quickly. Manufacturer guides from Whirlpool map each cause to a leak location.
Should you stop your dishwasher if it’s leaking?
Yes. Cancel the cycle, cut power at the breaker or by unplugging the unit, and close the water supply valve. Then clean up standing water so your floor and cabinets do not suffer damage.
Why is my dishwasher leaking from the sink?
Water near the sink usually means a problem with the drain hose connection, a missing high loop, or a clogged air gap or drain line. Check the drain hose where it meets the sink or disposal, and clear the line if water is not leaving the tub.
Why does my dishwasher have a puddle of water at the bottom?
A small amount of water in the tub after a cycle can be normal. A larger puddle points to a drainage clog, an overfill from a stuck float or inlet valve, or a worn seal. Clean the filter and drain path first, then call a technician if the water keeps coming back.