
The most likely culprit is a misaligned fill tube, a stuck water inlet valve, or a refrigerator that isn’t sitting level. If water is pooling on your floor, shut off the water supply valve and unplug the fridge now to stop damage. A short checklist and step-by-step fixes below will tell you exactly which one you’re dealing with.
TL;DR:
- Ensuring your refrigerator is level is often the simplest fix, preventing water from spilling over the ice tray during fill cycles.
- Water leaks near the floor usually originate from loose or cracked supply lines, not the ice maker itself, especially if the leak appears after a fill operation.
- Replacing a faulty water inlet valve or realigning the fill tube typically costs less than homeowners expect and can resolve most leaks caused by overfilling.
- Persistent leaks despite adjustments may require professional diagnosis, particularly if refrigerant smells or electrical issues are present.
- Regular maintenance, including changing filters and checking water line fittings, can prevent most common causes of ice maker water leaks.
Table of Contents
- Fast Checklist to Stop an Ice Maker Water Leak Right Now
- What Your Symptoms Are Telling You
- How to Fix a Leaking Ice Maker Step by Step
- When Should You Call a Technician Instead of DIY?
- Stop Leaks Before They Start: Maintenance That Actually Works
- What Years of Service Calls Taught Us About Ice Maker Leaks
- Book a Licensed Technician for Your Ice Maker Leak
- Where This Guide’s Information Comes From
- Sources
Fast Checklist to Stop an Ice Maker Water Leak Right Now
Before you diagnose anything, contain the mess. Water and electricity don’t mix, and a slow drip today can warp flooring by next week.
Run through this in order:
- Find exactly where water collects: ice bin, freezer floor, or under the fridge.
- Shut off the water supply line and unplug the unit if there’s standing water near outlets.
- Confirm the ice maker’s on/off switch and check that the door seal closes tight.
- Set a level on top of the fridge, front to back and side to side.
- Look at the water line fittings behind the fridge for visible drips or corrosion.
A quick level check alone resolves a surprising share of the service calls technicians receive, so don’t skip it just because it seems too simple.
What Your Symptoms Are Telling You
Where the water shows up, and how it behaves, narrows the cause faster than any other single clue. Run through these matches before you touch a tool.
- Ice bin full of slush or a solid slab. This points to a misaligned fill tube or an inlet valve that’s overfilling the tray. Empty the bin, run a test cycle, and watch the fill tube closely. If water sprays past the tray edge instead of landing inside it, alignment is off.
- Water on the floor near the base of the fridge. This usually traces to a water line leak or a clogged drain, not the ice maker itself. Pull the fridge out and inspect the rear fittings and the supply line for kinks or loose connections.
- A sheet of ice or heavy frost inside the freezer. That’s almost always a clogged defrost or condensation drain backing up. Debris or a frozen plug stops water from draining where it should, so it refreezes on the floor of the compartment instead.
- Constant dripping versus drips only during a fill cycle. This distinction alone tells you whether you’re chasing a valve problem or a mechanical alignment issue. A continuous drip points to the inlet valve failing to seat shut, while drips tied only to the fill cycle suggest the fill tube or fill cup is misaligned.
Watching a complete fill cycle is genuinely the fastest diagnostic tool you have. If the tray overflows during the fill itself, the valve or fill timing is the primary suspect. If the drip shows up only after the fill finishes, you’re more likely looking at a cracked tray or a tube that’s drifted out of position.
One more wrinkle worth ruling out first: some “leaks” are just condensation. Field technicians report that a surprising number of leak calls turn out to be warm, humid air sneaking past a bad door seal, which then condenses and drips. Check the seal before you assume something’s broken internally.
How to Fix a Leaking Ice Maker Step by Step
Before doing any of this, shut off the water supply valve, unplug the refrigerator, and lay towels down to protect your flooring. Sealed refrigerant components and electrical parts are off limits without training. If any step involves those, stop and call a licensed technician instead.
- Level the refrigerator. Place a level on top, front to back and side to side. Adjust the front leveling feet (usually a bolt you turn with a wrench) until both directions read flat. An unlevel fridge tilts the ice bin just enough for water to spill over the edge during every fill.
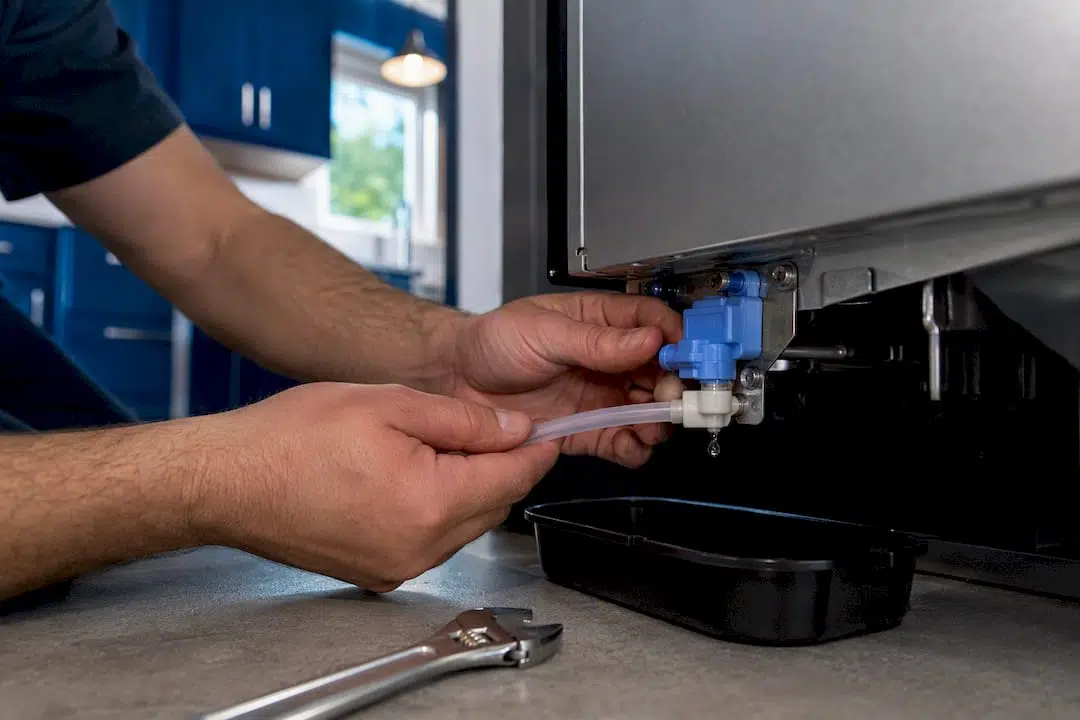
- Realign the fill tube or fill cup. Remove the ice bin, locate the small tube or cup that delivers water into the tray, and check it’s centered over the opening. Run a manual fill cycle (most units have a test button or a fill cycle you can trigger through the control panel) and watch where the water actually lands. Nudge the tube slightly and retest until water drops cleanly into the tray every time.
- Clear a clogged defrost or condensation drain. Locate the drain opening at the back of the freezer compartment. Pour warm water through it, or use a pipe cleaner to gently clear debris. Never use anything sharp or rigid. Give it time to fully thaw before retesting.
- Test the water inlet valve. Watch for a continuous drip that has nothing to do with the fill cycle. During a fill, listen for the valve clicking on and shutting off cleanly. If you’re comfortable with a multimeter, a healthy valve coil typically reads continuity somewhere in the 500 ohm to 1.5 kilo-ohm range, though this varies by model. Anything wildly outside that range, paired with a persistent drip, usually means the valve needs replacing.
- Check the water line and filter. Inspect the supply line for kinks, cracks, or loose compression fittings behind the fridge. Confirm the filter is fully seated. After swapping a filter or valve, purge air from the line by running the dispenser for a minute or two, otherwise you’ll get spitting and misfills that look like a new leak.
Pro Tip: Water pressure that’s too high or too low can make the tray overfill or underfill even with a perfectly good valve. If you’ve replaced parts and the problem persists, check your home’s water pressure before you replace anything else.
For a deeper walkthrough on the valve itself, see our guide on how to diagnose and fix an ice maker valve.
When Should You Call a Technician Instead of DIY?
Some fixes are worth your Saturday afternoon. Others aren’t.
- The leak continues after you’ve leveled the fridge, realigned the tube, and confirmed the valve tests fine.
- You smell refrigerant, notice electrical arcing, or the water source seems to be coming from behind the evaporator or another sealed component.
- You’ve already replaced the ice maker assembly once and the leak came back within weeks.
A technician visit typically ends in one of three outcomes: a valve replacement, a repaired or resealed water line, or a full ice maker assembly swap. Before you commit to any of those, it’s worth comparing repair cost against your refrigerator’s age, since replacing the assembly doesn’t always solve a problem rooted in water pressure or a failing valve elsewhere in the system. Have your model number, a description of when the leak happens, and a list of what you’ve already tried ready when you call. It cuts diagnostic time significantly.
Stop Leaks Before They Start: Maintenance That Actually Works
Most leaking ice makers trace back to something that could’ve been caught months earlier.
- Change the water filter on schedule and purge the lines afterward.
- Recheck the fridge’s level every few months, especially after moving it for cleaning.
- Keep the freezer’s air vents and defrost drain clear of frost buildup and food debris.
- Inspect water line fittings once a year for slow corrosion or hairline cracks.
If you want a broader system for catching problems before they become puddles, our appliance leak detection guide covers monitoring tools worth having around the kitchen.
What Years of Service Calls Taught Us About Ice Maker Leaks
MDTECH technicians see the same two culprits far more often than anything else: a misaligned fill tube and a water inlet valve that won’t seat shut. Both are simple to test and often cheaper to fix than homeowners expect. Watching a full fill cycle, start to finish, remains the single most useful five minutes you can spend before assuming the worst. If the tray overfills during the fill itself, you’re looking at the valve. If it drips only after, alignment is the more likely story.
— MDTECH
Book a Licensed Technician for Your Ice Maker Leak
If you’ve run the checklist and the leak keeps coming back, it’s time to bring in someone who does this daily. Appliancesrepairmdtech sends licensed technicians to diagnose the leak on-site rather than guessing over the phone, whether that means replacing a failed inlet valve, tracing a sealed-line leak, or swapping the entire ice maker assembly when the parts underneath are too worn to fix piecemeal.
Booking takes a few minutes through our online scheduling system, and a technician arrives with the tools to test the valve, check water pressure, and confirm the fix on the spot rather than sending you back to square one. If your fridge is a Samsung model with its own quirks, our Samsung appliance repair page covers brand-specific service details. And if the leak turns out to be older than the ice maker itself, our repair versus replacement breakdown helps you decide whether fixing it or replacing the unit makes more financial sense. Serving homeowners across Orange County and Los Angeles County, we’re built for exactly this kind of same-week appointment.
Where This Guide’s Information Comes From
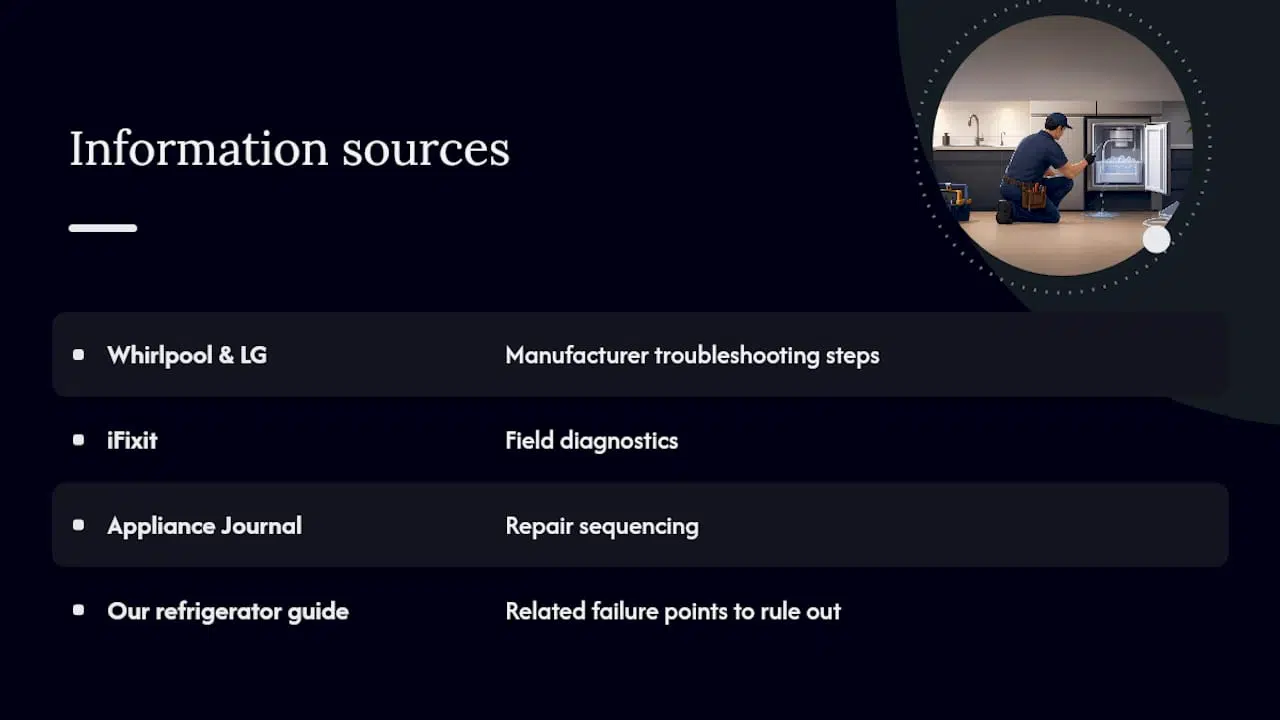
This guide draws on manufacturer troubleshooting steps from Whirlpool and LG, field diagnostics from iFixit, and repair sequencing from Appliance Journal. For persistent leaks, our own refrigerator leak guide covers related failure points worth ruling out.
Sources
- Ice Maker Leaking Water: Causes and Fixes — Whirlpool
- Ice Maker Leaking – iFixit Troubleshooting
- Ice Maker Leaking — Appliance Journal
- LG Refrigerator — Troubleshooting leaking from the ice maker