
TL;DR:
- A comprehensive oven troubleshooting guide helps homeowners identify common issues like failed heating elements and faulty sensors. It stresses safety precautions, proper diagnostic steps, and when to call professionals for complex repairs. Regular maintenance and accurate testing prevent costly breakdowns and extend oven lifespan.
An oven troubleshooting guide is a structured diagnostic process that helps homeowners and renters identify and fix common oven problems without unnecessary service calls. Most oven failures fall into a short list of repeatable causes: failed heating elements, weak igniters, faulty temperature sensors, and worn door seals. This guide covers both electric and gas ovens, walks you through the right tools and safety steps, and tells you exactly when to call a licensed technician. Follow these steps and you will resolve the majority of common oven problems yourself, safely and confidently.
What does an oven troubleshooting guide actually cover?
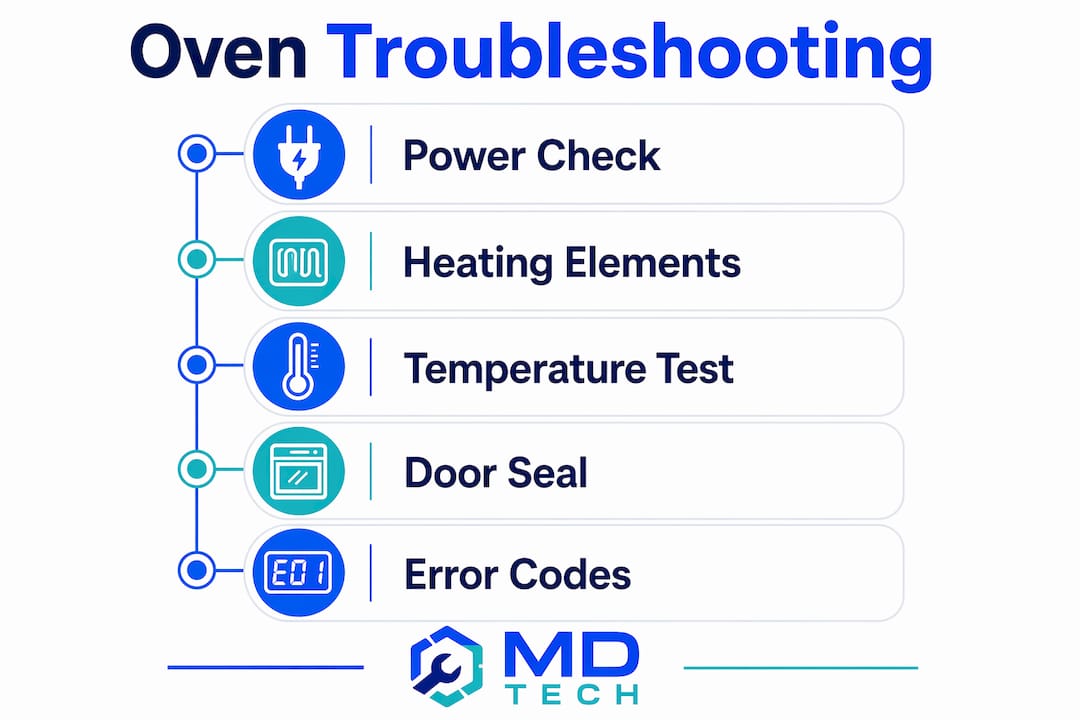
A proper oven diagnostic checklist covers power supply, heating components, temperature accuracy, door integrity, and error codes. The industry term for this process is “appliance fault diagnosis,” and it applies the same logic a technician uses, just scaled for a homeowner with basic tools. The goal is to isolate the failed component before spending money on parts or labor. Knowing the difference between a $15 oven bulb fix and a $300 control board replacement saves you real money.
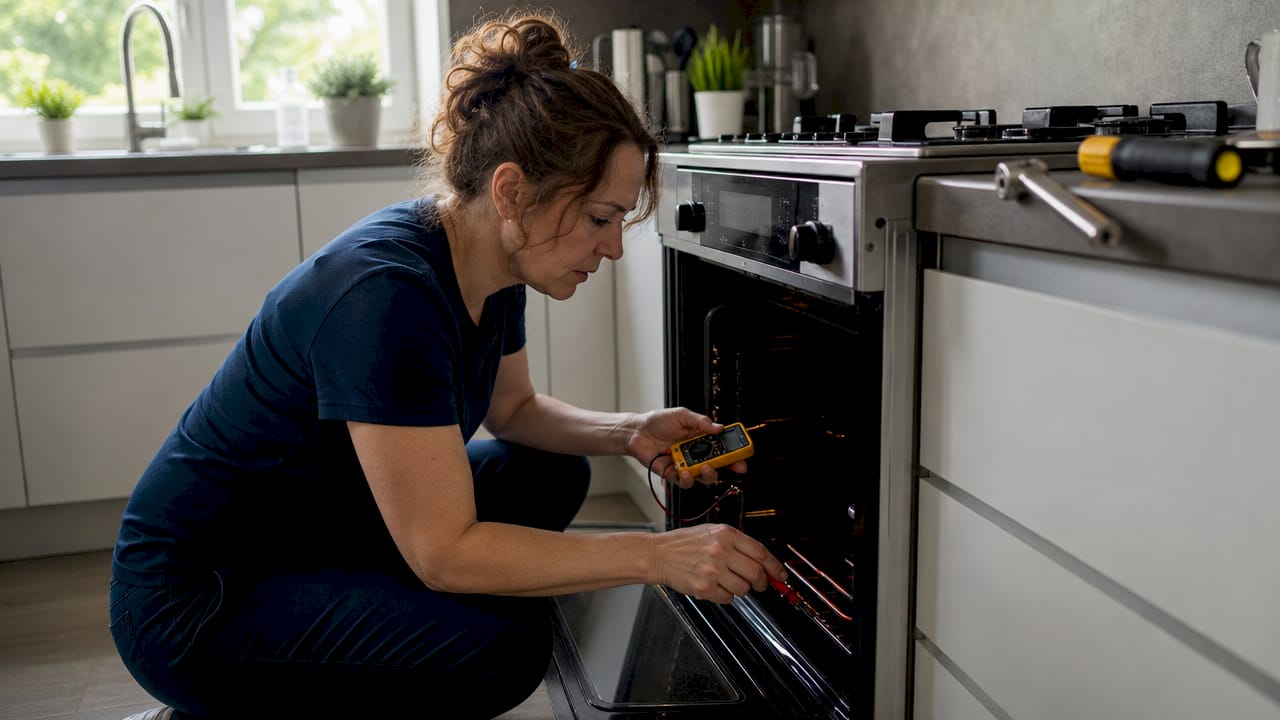
Many common oven problems can be resolved by homeowners with basic tools, but complex components like control boards and gas lines require licensed professionals. That boundary is the most important thing this guide establishes.
What tools and safety steps do you need first?
Before you touch anything inside your oven, gather the right tools and follow non-negotiable safety rules. Skipping either step turns a simple repair into a dangerous one.
Tools you need:
- A digital multimeter (for testing continuity and resistance in elements and fuses)
- A standalone oven thermometer (for calibration checks)
- Flathead and Phillips screwdrivers
- Heat-resistant gloves
- A replacement oven bulb (typically under $20 for DIY bulb fixes)
Safety first: Disconnect power at the breaker and shut off the gas supply valve before starting any oven repair. Failure to do so risks electrical shock or a gas leak. Never assume the oven is safe because it is turned off at the control panel.
Pro Tip: Take a photo of any wiring connections before you disconnect them. Reconnecting wires incorrectly is one of the most common DIY mistakes.
Homeowners should not attempt repairs involving internal gas fuel lines or complex electrical control boards. Those jobs require licensed technicians with diagnostic equipment. If you smell gas at any point during your inspection, leave the house immediately and call your gas utility provider.
How do you diagnose and fix electric oven heating problems?
Electric oven heating failures almost always trace back to one of four components: the bake element, the broil element, the thermal fuse, or the temperature sensor. Work through them in order.
Step-by-step electric oven diagnosis:
- Check the circuit breaker. An electric oven draws significant current. A tripped breaker is the first thing to rule out. Reset it and test the oven before going further.
- Inspect the bake and broil elements visually. Look for cracks, blisters, or burn marks. A damaged element is easy to spot and straightforward to replace.
- Test elements with a multimeter. Set the multimeter to the resistance (ohms) setting. A working element reads between 20–50 ohms. An open circuit reading (OL or infinity) confirms a failed element. Visually undamaged elements can still be electrically open, so never skip this test.
- Test the thermal fuse. Locate the fuse (usually near the control panel or back of the oven). A blown fuse reads no continuity. Replace it if it fails the test.
- Check the temperature sensor. The sensor is a thin probe inside the oven cavity. At room temperature, it should read approximately 1,080–1,100 ohms. A reading far outside that range means the sensor needs replacement.
- Assess the control board last. If all components test fine but the oven still behaves erratically, the control board may be failing.
Control boards are difficult to diagnose visually and often cause erratic oven behavior when failing. Multiple unexplained symptoms appearing together, such as random shutoffs, incorrect temperatures, and unresponsive controls, point toward the control board. At that point, call a professional.
Pro Tip: Replace bake and broil elements as a pair if your oven is more than 10 years old. The second element is likely close to failure anyway, and labor costs the same either way.
| Component | Test method | DIY or pro? |
|---|---|---|
| Bake/broil element | Multimeter continuity test | DIY |
| Thermal fuse | Multimeter continuity test | DIY |
| Temperature sensor | Resistance check (~1,080 ohms) | DIY |
| Control board | Symptom pattern analysis | Pro |
How do you diagnose and fix gas oven heating problems?
Gas oven heating failures follow a different path than electric ones. The igniter is the most likely culprit, and understanding how it works changes how you diagnose the problem.
A gas igniter does two jobs: it glows to ignite the gas, and it draws enough electrical current to open the safety valve that releases gas to the burner. In over 50% of gas oven no-heat cases, the igniter is the primary cause. That statistic alone tells you where to look first.
Critical gas safety rule: Always shut off the gas supply valve before inspecting any gas oven component. If you detect a gas smell during any part of this process, stop immediately, ventilate the area, and call your gas utility. Never use an open flame to check for leaks.
Step-by-step gas oven diagnosis:
- Observe the igniter during a heat cycle. Open the oven door slightly and watch the igniter. It should glow bright orange within 30–90 seconds and the burner should light.
- Check igniter current draw. A functioning igniter must draw at least 3.2 amps to open the gas safety valve. A weak igniter glows but draws insufficient current, so the valve never opens and no gas flows. This is the most common silent failure in gas ovens.
- Test the safety valve. If the igniter draws adequate current but the burner still does not light, the safety valve itself may be faulty. This repair requires a professional.
- Inspect the thermostat. A failed thermostat prevents the oven from signaling the igniter to activate. Test it with a multimeter for continuity.
- Address intermittent heating. Intermittent heating in gas ovens often indicates a weak igniter that sometimes opens the valve but sometimes does not. Replacing the igniter resolves this in most cases.
Pro Tip: A gas igniter that glows but takes more than 90 seconds to light the burner is already failing. Replace it before it fails completely to avoid a no-heat emergency.
Gas line repairs, valve replacements, and thermostat wiring always require a licensed technician. The risk of a gas leak is not worth the cost savings of a DIY attempt on those components.
How do you handle temperature issues, door seals, and error codes?
Heating element failures get the most attention, but temperature inaccuracy, door seal wear, and oven error codes cause just as many cooking failures. These problems are easier to fix than most homeowners expect.
Checking and correcting oven temperature:
Place a standalone oven thermometer on the center rack. Heat the oven to 350°F and measure the temperature every 20 minutes for two hours, then average the readings. If the average deviates from your set temperature, adjust the oven’s calibration setting (found in most oven control menus under “Settings” or “Calibration”). A temperature variance above 10–15°C measured by a standalone thermometer indicates a faulty sensor or thermostat that needs professional attention. For ongoing accuracy, read more about oven calibration best practices.
Pro Tip: Run the calibration test twice before ordering parts. Temperature swings during a single test cycle can mislead you into replacing a sensor that is actually fine.
Common oven problems and quick fixes:
- Door seal wear: A cracked or compressed gasket lets heat escape. Press the seal around the full door perimeter. Replace it if you feel gaps or see visible cracking. Replacement gaskets cost $15–$40 and require no tools beyond your hands.
- Interior light failure: Replace the bulb first (under $20). If a new bulb does not work, test the light socket for voltage with a multimeter.
- Convection fan not running: Check for food debris blocking the fan blade. If the blade spins freely but the fan does not run during a convection cycle, the fan motor needs replacement.
Error codes by oven type:
| Error code type | Common cause | Recommended action |
|---|---|---|
| F1 / E1 | Control board fault | Call a professional |
| F2 / E2 | Oven temperature too high | Check sensor and thermostat |
| F3 / E3 | Open temperature sensor circuit | Replace temperature sensor |
| F9 / door error | Door latch failure | Inspect and replace latch assembly |
Most error codes point directly to the failed component. Write down the exact code before clearing it, because some codes disappear after a power reset even when the underlying problem remains. For a broader oven repair checklist, Appliancesrepairmdtech has a detailed step-by-step resource that covers success rates and cost comparisons.
Key Takeaways
Effective oven fault diagnosis starts with safety, moves through components in order of likelihood, and stops at the point where professional tools are required.
| Point | Details |
|---|---|
| Safety before everything | Disconnect power at the breaker and shut off gas before any inspection or repair. |
| Igniters fail most often | Over 50% of gas oven no-heat cases trace back to a failed or weak igniter. |
| Test, don’t assume | Visually intact elements and igniters can still be electrically dead; always use a multimeter. |
| Temperature variance threshold | A deviation above 10–15°C from set temperature signals a sensor or thermostat problem. |
| Know your limit | Control boards, gas lines, and safety valves require a licensed technician, not DIY. |
What I’ve learned after years of oven service calls
The most expensive oven repairs I see are the ones that started as simple problems. A homeowner ignored an intermittent heating issue for three months, kept resetting the breaker, and eventually burned out the control board trying to compensate. A $40 igniter became a $350 repair.
The second pattern I see constantly: people skip the multimeter test because the element “looks fine.” That assumption is wrong more often than most people expect. An element can fail internally with zero visible damage. The multimeter is not optional.
Gas ovens deserve extra respect. The igniter current draw test is something most homeowners have never heard of, but it explains the majority of gas oven failures that seem mysterious. If your gas oven glows but does not light, do not assume the gas supply is the problem. Test the igniter’s current draw first.
My practical advice: keep a simple log of your oven’s symptoms. Note the date, what happened, and what you tried. That log is worth more than you think when a technician arrives. It cuts diagnostic time in half and often saves you a second service visit.
Regular maintenance prevents most of these calls entirely. Clean the door seal monthly, run a calibration check every six months, and replace the oven bulb before it burns out completely (a dead bulb is often the first sign of a failing light socket). Small habits keep a $1,000 appliance running for 15 years instead of 8.
— MDTECH
Professional oven repair when DIY reaches its limit
When your diagnosis points to a control board, gas valve, or wiring fault, the repair moves beyond safe DIY territory.
Appliancesrepairmdtech serves homeowners and renters across Orange County and Los Angeles County with licensed technicians who carry the diagnostic tools needed for complex oven faults. Whether your oven shows a persistent error code, fails intermittently, or simply will not heat, the team handles both electric and gas models. For Samsung oven owners, Appliancesrepairmdtech offers Samsung appliance repair with brand-specific expertise. If you are weighing whether to repair or replace your oven entirely, the repair vs. replacement guide breaks down the cost math clearly. Book a service appointment online or call to speak with a technician directly.
FAQ
Why is my oven not heating at all?
The most common causes are a failed bake element (electric ovens) or a weak igniter (gas ovens). Check the circuit breaker first, then test the heating component with a multimeter.
How do I know if my oven temperature is accurate?
Place a standalone oven thermometer on the center rack, heat to 350°F, and average readings taken every 20 minutes over two hours. A variance above 10–15°C from your set temperature indicates a sensor or thermostat problem.
What do oven error codes mean?
Error codes identify the specific failed component. F3 or E3 typically signals an open temperature sensor circuit; F1 or E1 points to a control board fault. Write down the code before resetting the oven.
Can I replace a gas oven igniter myself?
Yes, igniter replacement is a manageable DIY repair if you shut off the gas supply first and follow the manufacturer’s instructions. However, if the igniter tests fine but the oven still does not heat, the safety valve or gas line requires a licensed technician.
How often should I maintain my oven?
Inspect the door seal monthly, run a temperature calibration check every six months, and clean the oven interior after heavy use. These steps prevent the majority of common oven problems before they become costly repairs.