Oven repairs can drain your wallet when you call professionals for every minor issue. But what if you could fix common problems yourself safely and effectively? This guide walks you through essential DIY oven repairs, from diagnosing heating failures to replacing faulty components, all while emphasizing critical safety protocols. You’ll discover how proper preparation, the right tools, and systematic troubleshooting can help you tackle most oven issues confidently, extending your appliance’s life and keeping hundreds of dollars in your pocket.
Table of Contents
- Prerequisites And Safety Considerations
- Step-By-Step Repair Procedures For Common Oven Issues
- Common Mistakes And Troubleshooting
- Maintenance Tips And Appliance Longevity
- Expected Repair Outcomes And Timelines
- Professional Oven Repair Services In Orange And Los Angeles Counties
- Frequently Asked Questions About Oven Repair
Key Takeaways
| Point | Details |
|---|---|
| Safety First | Complete power disconnection prevents electric shock and ensures safe repair environment. |
| Proper Tools | Insulated screwdrivers, multimeters, and PPE are essential for accurate diagnosis and safe handling. |
| Follow Instructions | Systematic step-by-step procedures increase repair success rates significantly. |
| Avoid Common Errors | Miswiring and skipping safety checks lead to failed repairs and hazards. |
| Maintenance Matters | Regular cleaning reduces fire risks and prevents repeat repair needs. |
Prerequisites and Safety Considerations
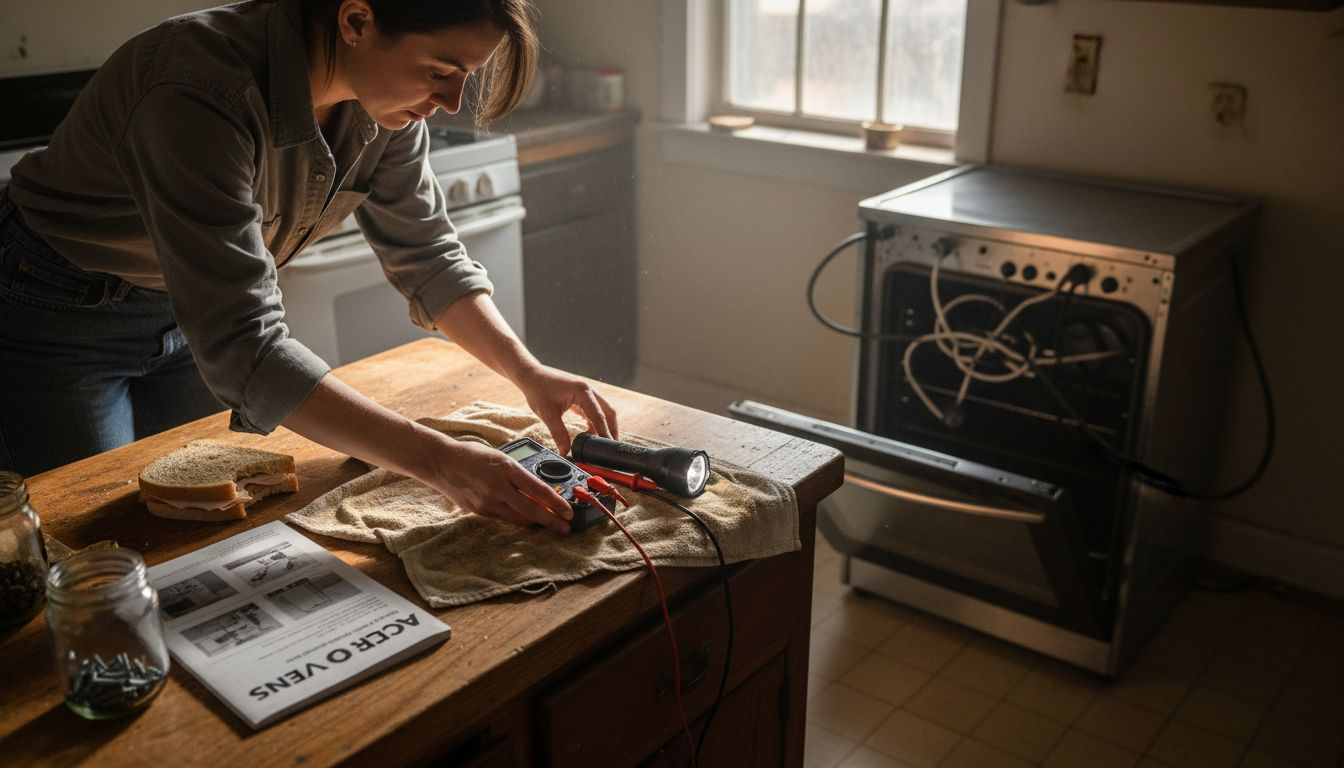
Before starting oven repair, homeowners must ensure appliance power is completely disconnected to avoid electric shock or gas leak risks. This single step prevents the majority of repair-related accidents and creates a secure workspace for diagnostics and component replacement.
Your toolkit makes the difference between frustration and success. Using correct tools such as insulated screwdrivers, multimeters, and oven mitts substantially reduces repair hazards and improves repair success rates. Here’s what you need:
- Insulated screwdrivers for removing panels safely
- Digital multimeter for testing electrical continuity
- Heat-resistant gloves and safety glasses
- Flashlight for viewing internal components
- Cleaning supplies for workspace preparation
- Manufacturer’s manual for wiring diagrams
Pro Tip: Create a safety checklist before every repair session. Verify power disconnection twice, clear flammable materials from your workspace, and keep a fire extinguisher within reach.
Fire safety deserves special attention during oven work. Smothering a grease fire by sliding a lid over the pan and turning off heat is a key safety step. Never throw water on grease fires, as this causes violent spreading and severe burns. Understanding oven safety guidelines and kitchen fire safety protocols protects you and your home throughout the repair process.
Organization prevents mistakes. Clear your repair area completely, lay out all recommended oven repair tools systematically, and review your step-by-step oven repair guide before touching any components. This preparation phase takes 10 minutes but saves hours of troubleshooting later.
Step-by-Step Repair Procedures for Common Oven Issues
Now that you’re equipped and prepared, let’s walk through actual repair procedures. Stepwise replacement of oven heating elements includes removing power, dismantling panels, testing element resistance, and safely replacing faulty parts, improving success and safety. These instructions apply to most electric ovens, though always consult your specific model’s documentation.
Heating Element Replacement Procedure:
- Disconnect power at the circuit breaker and verify with a voltage tester
- Remove oven racks and interior panels to access the heating element
- Photograph wire connections before disconnecting anything
- Use your multimeter to test element continuity (should read 20-50 ohms)
- Unbolt the faulty element and disconnect wiring carefully
- Install the manufacturer-approved replacement element
- Reconnect wiring exactly as photographed earlier
- Reassemble panels and restore power for testing
Pro Tip: Take photos at every disassembly step with your phone. These images become your reassembly roadmap and prevent costly wiring mistakes.
| Repair Type | Typical Duration | Difficulty Level | Success Rate |
|---|---|---|---|
| Heating Element | 45-60 minutes | Moderate | 90-95% |
| Thermostat | 30-45 minutes | Moderate | 85-90% |
| Door Seal | 20-30 minutes | Easy | 95%+ |
| Igniter (Gas) | 60-90 minutes | Advanced | 80-85% |
Thermostat issues manifest differently than element failures. If your oven temperature fluctuates wildly or never reaches the set point, the thermostat likely needs replacement. Follow similar power-disconnection and panel-removal steps, then locate the thermostat bulb near the oven cavity. Test it with your multimeter and replace if readings fall outside manufacturer specifications.
For oven heating issues, diagnosis matters as much as repair technique. Your appliance repair step-by-step approach should always start with the simplest explanation. Check circuit breakers before assuming component failure. Consult detailed oven element replacement steps in service manuals to ensure you’re following manufacturer-specific procedures that account for your model’s unique design.
After any repair, conduct a thorough safety inspection. Check all wire connections for tightness, ensure no tools remain inside the oven cavity, and verify proper panel reinstallation. Run a test cycle at a moderate temperature while monitoring for unusual sounds, smells, or behaviors.
Common Mistakes and Troubleshooting
Even experienced DIYers stumble into predictable traps during oven repairs. Common oven repair mistakes include neglecting to disconnect power (40% of incidents) and failing to adhere to manufacturer’s wiring diagrams (25%), leading to hazards and failed repairs. Learning from others’ errors saves you time, money, and potentially dangerous situations.
The most frequent mistakes include:
- Assuming the power is off without testing with a voltage meter
- Reversing wire connections during reassembly
- Using non-manufacturer parts that don’t fit properly
- Overtightening screws and cracking mounting brackets
- Skipping the photography step before disassembly
- Ignoring unusual sounds or smells during test cycles
Pro Tip: If you encounter unexpected resistance during any step, stop immediately. Forcing components causes damage that transforms a simple repair into an expensive professional call.
Wiring diagram confusion trips up many homeowners. Your oven’s schematic might look complex, but it simply maps which wires connect to which terminals. Take time to understand this diagram before disconnecting anything. Label each wire with masking tape as you remove it, noting its original terminal location. This simple habit prevents the number one cause of failed DIY repairs.
Component testing requires patience and proper technique. When using a multimeter, ensure you’re testing continuity correctly. Set the device to the ohms setting, touch both probes to the component terminals, and look for readings within the expected range. A completely open circuit (infinite resistance) or a dead short (zero resistance) both indicate failure, though for different reasons.
Some issues masquerade as others. What appears to be a broken heating element might actually be a faulty temperature sensor sending incorrect signals. Before ordering expensive parts, work through your appliance troubleshooting tips systematically. Test each component in the heating chain, from the control board to the element itself. Your oven repair troubleshooting process should eliminate variables methodically rather than guessing based on symptoms alone.
Understanding common oven repair mistakes helps you recognize when you’re heading down the wrong path. If a repair takes more than twice the expected duration, you’ve likely misdiagnosed the problem or missed a crucial step.
Maintenance Tips and Appliance Longevity
Prevention beats repair every time. Maintaining oven cleanliness and removing grease buildup prevents frequent fire hazards and malfunctions, reducing repair frequency by up to 30%. This single habit protects your investment and keeps your kitchen safer.
Your maintenance routine should include:
- Wiping spills immediately after the oven cools
- Deep cleaning the interior monthly to prevent carbon buildup
- Inspecting door seals quarterly for cracks or gaps
- Checking heating elements visually for hot spots or damage
- Testing oven temperature accuracy twice yearly with an oven thermometer
- Keeping the exterior and control panel clean and dry
The self-cleaning feature requires caution. Using an oven’s self-cleaning feature frequently can cause very high temperatures and smoke, potentially damaging components and requiring repair. Limit self-cleaning cycles to twice yearly maximum. Manual cleaning with appropriate products proves gentler on internal components while achieving similar results.
Regular oven maintenance acts like routine oil changes for your car. Small investments of time prevent catastrophic failures that sideline your appliance at the worst possible moment.
Proper usage extends appliance life significantly. Avoid slamming the oven door, which loosens hinges and breaks door glass over time. Don’t use the oven as supplemental heating during cold weather, as prolonged operation strains components designed for intermittent use. Follow manufacturer guidelines for maximum load capacity to prevent rack damage.
Schedule annual inspections even when everything works perfectly. Professional technicians catch developing issues before they cause breakdowns. During these checkups, request oven maintenance tips specific to your model and usage patterns. Learn about your oven’s weak points and how to monitor them.
Understanding oven cleaning benefits and reviewing oven cleaning safety alerts helps you maintain your appliance without creating new hazards. Clean ovens operate more efficiently, distribute heat evenly, and last years longer than neglected units.
Expected Repair Outcomes and Timelines
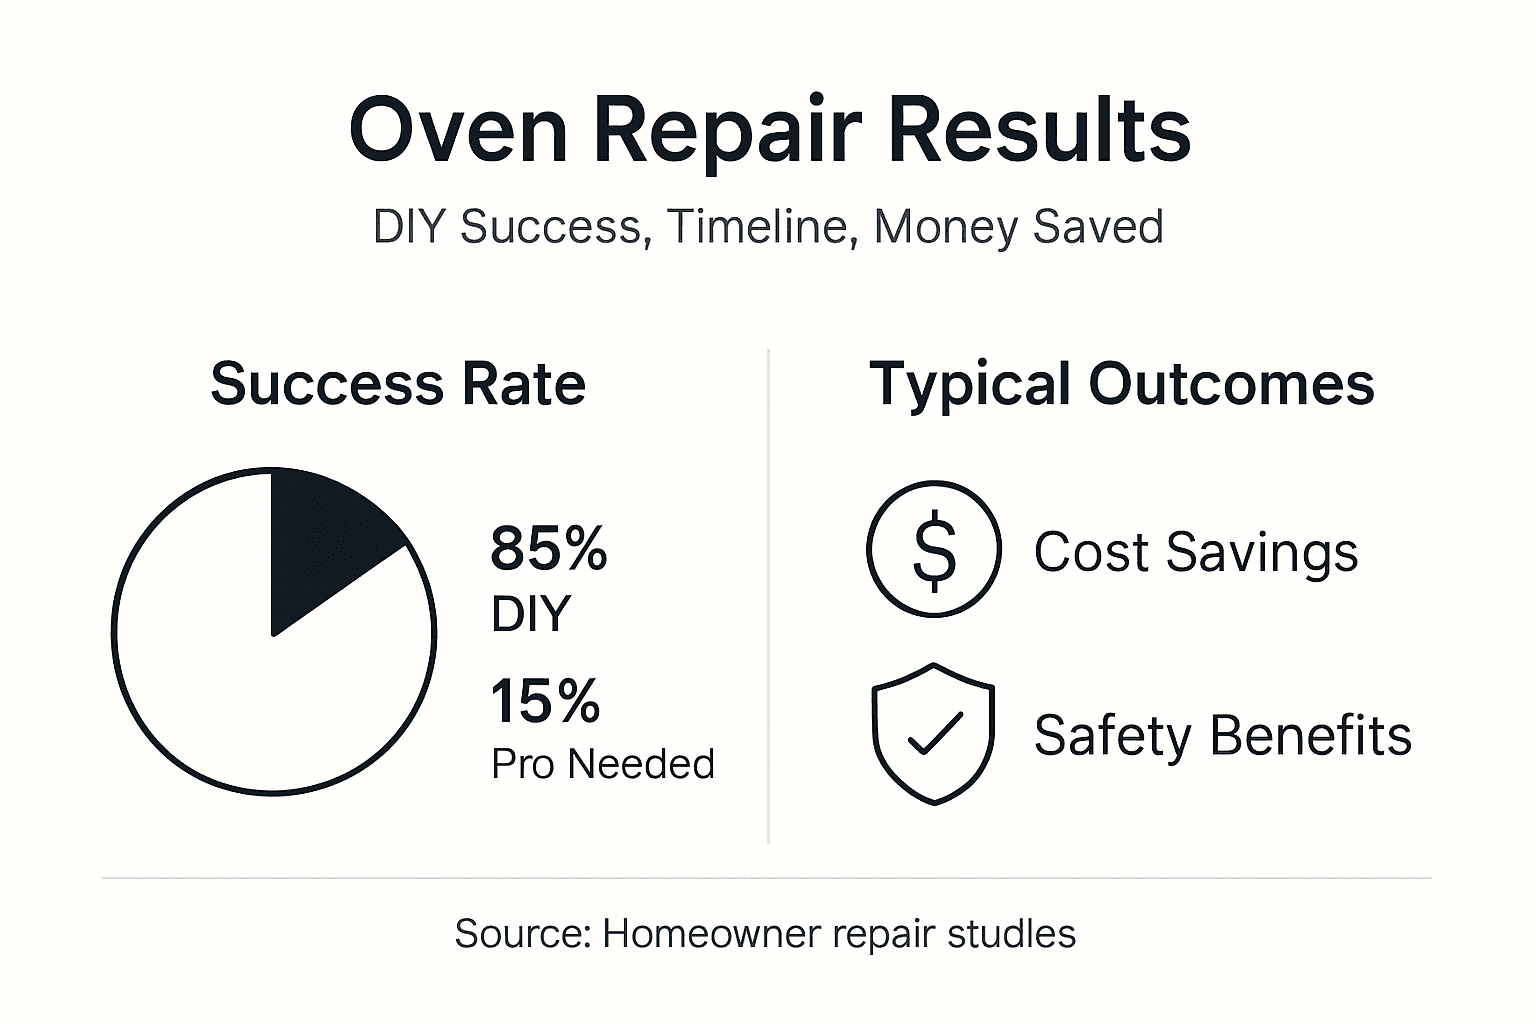
Setting realistic expectations helps you decide whether DIY makes sense for your situation. Typical successful DIY oven repair for heating elements or controls ranges from 85-95% when safety and procedural steps are followed precisely. These rates rival professional repairs for common issues, validating the DIY approach when executed properly.
Expected repair time for common oven element or thermostat issues is typically 30-90 minutes for a knowledgeable homeowner. First-time repairs take longer as you familiarize yourself with your specific model’s layout. Subsequent repairs proceed faster since you already understand the disassembly sequence and component locations.
| Repair Factor | DIY Approach | Professional Service |
|---|---|---|
| Cost | $25-75 parts only | $150-300 total |
| Time Investment | 30-90 minutes | 2-7 days with scheduling |
| Success Rate | 85-95% for common issues | 95-99% all issues |
| Learning Value | High | None |
| Warranty Coverage | Parts only | Labor + parts |
Certain situations demand professional intervention. Complex control board failures, gas line issues, and structural damage exceed typical DIY capabilities. If you’ve attempted a repair twice without success, continuing wastes time and risks additional damage. Recognize when your professional oven repair services offer better value than persistent DIY efforts.
Successful repairs deliver immediate satisfaction and long-term benefits. Your oven should heat consistently, maintain accurate temperatures, and operate quietly after proper component replacement. If problems recur within weeks, you either misdiagnosed the issue or installed defective parts. Quality manufacturer-approved components rarely fail prematurely.
DIY repairs save substantial money over appliance lifetime. A homeowner who tackles three or four simple repairs saves $600-1000 compared to professional service costs. These savings compound when you apply learned skills to other household appliances. Understanding oven repair timelines and outcomes helps you evaluate whether specific repairs suit your skill level and available time.
Consult detailed repair success rates and timelines for your specific oven model before committing to DIY. Some designs offer easier access and simpler procedures than others. Manufacturer service manuals provide realistic time estimates and difficulty ratings for various repairs.
Professional Oven Repair Services in Orange and Los Angeles Counties
While DIY repairs work wonderfully for common issues, complex problems require expert diagnosis and specialized tools. 
Our licensed technicians throughout Orange and Los Angeles Counties handle everything from straightforward element replacements to intricate control board failures. When your repair exceeds DIY scope or you simply prefer professional peace of mind, we provide fast, reliable professional oven repair backed by warranties on parts and labor.
We stock manufacturer-approved components for all major brands, ensuring perfect fit and optimal performance. Our diagnostic process identifies root causes rather than symptoms, preventing repeat failures that waste your time and money. Whether you’re tackling repairs yourself or need expert assistance, our appliance parts replacement guide offers valuable insights for understanding your appliance better. Schedule service online 24/7 or call for same-day emergency repairs when your oven fails at critical moments.
Frequently Asked Questions About Oven Repair
How do I know if my oven heating element needs replacing?
Visual inspection reveals obvious damage like cracks, blisters, or separated coils. Use a multimeter to test for continuity; a functional element reads 20-50 ohms while a failed element shows infinite resistance. If your oven heats unevenly or not at all despite power reaching the element, replacement is likely needed.
What safety precautions should I always follow before oven repair?
Disconnect power at the circuit breaker and verify with a voltage tester before touching any components. Wear insulated gloves and safety glasses throughout the repair. Keep a fire extinguisher nearby and ensure adequate workspace lighting to prevent accidents.
Can regular cleaning really prevent oven fires?
Absolutely. Grease and food debris ignite easily at typical oven temperatures, causing the majority of kitchen fires. Monthly cleaning removes combustible materials before they accumulate to dangerous levels. This simple habit dramatically reduces fire risk while improving oven efficiency.
How long does a typical DIY oven repair take?
Common repairs like heating element or thermostat replacement take 30-90 minutes for homeowners following clear instructions. First attempts require more time for familiarization, while subsequent repairs proceed faster. Complex issues involving control boards or gas systems may require 2+ hours.
When should I give up DIY and call a professional?
Call professionals for gas line work, control board failures, or when you’ve attempted a repair twice without success. If diagnostic testing confuses you or the repair requires specialized tools you don’t own, professional service provides better value. Structural damage and warranty-covered repairs also warrant professional attention.
What causes most DIY oven repair failures?
Miswiring during reassembly accounts for the majority of failures, followed by using incorrect replacement parts and inadequate component testing before installation. Skipping the photography step during disassembly and ignoring manufacturer wiring diagrams create preventable problems that transform simple repairs into complex troubleshooting sessions.
Recommended
- Step-by-Step Guide to Oven Repair for Homeowners – MDTECH APPLIANCE REPAIR
- Why Ovens Won’t Heat Up: Common Problems and Solutions
- Best Oven Repair In Irvine Orange or Los Angeles County CA
- Step by Step Appliance Repair: Easy Home Fixes
- Step-by-Step Workflow for Emergency Lock Repair Success – A To Z Locksmith Inc