Frustrated by a noisy dishwasher or a sparking outlet in your Orange or Los Angeles County home? Home appliance emergencies can turn a typical evening into a stressful situation, especially when safety is on the line. Understanding how to spot hidden dangers and handle repairs wisely helps protect your family from serious injury. In this guide, you will find clear, step-by-step advice for safely tackling urgent appliance problems while knowing when to trust a licensed professional for risk assessment and safety.
Table of Contents
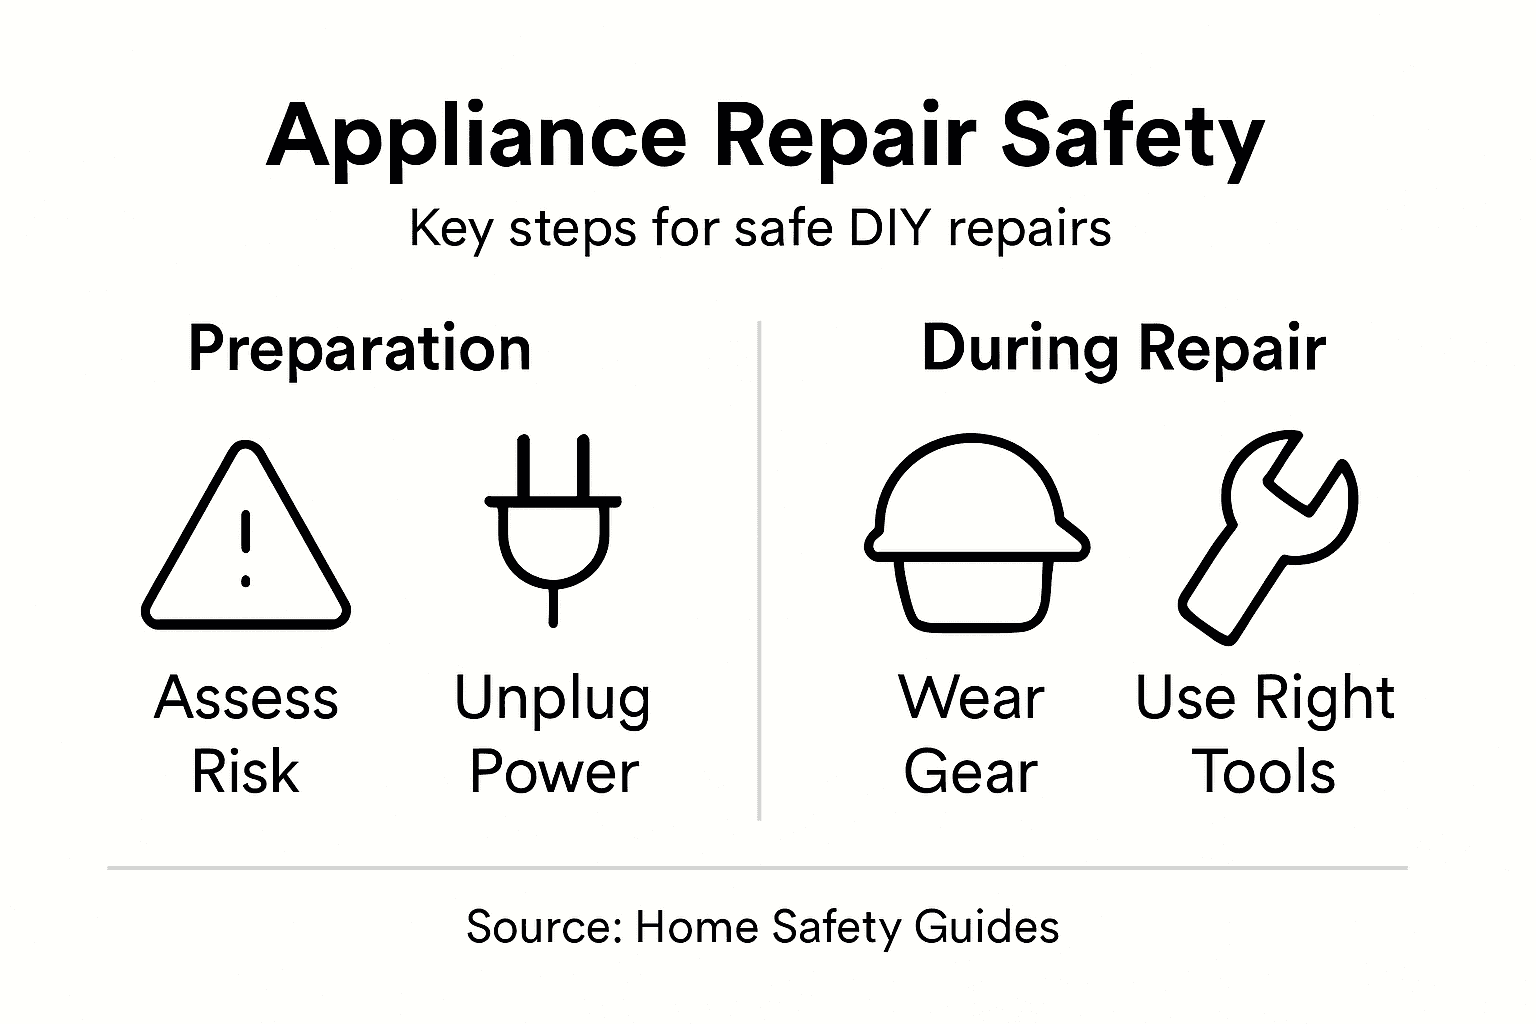
- Step 1: Assess Appliance Risks
- Step 2: Disconnect Power and Gas Safely
- Step 3: Wear Appropriate Protective Gear
- Step 4: Use Tools Correctly and Securely
- Step 5: Test Appliance Function After Repair
Quick Summary
| Key Point | Explanation |
|---|---|
| 1. Assess Appliance Risks | Perform a thorough visual inspection to identify any visible damage or electrical hazards before proceeding. |
| 2. Disconnect Power and Gas | Always turn off power or gas safely before starting repairs to prevent electrocution or gas leaks. |
| 3. Wear Protective Gear | Use appropriate safety equipment like gloves and goggles to protect against sharp edges and chemicals. |
| 4. Use Tools Correctly | Select the right tools for the job and inspect them for damage to avoid accidents during repairs. |
| 5. Test Appliance Function | After repairs, conduct functional tests to ensure safe operation and catch any lingering issues. |
Step 1: Assess Appliance Risks
Before you touch any appliance that’s acting up, you need to understand what could go wrong. A quick risk assessment takes just a few minutes but can protect you from serious injury. This step involves looking for visible damage, electrical hazards, and other red flags that tell you whether it’s safe to proceed or time to call a professional.
Start by inspecting the appliance visually without plugging it in or touching anything. Walk around it slowly and look for obvious problems like cracks in the casing, dents, or loose panels. Check the electrical cord carefully for cuts, fraying, burn marks, or exposed wires. If you see any damage to the cord or plug, stop right there. Never use an appliance with a damaged cord.
Next, assess the plug and outlet condition. Look for scorch marks, discoloration, or melting around the outlet or on the plug itself. These signs suggest electrical problems that could cause shocks or fires. Wet or damp outlets are also dangerous. If the appliance is in a kitchen, bathroom, or laundry room where moisture is present, extra caution applies.
Prioritize risks by asking yourself these key questions:
- Is the appliance smoking, sparking, or making unusual sounds?
- Does it have visible water damage or moisture inside?
- Are there any loose or hanging parts?
- Does the plug feel hot or look discolored?
Understanding hazard identification processes helps you systematize this assessment rather than guessing. Consider whether the problem requires professional hands. Many appliance issues involve electrical components or gas lines that demand certified expertise, especially in Orange and Los Angeles County where local codes apply.
Check for signs indicating professional repair is needed so you don’t waste time on a dangerous DIY fix. According to safety experts, never attempt to retrieve fallen appliances from water without first confirming the power is disconnected, as this creates severe electrocution risk.
If you notice anything concerning, your assessment is complete. Document the damage with photos and contact a licensed technician. This isn’t failure—it’s smart risk management.
Here’s a summary of when to call a professional versus attempting a DIY appliance repair:
| Situation | DIY Appropriate | Professional Needed |
|---|---|---|
| Minor cosmetic damage (no exposed wires) | Yes | No |
| Electrical or gas smell, scorch marks, or melting | No | Yes |
| Water damage or visible moisture inside | No | Yes |
| Damaged power cord or plug | No | Yes |
| Appliance fell into water | No | Yes (after disconnecting power) |
| Simple panel replacement (no complex components) | Yes | No |
| Unusual sounds, smoke, or sparks | No | Yes |
| Loose, hanging, or missing safety parts | No | Yes |
A safe assessment means knowing when NOT to proceed. If anything looks wrong, trust that instinct and call a professional instead.
Step 2: Disconnect Power and Gas Safely
Disconnecting power and gas is the most critical safety step before any repair work. Without breaking the energy source, you risk electrocution, gas leaks, fires, or explosions. This step takes just a few minutes but prevents catastrophic injuries.
Start with electrical disconnection. Locate the appliance’s power cord and follow it to the outlet. Turn off the circuit breaker that controls that outlet if you know which one it is. If you’re unsure, flip the main breaker instead. Never trust that simply unplugging the appliance is enough for major repairs.
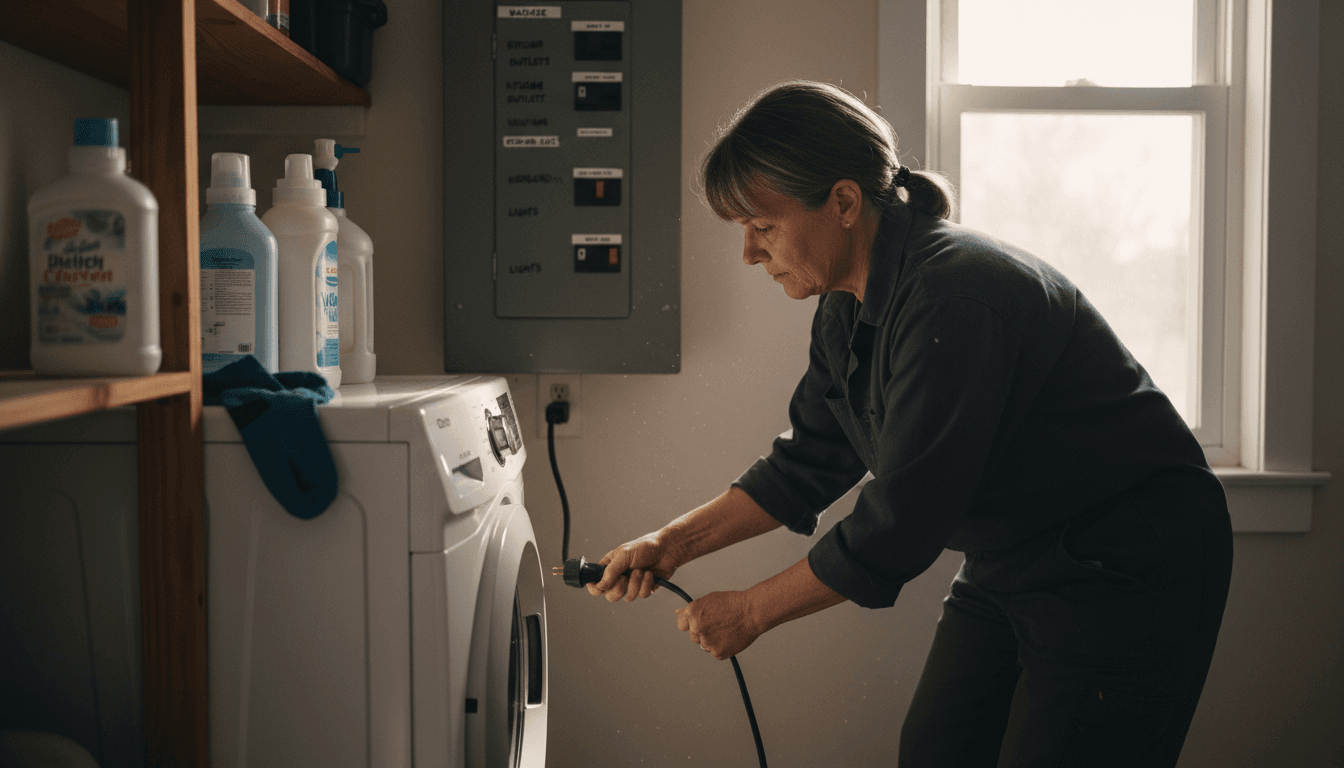
Once you’ve switched off the breaker, physically unplug the appliance from the wall outlet. Wait a few seconds before touching anything. Some appliances retain electrical charge even after power is cut. For an extra safety measure, avoid touching the outlet or cord with wet hands.
For gas appliances, the process is different and more serious. Locate the gas shutoff valve, which is typically near where the gas line enters the appliance. Turn the valve perpendicular to the gas line direction to stop flow completely. If you’re uncomfortable doing this or can’t find the valve, stop immediately and call a professional.
Follow these disconnection steps in order:
- Turn off the circuit breaker or main power switch
- Physically unplug the power cord from the wall
- For gas appliances, locate and turn off the gas shutoff valve
- Wait 30 seconds before proceeding further
Following proper disconnect procedures ensures both your safety and the appliance’s stability during work. If the appliance has both power and gas connections, disconnect both before touching anything inside.
When working with gas lines, recognize that improper disconnection can create dangerous situations requiring professional expertise. Consider contacting professional gas line repair specialists if you feel uncertain about gas safety steps.
Once disconnected, you’ve eliminated the two biggest hazards. You’re now ready to safely assess the internal problem or wait for a technician to arrive.
Never skip the waiting period after disconnection. Electrical components can hold dangerous charges even after power is cut.
Step 3: Wear Appropriate Protective Gear
Protective gear is your last line of defense against injuries. Even with power disconnected and hazards assessed, appliance repairs involve sharp edges, broken glass, chemicals, and potential electrical risks. The right gear takes seconds to put on but can prevent serious cuts, burns, or shocks.
Start by putting on work gloves before you touch anything inside the appliance. Heavy-duty nitrile or leather gloves protect your hands from sharp metal edges, broken components, and chemical residue. Make sure gloves fit snugly so they don’t catch on moving parts if power accidentally restores.
Next, protect your eyes and face. Wear safety glasses or a face shield to guard against metal shards, glass fragments, or chemical splashes. When you pry open panels or remove parts, debris can fly unexpectedly. This single piece of gear has prevented countless eye injuries in appliance repair work.
Consider your work environment carefully. If you’re in a confined space like under a sink or behind a refrigerator, respiratory protection becomes important. Dust, mold, and chemical fumes accumulate in these areas. A basic dust mask works for general debris, but if you notice strong chemical odors, use a respirator with appropriate cartridges.
Gather your protective equipment before starting any work:
- Heavy-duty work gloves (nitrile or leather)
- Safety glasses or face shield
- Dust mask or respirator
- Steel-toed boots (if working with heavy appliances)
- Long sleeves and pants (avoid loose clothing)
Proper personal protective equipment selection depends on the specific hazards you face. Electrical work demands additional care. If you’re working near any electrical components, arc-rated clothing and insulated gloves provide specialized protection against shocks and burns.
Inspect your gear before putting it on. Damaged gloves with holes or cracked safety glasses offer no protection. Replace worn-out items immediately. The investment is minimal compared to medical bills from preventable injuries.
Once you’re fully geared, you’re ready to proceed with the repair work itself.
This table highlights common protective gear and the specific risk each item addresses:
| Protective Gear | Main Risk Reduced | Work Environments Needed |
|---|---|---|
| Heavy-duty gloves | Cuts and punctures | Inside all appliances |
| Safety glasses | Eye injuries from debris | Any use of tools or prying |
| Respirator | Chemical and dust inhalation | Confined or moldy spaces |
| Steel-toed boots | Foot injuries from drops | Moving or repairing heavy units |
| Arc-rated clothing | Electrical burns | Electrical component work |
Protective gear only works if you actually wear it. Don’t convince yourself that “just this once” without gloves will be fine.
Step 4: Use Tools Correctly and Securely
Using the right tools the right way makes repairs faster and safer. Wrong tools damage appliances, slip off components, and cause hand injuries. This step ensures you have what you need and know how to use it properly.
Start by selecting the correct tool for each task. A screwdriver that fits the screw head snugly prevents stripping and reduces slipping risk. A socket wrench of the correct size grips bolts firmly without damage. Using a hammer when you need a mallet, or vice versa, creates unnecessary hazards.
Before touching any tool, inspect it thoroughly for damage. Look for cracked handles, bent shafts, or corroded metal. A damaged tool can fail mid-use and cause injury or property damage. Discard broken tools instead of working around the problem.
When using hand tools, maintain proper grip and stance. Keep your hands behind the tool’s cutting edge. Position your body so if the tool slips, it moves away from you rather than toward you. This simple positioning prevents most hand injuries during appliance work.
For power tools, follow these critical safety practices:
- Ensure the work area is clean and dry before plugging in
- Verify cords are grounded or double-insulated
- Keep your hands clear of moving parts
- Never reach near spinning bits or blades
- Wear safety glasses during all power tool use
Proper tool selection and inspection prevents most accidents before they happen. Always follow manufacturer instructions for any tool you use. Appliances vary in design, so what works for one refrigerator might not work for another.
Secure your workpiece before using tools on it. A slipping appliance part can crush fingers or cause the tool to slip into your hand. Clamps, vises, or a helper holding the part steady make all the difference. Never try to hold something with one hand while working with a tool in the other.
When passing tools to someone else, never toss them. Hand tools over handle-first so the other person can grip safely. This small courtesy prevents drops and injuries.
The right tool feels natural in your hand. If a tool feels awkward, stop and find the correct one instead.
Step 5: Test Appliance Function After Repair
Testing your work confirms the repair actually solved the problem and didn’t create new hazards. A quick functional test takes minutes but validates everything you’ve done. This step ensures the appliance operates safely before you declare the job complete.
Start by reconnecting power or gas carefully. If you disconnected the circuit breaker, flip it back on. If you turned off a gas valve, turn it back to the open position. Listen and watch for any unusual sounds, smells, or behavior before fully powering up.
Next, plug the appliance in and run it through its basic cycles at the lowest settings first. A washing machine should fill with water, agitate, and drain. A refrigerator should cool without excessive noise. An oven should heat evenly. Each appliance has unique functions to check.
Observe the appliance closely during operation. Watch for leaks, strange noises, burning smells, or excessive heat. If anything seems off, immediately turn off the power and reassess. Thorough functional testing catches problems before they worsen or cause damage.
Perform these specific checks based on appliance type:
- Water appliances: Check for leaks around connections and seals
- Heating appliances: Verify temperature reaches expected levels
- Mechanical appliances: Test all moving parts operate smoothly
- Electrical components: Confirm lights, buttons, and displays work
- Safety mechanisms: Test door locks, pressure relief, or auto shutoff functions
Verify electrical safety after repair by checking that the plug feels cool and the cord shows no damage. Feel around connection points to ensure nothing is hot. Let the appliance run for several minutes to confirm stable operation.
If the appliance fails any test, turn it off immediately. Document what went wrong and assess whether you need to troubleshoot further or call a professional. Don’t assume minor issues will resolve on their own. An appliance that works but makes unusual noises or leaks slightly is still unsafe.
Once testing is complete and everything operates normally, you can safely return the appliance to regular use.
Testing catches problems while you’re still present to fix them. Never skip this step and hope everything works.
Stay Safe and Get Expert Appliance Repair Help Today
Repairing household appliances can quickly become risky without the right safety steps. From assessing hazards like damaged power cords and gas leaks to correctly disconnecting utilities and using proper protective gear the challenges are real. If you want to avoid injury and ensure repairs are done right, trust the licensed technicians listed at Appliances Repair MD Tech who specialize in safe, reliable service throughout Orange County and Los Angeles County.

Don’t risk electrical shocks or gas hazards by going it alone. Take advantage of professional appliance repair, installation, HVAC, and plumbing services designed for your safety and peace of mind. Schedule your appointment now at Appliances Repair MD Tech and let experienced local experts handle the job the safe way. Your family’s well-being and restoring appliance function depend on it. Learn more about the signs you need appliance repairs and why professional help is essential after you review the top safety steps.
Frequently Asked Questions
What are the initial safety steps I should take before starting an appliance repair?
Before beginning any appliance repair, conduct a quick risk assessment to identify visible damage and electrical hazards. Inspect the appliance for cracks, frayed cords, and any odd smells or sounds that may indicate a problem. Document any issues you find and consider contacting a professional if significant damage is present.
How do I safely disconnect power and gas from my appliance?
To safely disconnect power, turn off the circuit breaker related to the appliance and unplug it from the wall outlet. If working with a gas appliance, locate the gas shutoff valve and turn it perpendicular to the gas line to stop the flow. Always ensure both energy sources are disconnected before proceeding with repairs.
What protective gear should I wear during appliance repairs?
Wear heavy-duty gloves, safety glasses, and long sleeves to protect your hands and eyes from sharp edges and debris. If you’re in a moldy or confined space, consider using a dust mask or respirator. Ensure all gear is in good condition to provide maximum protection against potential injuries.
How can I ensure I use tools correctly and safely during repairs?
Select the right tool for each job and inspect it for damage before use to avoid accidents. Maintain a firm grip and position your body away from the cutting edges of tools to prevent injuries. Use clamps or vises to secure your workpiece, preventing slips that could lead to accidents.
What should I do after completing my appliance repair to verify it’s functioning properly?
After repairs, carefully reconnect the power or gas and conduct a test by running the appliance through its basic functions. Observe for any strange noises, leaks, or excess heat, and ensure everything operates normally. If any issues arise during the test, turn off the appliance immediately and reassess the repairs made.