Laundry piles up quickly in busy Orange County and Los Angeles County homes, and a neglected washer can turn this routine into an unexpected headache. Keeping your appliance reliable goes beyond basic cleaning—it starts with the right approach to preventive maintenance. With a few clear steps and careful preparation based on your manufacturer’s instructions, you can keep your washer running smoothly, avoid costly repairs, and extend its useful years.
Table of Contents
- Step 1: Prepare Your Washer For Maintenance
- Step 2: Clean And Inspect Internal Components
- Step 3: Check And Replace Common Parts
- Step 4: Test Washer Performance After Maintenance
- Step 5: Verify Maintenance Results And Safety
Quick Summary
| Key Point | Explanation |
|---|---|
| 1. Empty the washer before maintenance | Ensure your washer is completely empty to facilitate safe and effective cleaning during the maintenance process. |
| 2. Regularly inspect internal components | Focus on cleaning and checking the detergent dispenser, tub, door seal, and hoses to prevent buildup and odors. |
| 3. Replace worn parts proactively | Identify and replace common parts like the drive belt and door gasket to prevent unexpected washer failures. |
| 4. Perform a thorough performance test | After maintenance, run cycles to check for unusual sounds, drainage issues, and overall cleaning effectiveness. |
| 5. Verify safety standards post-maintenance | Confirm electrical connections and inspect the machine for any potential safety hazards to ensure safe operation. |
Step 1: Prepare your washer for maintenance
Preparing your washer for maintenance is a critical first step in ensuring its longevity and optimal performance. By taking a few strategic actions, you can set the stage for thorough and effective cleaning and inspection.
Start by gathering your maintenance supplies and checking your washer’s specific requirements. Checking the manufacturer’s instructions is crucial before beginning any maintenance routine. Here are the key preparation steps:
- Empty the washer completely of all clothing and items
- Locate your user manual for model-specific guidance
- Collect cleaning supplies like white vinegar, baking soda, microfiber cloths
- Prepare a bucket for potential debris or water collection
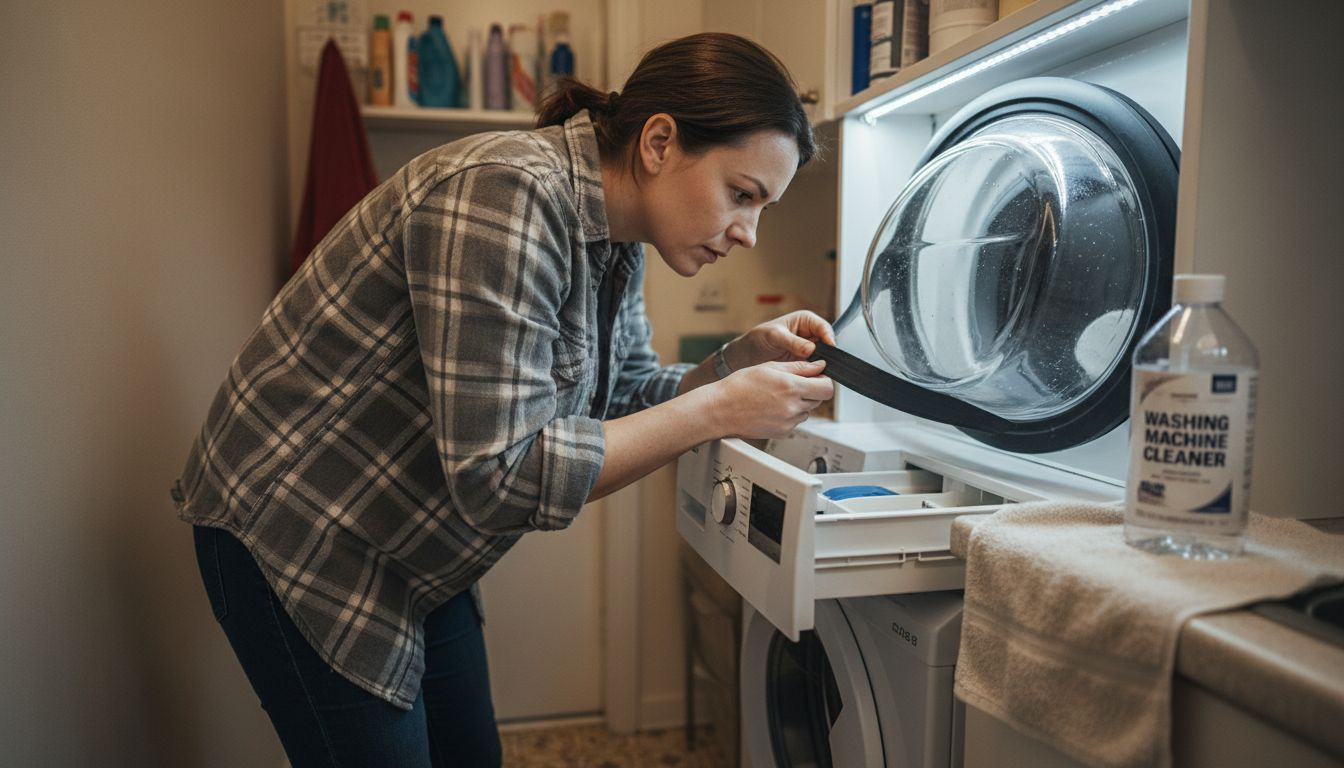
Next, inspect the machine’s basic components and environment. Look carefully at the door seal, detergent dispenser, and external connections. You’ll want to check for any signs of wear, mold, or mineral buildup that might indicate deeper maintenance needs.
Professional maintenance begins with thorough, careful preparation.
Disconnect electrical power before conducting any extensive maintenance to ensure your safety. If you’re uncomfortable with any steps, consider consulting a professional technician who can provide expert guidance.
Pro tip: Always keep your washer’s manual in an easily accessible location near the appliance for quick reference during maintenance tasks.
Step 2: Clean and inspect internal components
Cleaning and inspecting your washer’s internal components is essential for preventing performance issues and maintaining a hygienic laundry environment. This critical maintenance step helps eliminate potential sources of odors, buildup, and potential mechanical problems.
Begin by targeting key internal washing machine areas with specialized cleaning techniques. Your primary focus areas should include:
- Detergent dispenser for accumulated residue
- Washer tub for potential mold and mineral deposits
- Rubber door seal for mildew and grime
- Internal hoses and connections for signs of wear
- Remove the detergent dispenser carefully
- Soak it in warm water with mild detergent
- Use a soft brush to scrub away residue
- Rinse thoroughly and dry completely before reinserting
For the washer tub, choose a cleaner specifically designed for washing machines. White vinegar and baking soda can be effective natural alternatives for breaking down mineral deposits and eliminating odor-causing bacteria.
A clean washer is a reliable washer.
Inspect all removable components closely for cracks, discoloration, or unusual wear. Pay special attention to rubber seals and gaskets, which can harbor moisture and potentially lead to mold growth if not maintained properly.
Pro tip: Run an empty hot water cycle with a washing machine cleaner every month to prevent buildup and maintain internal hygiene.
Step 3: Check and replace common parts
Maintaining your washer’s performance requires proactively identifying and replacing components that experience regular wear and tear. Understanding which parts are most likely to need replacement can save you from costly repairs and unexpected breakdowns.
Focus on these critical components that frequently require inspection and potential replacement:
- Drive belt for signs of cracking or stretching
- Water inlet valves for consistent water flow
- Door seal/gasket for leaks and wear
- Drain pump for efficiency and proper drainage
- Suspension springs for balanced machine operation
Examine each component carefully for visual signs of deterioration. Look for:
Here’s a quick reference to common washer parts, their function, and signs they need attention:
| Component | Function | Signs of Issues |
|---|---|---|
| Drive Belt | Powers drum rotation | Squeaking, loose, cracked |
| Water Inlet Valves | Regulate water flow into machine | Slow fill, leaks, buildup |
| Door Seal/Gasket | Maintains watertight door seal | Mold, leaks, visible wear |
| Drain Pump | Removes used water after cycles | Poor drainage, strange noise |
| Suspension Springs | Stabilize the drum while spinning | Excess vibration, imbalance |
- Cracks in rubber seals
- Fraying or looseness in belts
- Mineral buildup around connection points
- Unusual noises during machine operation
Preventative replacement prevents unexpected washer failures.
Check manufacturer specifications for your specific washer model, as replacement intervals can vary. Some parts might need replacement every 3-5 years, while others can last significantly longer with proper maintenance.
Pro tip: Keep a maintenance log tracking each part’s condition and replacement date to help predict future repair needs.

Step 4: Test washer performance after maintenance
After completing your washer maintenance, it’s crucial to thoroughly verify that everything is functioning correctly. Testing your washer’s performance will help ensure all your hard work has paid off and the machine operates at peak efficiency.
Conduct a comprehensive performance evaluation using these key assessment methods:
- Run a complete empty cycle to check overall machine operation
- Listen for unusual sounds during water fill and spin cycles
- Inspect water drainage for smooth and complete water removal
- Check temperature consistency across different wash settings
- Verify vibration levels during spinning
- Start with an empty hot water cycle
- Monitor machine for any unexpected noises
- Check for smooth spinning and balanced rotation
- Examine water inlet and drainage performance
Evaluate cleaning performance by running a test load with moderately soiled towels or linens. Pay attention to how thoroughly the washer cleans and whether the clothes emerge without residual detergent or unexpected lint.
Use this summary to evaluate your washer’s performance post-maintenance:
| Test Aspect | What to Observe | Possible Concerns |
|---|---|---|
| Cycle Sound | Smooth, steady operation | Clanking, grinding |
| Drainage | Complete water removal | Standing water, slow draining |
| Spin Balance | Even drum rotation | Excess shaking, wobbling |
| Cleaning Accuracy | Fresh, residue-free laundry | Leftover dirt, detergent |
Consistent performance is the true measure of successful maintenance.
Monitor the washer’s energy consumption and compare it with previous usage patterns. A well-maintained machine should operate more efficiently, potentially showing reduced energy draw during cycles.
Pro tip: Keep a maintenance log documenting each test cycle’s observations to track your washer’s performance trends over time.
Step 5: Verify maintenance results and safety
The final stage of washer maintenance involves carefully confirming that your machine meets critical safety and performance standards. Verifying maintenance safety standards ensures your appliance operates efficiently and poses no risks to you or your home.
Critical safety verification points include:
- Check electrical connections for any exposed wiring
- Inspect ground wire integrity
- Test circuit breaker compatibility
- Verify external surface temperatures
- Confirm water connection security
- Examine power cord for any visible damage
- Ensure no loose electrical connections exist
- Check that all panels are securely fastened
- Verify no unusual heat generation during operation
Perform a comprehensive safety assessment by running multiple test cycles and monitoring the washer’s performance. Look for any signs of electrical irregularities, unusual vibrations, or unexpected noises that might indicate underlying issues.
Safety verification protects both your appliance and your home.
Validate hygienic performance by checking that your washer effectively removes contaminants and operates at appropriate temperatures. A properly maintained machine should demonstrate consistent cleaning capabilities without excessive wear or strain.
Pro tip: Schedule a professional inspection annually to catch potential safety issues that might not be visible during routine maintenance.
Protect Your Washer Investment with Trusted Local Experts
Maintaining your washer with regular cleaning, part inspections, and safety checks can be challenging. Common pain points include identifying worn components like drive belts and door gaskets or ensuring no hidden mold and mineral buildup compromises performance. After following detailed maintenance steps such as those outlined in the guide, unexpected issues can still arise that require professional expertise.
Don’t let minor problems turn into costly repairs or downtime. At Appliances Repair MD Tech, our licensed technicians in Orange County and Los Angeles County specialize in washer repair, installation, and maintenance. Whether you need help with a leaking door seal or want to upgrade worn parts for longer appliance life, we offer quick, reliable service tailored to keep your washer running smoothly.

Take action today to safeguard your washer’s performance and avoid unexpected breakdowns. Visit our service page now to schedule an appointment or get expert advice. Experience peace of mind knowing your washer maintenance is in the hands of trusted local professionals.
Frequently Asked Questions
How do I prepare my washer for maintenance?
To prepare your washer for maintenance, start by emptying it completely of all items. Gather cleaning supplies such as white vinegar and a microfiber cloth, then inspect your machine’s components and environment for any signs of wear or buildup.
What internal components should I clean in my washer?
You should focus your cleaning on the detergent dispenser, washer tub, rubber door seal, and internal hoses. Use a soft brush and warm, soapy water for the dispenser, and consider using white vinegar and baking soda for the tub to eliminate odors and deposits.
How often should I check and replace common parts in my washer?
Check common parts like the drive belt, water inlet valves, and door seal every 3 to 5 years. Be proactive by inspecting them regularly for visible signs of wear and replace any components that show damage to prevent unexpected breakdowns.
What steps should I take to test my washer’s performance after maintenance?
After maintenance, run a complete empty cycle to listen for unusual sounds and ensure effective water drainage. Monitor the washing machine during operation to check for vibrations and assess the cleaning performance with a test load of moderately soiled towels.
How can I verify the safety of my washer after maintenance?
Verify your washer’s safety by checking electrical connections for damage, ensuring secure water fittings, and testing the circuit breaker. Perform a thorough assessment by running multiple cycles and watching for any irregularities in performance or unusual temperatures.
What is the benefit of keeping a maintenance log for my washer?
Keeping a maintenance log allows you to track each part’s condition and replacement dates, which helps in anticipating future repairs. Regularly updating this log can extend your washer’s lifespan by ensuring all components are maintained effectively.