Over 20 percent of American households experience dishwasher issues each year, making it one of the most common appliance frustrations in the country. With so many families relying on dishwashers for daily convenience, even a simple malfunction can disrupt routines. This guide breaks down each step to help you confidently troubleshoot, repair, and extend the life of your dishwasher with practical advice tailored for American homes.
Table of Contents
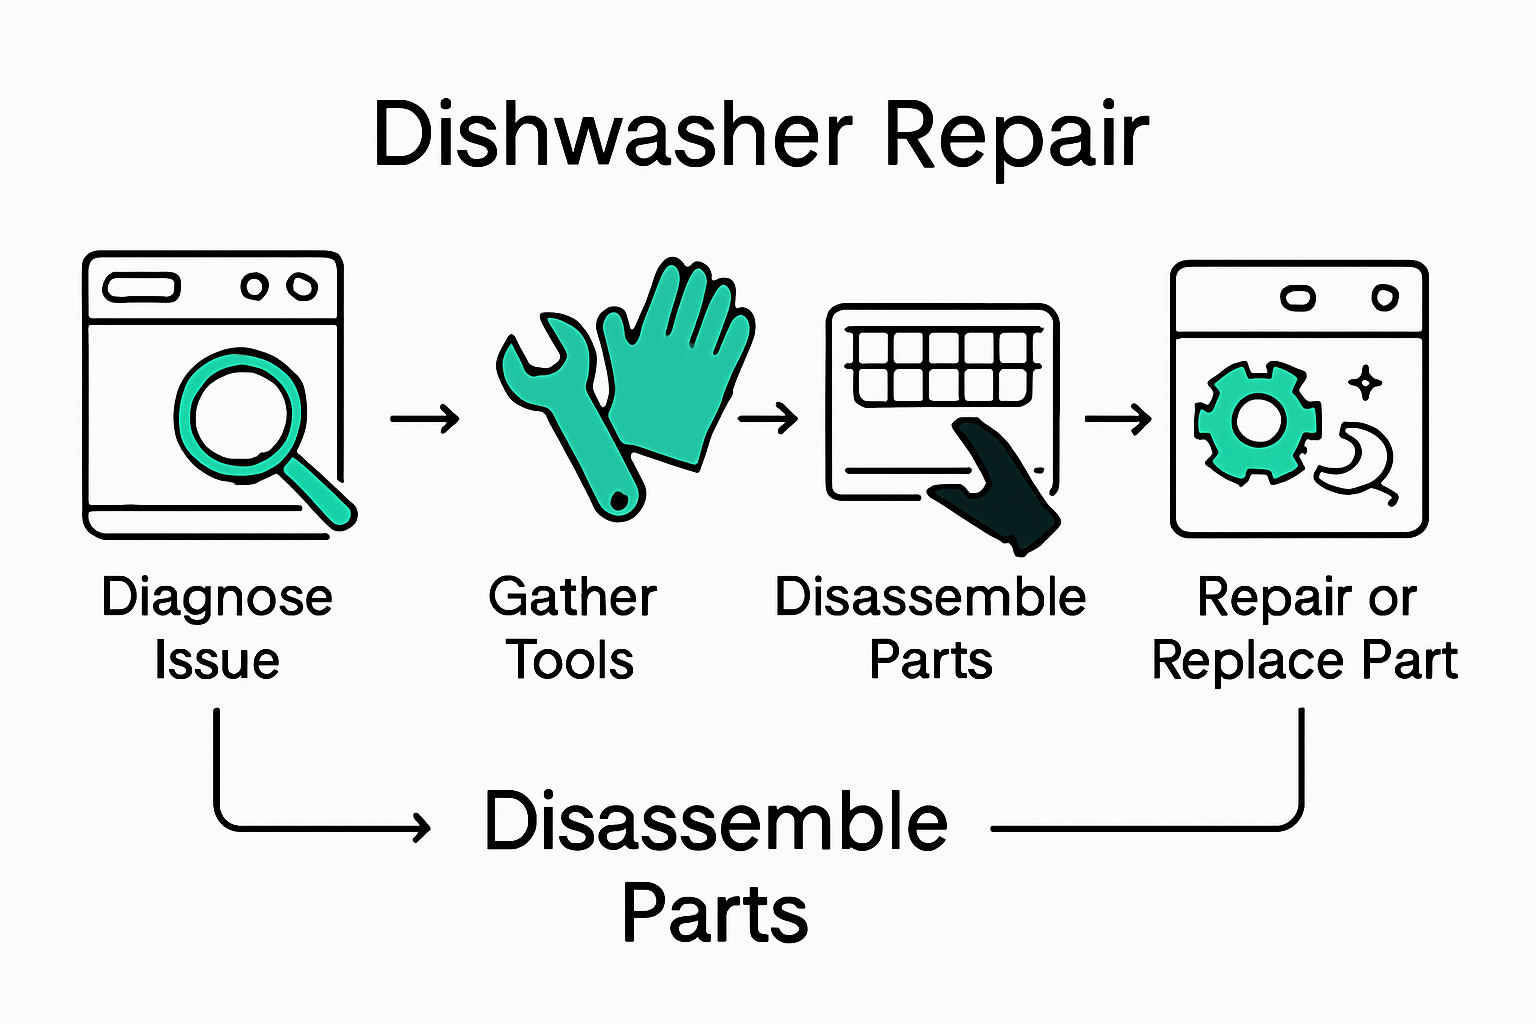
- Step 1: Assess Common Dishwasher Issues
- Step 2: Prepare Tools and Safety Precautions
- Step 3: Disassemble Key Dishwasher Components
- Step 4: Diagnose and Repair Faulty Parts
- Step 5: Reassemble and Test Dishwasher Operation
Quick Summary
| Key Point | Explanation |
|---|---|
| 1. Diagnose Issues by Observing Symptoms | Carefully observe dishwasher performance to identify problems such as inadequate cleaning or drainage failures. This will guide your next steps. |
| 2. Gather Essential Tools Beforehand | Preparation with tools like screwdrivers, a multimeter, and safety gear ensures a smooth and safe repair process from the start. |
| 3. Disassemble with Care for Inspection | Systematically dismantle the dishwasher to inspect components. Note their locations and take photos to aid in the reassembly process. |
| 4. Methodically Diagnose and Repair Parts | Inspect and test key components, especially filters and inlet valves, to identify necessary repairs or replacements before reassembly. |
| 5. Conduct a Test Cycle After Reassembly | Run an empty cycle post-reassembly to check for functionality and ensure all components are working properly before regular use. |
Step 1: Assess Common Dishwasher Issues
Before diving into complex repairs, understanding your dishwasher’s symptoms is crucial. This step helps you diagnose potential problems and determine whether you can fix the issue yourself or need professional help.
Start by carefully observing your dishwasher’s performance. Common issues like inadequate cleaning, drainage failures, and water leaks can indicate different underlying problems. Check if your dishes are coming out dirty, if water pools at the bottom, or if you notice unexpected moisture around the appliance. Pay special attention to the filter, as clogged filters can significantly impact cleaning performance and potentially cause water leaks.
Pro Tip: Before investigating further, always unplug the dishwasher or turn off its circuit breaker to ensure your safety during the assessment.
Look for specific warning signs: strange noises during cycles, dishes not getting clean, strange odors, or visible damage to racks and spray arms. These symptoms can help you pinpoint whether you are dealing with a simple maintenance issue or a more complex mechanical problem that might require professional intervention.
Step 2: Prepare Tools and Safety Precautions
Before starting any dishwasher repair, gathering the right tools and establishing safety protocols are essential steps that can prevent injuries and potential further damage to your appliance. You will want to prepare a workspace that allows safe and comfortable access to your dishwasher.
Essential tools for most dishwasher repairs include a multimeter for electrical testing, screwdrivers (flathead and Phillips head), adjustable wrench, pliers, work gloves, safety glasses, and a flashlight. Organize these tools near your workspace before beginning any diagnostic or repair work. Keep a clean towel or drop cloth handy to protect your floor and catch any water or small parts that might fall during the repair process.
Pro Tip: Always wear protective eyewear and gloves to shield yourself from potential sharp edges, electrical components, and unexpected water sprays.
If you are uncomfortable with any part of the repair process or encounter complex electrical or mechanical issues, do not hesitate to contact a professional appliance repair technician. Attempting repairs beyond your skill level can lead to additional damage or personal injury.
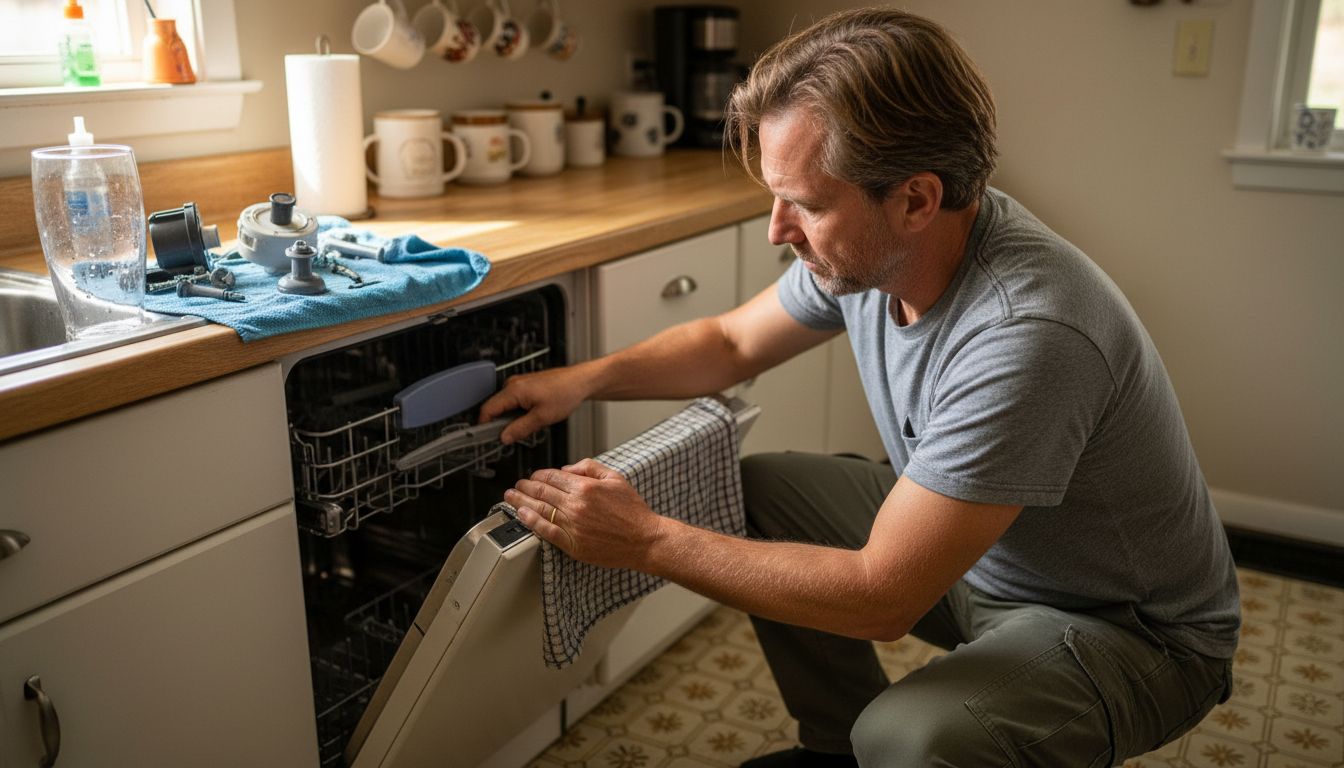
Step 3: Disassemble Key Dishwasher Components
Carefully dismantling your dishwasher requires patience and a systematic approach to identify and access potential problem areas. This step involves removing specific components to inspect for damage, wear, or malfunction that might be causing performance issues.
Start by removing the lower rack to provide clear access to the bottom of the dishwasher. Next, carefully detach the spray arms by locating their mounting points and gently twisting or unclipping them. Check the spray arm holes for mineral buildup or blockages that could impair water distribution. Remove the filter assembly located at the bottom of the dishwasher interior by twisting it counterclockwise or following the manufacturer’s specific removal instructions.
Pro Tip: Take photos of each component before removal to help you remember exact placement during reassembly and prevent confusion later.
As you disassemble each component, inspect them carefully for signs of wear, cracks, or damage. Pay special attention to rubber seals, water inlet valves, and connecting mechanisms. Keep all removed parts organized on a clean surface, and make sure to note their specific locations to ensure accurate reinstallation when your diagnostic or repair process is complete.
Step 4: Diagnose and Repair Faulty Parts
Diagnosing and repairing dishwasher components requires a methodical approach to identify the root cause of performance issues. Your goal is to pinpoint specific problems and determine whether individual parts need cleaning, adjustment, or complete replacement.
Clogged filters and faulty inlet valves are common culprits behind dishwasher malfunctions. Begin by thoroughly inspecting the water inlet valve for signs of wear or mineral buildup. Check the valve connections and look for any visible cracks or leaks. Use a multimeter to test electrical continuity and ensure the valve is functioning correctly. Carefully examine and tighten water hoses to address potential leak sources, paying close attention to connection points and rubber seals.
Pro Tip: When testing electrical components, always use a multimeter set to the appropriate resistance setting and disconnect power before testing.
Carefully assess each component you have removed. Look for signs of wear such as mineral deposits, cracks, or warping on spray arms, seals, and filter assemblies. If a part appears damaged beyond simple cleaning or minor repair, consider replacement. Remember that some repairs might be more cost effective than a full dishwasher replacement, but complex electrical or structural issues may require professional intervention.
Step 5: Reassemble and Test Dishwasher Operation
Reassembling your dishwasher requires careful attention to detail and a systematic approach to ensure all components are restored to their proper positions. Your goal is to methodically return each part to its original location while maintaining the integrity of the appliance’s internal systems.
Begin by referencing the photos you took during disassembly and carefully reinstall each component in reverse order of removal. Start with the filter assembly, making sure it is securely twisted into place. Reattach the spray arms, checking that they rotate freely without obstruction. Reinstall the lower rack and ensure it slides smoothly on its tracks. Double check all connections and seals to prevent potential future leaks or performance issues.
Pro Tip: After reassembly, run an empty test cycle to verify that all components are functioning correctly before loading dishes.
Once reassembly is complete, restore power to the dishwasher and run a diagnostic cycle. Listen carefully for any unusual sounds and observe the water flow and drainage. Pay close attention to how the spray arms distribute water and whether all components seem to be working in sync. If you notice any persistent issues or unusual behavior, it might be time to consult a professional appliance repair technician who can provide more advanced diagnostic and repair services.
Get Professional Help to Keep Your Dishwasher Running Smoothly
If your dishwasher is showing signs of trouble like clogged filters, water leaks, or unusual noises, tackling repairs yourself can feel overwhelming and risky. After reading the detailed steps for diagnosing and fixing common problems, it’s clear that some issues need expert inspection or replacement of critical parts like water inlet valves and spray arms. Protect your home from costly damage and save time by choosing trusted professionals who understand every detail of dishwasher performance and safety.

Don’t wait until a small problem turns into a major headache. Visit Appliances Repair MD Tech for prompt and reliable dishwasher repair services designed for homeowners in Orange County and Los Angeles County. Our licensed technicians bring extensive experience with brand-specific repairs and offer convenient online appointment booking. Find out how easy it is to get your dishwasher back to perfect working order by exploring our services and contacting us today.
Frequently Asked Questions
What are the common dishwasher issues I should look for?
You should look for symptoms like inadequate cleaning, drainage failures, and water leaks. Check if your dishes are coming out dirty, if there is water pooling at the bottom, or if you notice unexpected moisture around the appliance.
How do I prepare for a dishwasher repair?
Gather essential tools, such as a multimeter, screwdrivers, and work gloves, before starting any repair. Organize your workspace and ensure you have safety gear ready, including protective eyewear, to ensure a safe repair process.
How do I disassemble key components of my dishwasher?
Carefully remove the lower rack first, then detach the spray arms and filter assembly. Taking photos during each step can help you remember how to reassemble everything correctly.
What should I do if I find a damaged part during my inspection?
If you find signs of wear or damage, assess whether the part can be cleaned or needs to be replaced. Replace damaged parts promptly to ensure your dishwasher operates efficiently and to prevent further issues.
How can I test my dishwasher after reassembling it?
Run an empty test cycle after reassembling your dishwasher to check for any unusual sounds or performance issues. Observe the water flow and drainage to confirm that all components are working correctly.
When should I consider calling a professional for dishwasher repair?
If you encounter complex electrical issues or significant mechanical problems that you’re uncomfortable handling, it’s best to consult a professional. Trust an expert to prevent additional damage and ensure safe repairs.