Every homeowner knows the hassle that comes with a malfunctioning appliance, especially when schedules are tight around Orange County and Los Angeles County. Addressing issues before reaching out to local technicians gives you control over your time and budget, while minimizing disruption at home. By learning to spot visual and audible warning signs and preparing household equipment for inspection, you can make smarter decisions and provide technicians with helpful details for a targeted repair.
Table of Contents
- Step 1: Prepare For Appliance Inspection
- Step 2: Identify Visual And Audible Warning Signs
- Step 3: Test Appliance Functions And Performance
- Step 4: Analyze Error Codes And Symptoms
- Step 5: Verify Issue Before Requesting Service
Quick Summary
| Key Insight | Explanation |
|---|---|
| 1. Gather all appliance documents | Have original receipts, manuals, and repair records ready for technician’s review during the inspection. |
| 2. Identify warning signs early | Look for unusual noises, leaks, or error codes to prevent major breakdowns and costly repairs. |
| 3. Systematically test appliance functions | Conduct thorough tests to catch performance issues before they escalate into expensive repairs. |
| 4. Decode error codes accurately | Understanding error signals helps determine if a professional service call is needed or if self-fixes are possible. |
| 5. Verify issues before contacting service | Perform checks on electrical connections and settings to document issues accurately and avoid unnecessary service visits. |
Step 1: Prepare for Appliance Inspection
Preparing for your home appliance inspection requires strategic planning and organization. By taking proactive steps, you’ll ensure a smooth and comprehensive assessment of your household equipment.
Begin by gathering all relevant documentation for your appliances, including original purchase receipts, user manuals, and any previous repair records. This helps technicians understand your equipment’s history and potential quirks. Systematic inspection procedures recommend having these documents readily accessible before the technician arrives.
Your preparation checklist should include several critical tasks:
- Clear access points around major appliances
- Ensure power and water connections are easily reachable
- Have a working flashlight and notepad ready
- Prepare a list of specific concerns or recent performance issues
Having organized documentation and clear workspace can significantly streamline your appliance inspection process.
When preparing your home, focus on creating an environment that allows thorough equipment evaluation. This means moving furniture, removing clutter, and ensuring electrical outlets and water connections are unobstructed. By investing time in preparation, you’ll help technicians conduct a more efficient and accurate assessment.
Pro tip: Take digital photos of your appliances’ current condition before the inspection, which can serve as helpful reference points for future maintenance discussions.
Step 2: Identify Visual and Audible Warning Signs
Spotting potential problems with your home appliances early can save you time, money, and prevent catastrophic equipment failures. Learning to recognize the subtle and not-so-subtle signs of appliance distress is crucial for proactive homeowners.
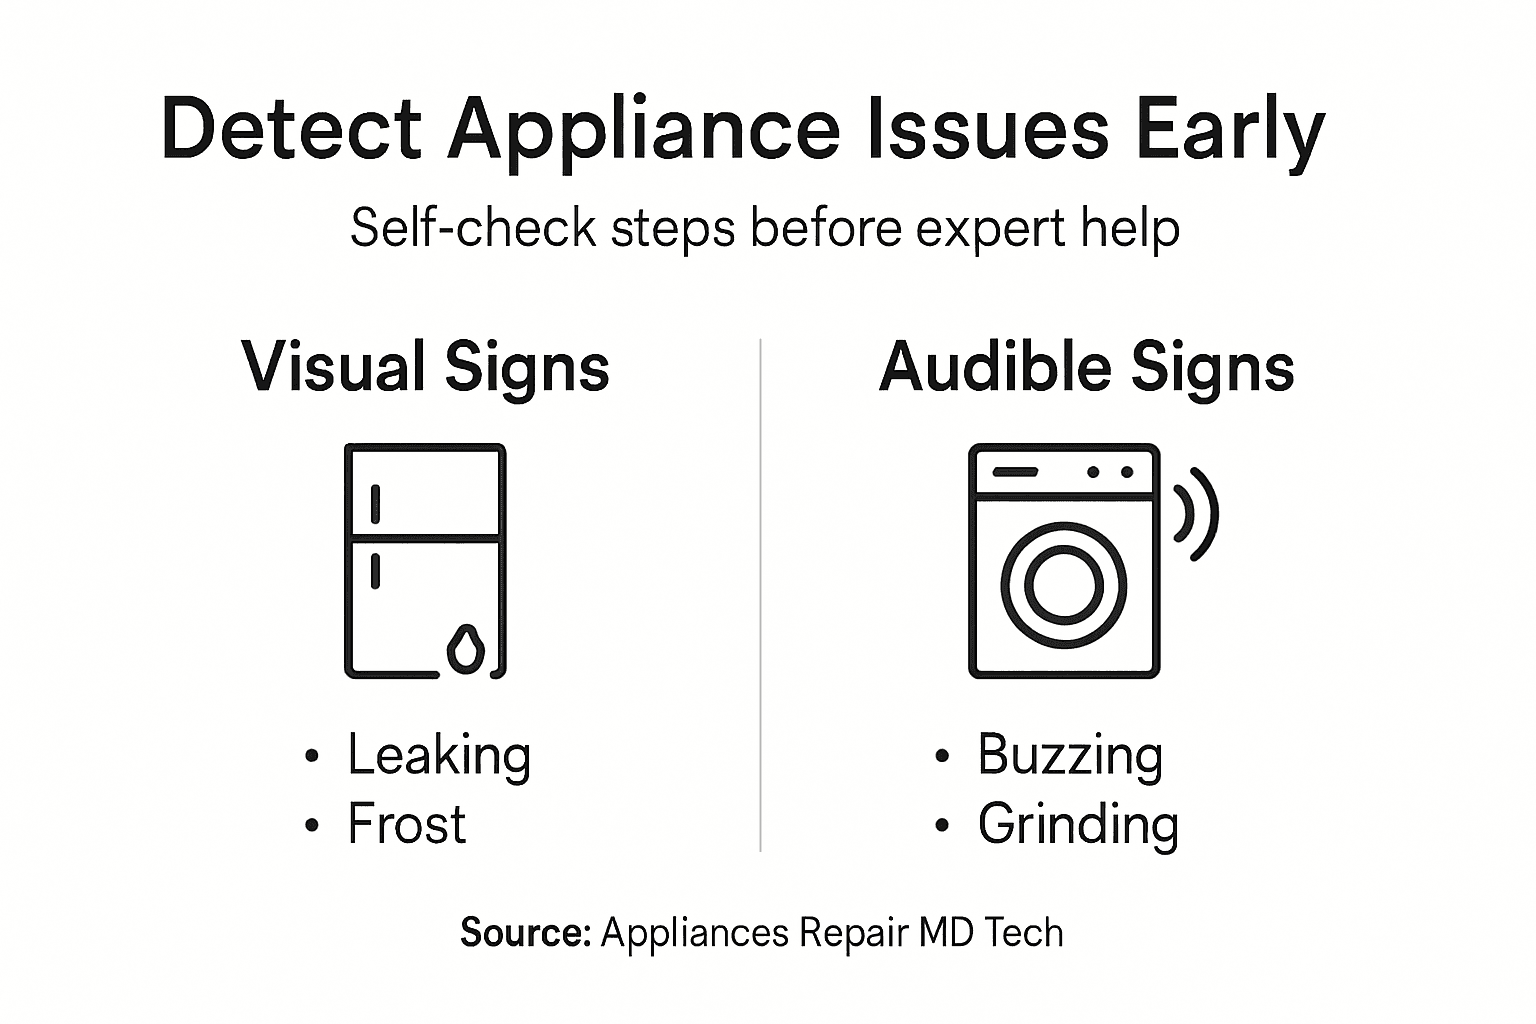
Common appliance problems manifest through various visual and audible indicators that should never be ignored. Pay close attention to these key warning signs:
- Unusual grinding or squealing noises
- Visible water leaks or puddles around equipment
- Frost buildup in unexpected areas
- Flickering or malfunctioning control panels
- Inconsistent heating or cooling performance
- Strange burning smells during operation
Recognizing these warning signs early can prevent more expensive repairs and potential safety hazards.
Each appliance communicates differently. A refrigerator might signal trouble through excessive ice formation, while a dryer could warn you with unusual tumbling sounds. Understanding these signals requires careful observation and a willingness to investigate beyond surface-level symptoms.
Here is a quick reference for interpreting common appliance warning signals:
| Appliance Type | Typical Visual Warning | Typical Audible Warning |
|---|---|---|
| Refrigerator | Excess frost, leaking water | Clicking or buzzing noises |
| Washer/Dryer | Error lights, water stains | Unusual thumping or scraping |
| Oven/Stove | Flashing error codes | Popping or hissing during use |
| Dishwasher | Water pooling inside unit | Grinding during cycle |
| Microwave | Flickering display | Electrical humming or beeping |
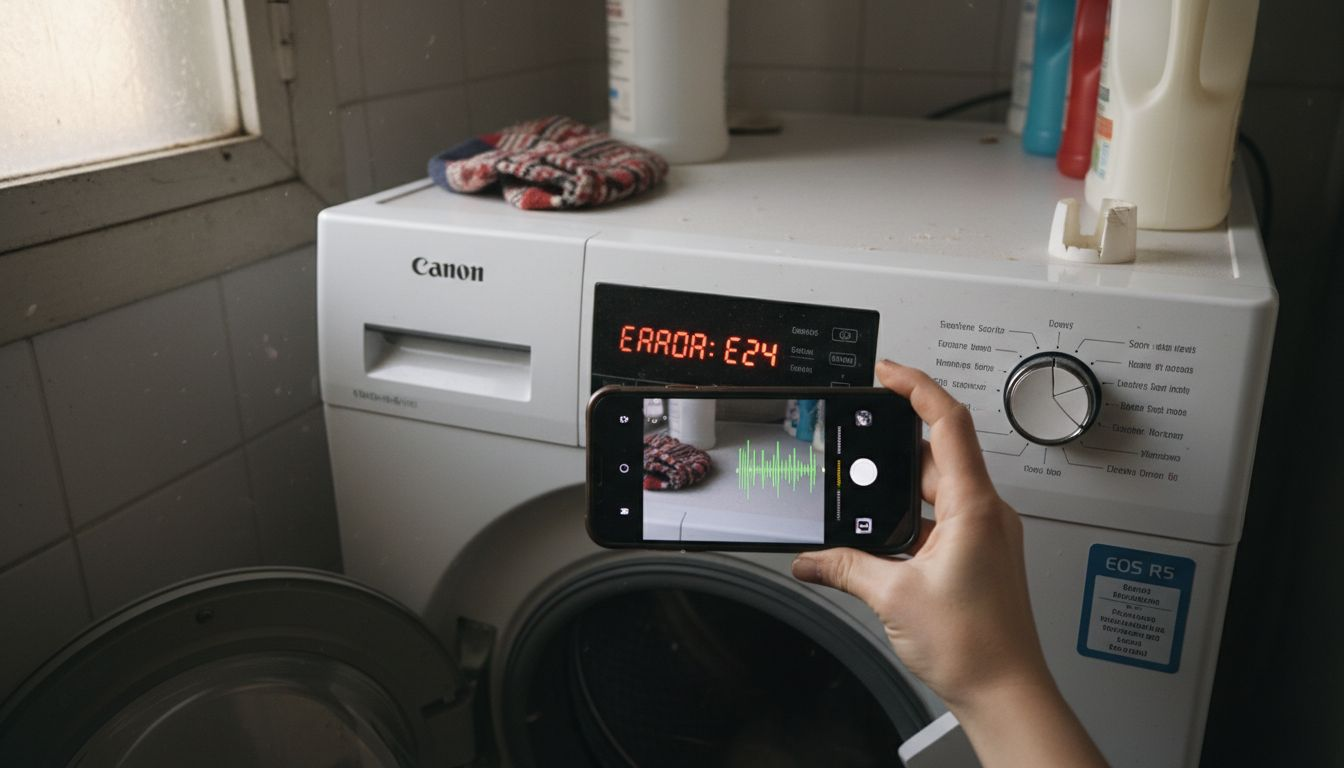
Pro tip: Keep a smartphone near your appliances and record any strange noises or behaviors, which can provide valuable evidence for technicians during diagnostic evaluations.
Step 3: Test Appliance Functions and Performance
Testing your home appliances thoroughly helps you catch potential issues before they become expensive repairs. By systematically evaluating each appliance’s performance, you can save money and prevent unexpected breakdowns.
Independent appliance testing involves a comprehensive approach that mimics real-world usage scenarios. Your home testing should focus on key performance indicators that reveal underlying mechanical or electrical problems.
Here are critical tests for major household appliances:
- Run complete cycle tests on washers and dryers
- Check refrigerator temperature consistency in different zones
- Test oven heating uniformity using multiple rack positions
- Evaluate dishwasher cleaning performance with standardized loads
- Assess microwave heating patterns with water and food items
- Listen for unusual sounds during operational cycles
Systematic performance testing can reveal subtle issues before they escalate into major equipment failures.
Each appliance requires specific evaluation techniques. A refrigerator might need temperature zone comparisons, while an oven demands precise heat distribution checks. Pay attention to small deviations from normal performance, as these can signal emerging problems that warrant professional inspection.
Pro tip: Keep a dedicated notebook or digital spreadsheet to track your appliance performance tests, noting date, observations, and any unusual findings for future reference.
Step 4: Analyze Error Codes and Symptoms
Decoding your appliance’s error signals can save you time, money, and potential frustration. Understanding these digital breadcrumbs helps you determine whether a quick fix is possible or professional intervention is necessary.
Appliance problem diagnostics reveal that modern appliances communicate through specific error codes and unique symptom patterns. These indicators provide crucial insights into potential mechanical or electrical issues.
Critical error code and symptom analysis strategies include:
- Locate your appliance’s specific error code reference manual
- Check digital control panel for blinking lights or numeric codes
- Note exact sequence and frequency of error indicators
- Compare symptoms with manufacturer’s diagnostic chart
- Record error codes before resetting the system
- Photograph control panel display for technical reference
Understanding error codes is like learning a specialized language that your appliances speak.
Different appliances communicate differently. A refrigerator might display temperature sensor warnings, while a washing machine could signal motor control malfunctions. Paying close attention to these nuanced signals can help you make informed decisions about repair strategies.
The following table summarizes approaches for error code analysis and documentation:
| Action Step | Benefit | Recommended Tool |
|---|---|---|
| Photograph error code displays | Preserves exact error info | Smartphone camera |
| Record error code sequences | Captures recurring issues | Notebook or note-taking app |
| Compare codes to manuals | Identifies root causes | Manufacturer’s manual |
| Store error info digitally | Builds service history | Cloud folder or backup drive |
Pro tip: Create a digital folder on your smartphone to store error code screenshots and maintenance records for each household appliance.
Step 5: Verify Issue Before Requesting Service
Before scheduling a potentially expensive service call, thorough self-diagnosis can save you time, money, and unnecessary hassle. Systematically confirming the exact nature of your appliance’s problem helps ensure you get the most accurate and cost-effective repair solution.
Appliance problem verification requires a strategic and methodical approach to troubleshooting potential issues. Your goal is to gather comprehensive evidence about the appliance’s performance and malfunction.
Key verification steps include:
- Check electrical connections and power supply
- Verify correct operational settings
- Test alternative power outlets
- Clean filters and accessible components
- Run diagnostic self-test functions
- Document specific symptoms with photos or videos
- Compare performance against manufacturer specifications
Systematic verification can prevent unnecessary service calls and provide crucial diagnostic information.
Detailed documentation becomes your best ally in this process. A refrigerator showing intermittent cooling might require different intervention compared to one with complete system failure. Precise symptom tracking helps technicians diagnose problems more efficiently, potentially reducing repair time and cost.
Pro tip: Create a standardized checklist for each major appliance, allowing you to quickly and consistently document performance issues before contacting service professionals.
Detect Appliance Problems Early and Get Trusted Local Help Today
Detecting appliance issues before calling experts can save you frustration and costly repairs. If you notice unusual noises, error codes, or inconsistent performance as described in the article, you already understand how important it is to act quickly. Many homeowners struggle with pinpointing exact problems despite careful observation and testing. That is where reliable professional support makes all the difference.

Don’t wait for a small problem to escalate into a major breakdown. At Appliances Repair MD Tech, we connect Orange County and Los Angeles County residents with licensed technicians who specialize in fast, affordable repairs for refrigerators, washers, dryers, ovens, dishwashers, HVAC units, and more. Whether you are seeing error codes or hearing unusual sounds, our experts bring the tools and expertise to fix the root issue. Take control of your home’s comfort and function now by visiting our website to schedule your appointment. Protect your appliances and peace of mind today with our trusted local repair services.
Frequently Asked Questions
How can I prepare my appliances for inspection?
To prepare your appliances for inspection, gather all relevant documentation such as purchase receipts, user manuals, and past repair records. Clear access around your appliances and have a notepad ready to jot down any concerns.
What warning signs should I look for in my appliances?
Look for unusual noises, visible leaks, frost buildup, or malfunctioning control panels as potential warning signs. Pay close attention to deviations from normal operation, such as inconsistent heating or cooling, and address these issues quickly to avoid costly repairs.
How do I test my appliances’ performance before calling for service?
You can test your appliances by running complete cycle tests and checking for consistent temperatures in refrigerators. Document any unusual sounds or performance issues to provide a detailed report when requesting service.
What should I do if my appliance displays an error code?
If your appliance displays an error code, locate the specific error code reference manual to understand its meaning. Record the error codes and observe the symptoms associated with them to make troubleshooting easier.
How can I verify appliance issues before requesting expert help?
To verify issues, check electrical connections, inspect settings, and clean filters if applicable. Create a checklist to systematically document symptoms, which can help technicians diagnose the problem more efficiently.
Should I take photos or videos of my appliances before calling for service?
Yes, taking photos or videos of your appliances can provide valuable visual evidence of issues like leaks or error codes. This documentation will help technicians understand the problem better, potentially leading to quicker and more accurate repairs.