Replacing a broken appliance part in your Orange or Los Angeles County home often feels daunting until you realize that preparation is the secret to success. With the right tools and precisely matched replacement items collected up front, you can save money and help your appliance last longer. This guide shows how careful planning and proper preparation lead to safer, hassle-free repairs from start to finish.
Table of Contents
- Step 1: Gather Necessary Tools And Replacement Parts
- Step 2: Disconnect Power And Prepare The Appliance
- Step 3: Remove Damaged Or Faulty Components
- Step 4: Install New Appliance Parts Correctly
- Step 5: Test Appliance Performance And Safety
Quick Summary
| Key Point | Explanation |
|---|---|
| 1. Gather tools and replacement parts | Start by collecting necessary tools and exact replacement components to ensure an efficient repair process. |
| 2. Ensure safety by disconnecting power | Always disconnect the appliance from power sources to eliminate electrical risks before beginning any repair work. |
| 3. Remove damaged components carefully | Extract faulty parts systematically to prevent additional damage; keep track of all screws and connectors. |
| 4. Correctly install new appliance parts | Install replacement components with precision, following original alignment and cleaning surfaces for optimal performance. |
| 5. Test appliance for safety and performance | Thoroughly test the repaired appliance to confirm effective functionality, ensuring all safety features operate properly. |
Step 1: Gather necessary tools and replacement parts
Successfully replacing appliance parts starts with proper preparation. You’ll want to collect all the specific tools and exact replacement components needed before diving into your repair project, ensuring a smooth and efficient process.
Begin by consulting your appliance’s manual or repair resource guides to identify the precise tools required. Most household appliance repairs typically demand a standard toolkit including:
- Screwdrivers (Phillips and flathead)
- Adjustable wrench
- Needle-nose pliers
- Multimeter for electrical testing
- Work gloves
- Safety glasses
For replacement parts, accuracy is critical. Matching the exact model number and manufacturer specifications prevents potential installation errors. Take a photo of the damaged component or bring the old part to your local hardware store to ensure a perfect match. Consider these key steps when sourcing replacement parts:
- Locate the appliance’s model number (usually found on a sticker)
- Verify the part number matches your specific make and model
- Purchase from reputable suppliers that offer warranty or return options
Careful preparation prevents frustrating setbacks and increases your chances of a successful repair.
Pro tip: Before purchasing replacement parts, call the manufacturer or check online resources to confirm compatibility and potentially save money on unnecessary purchases.
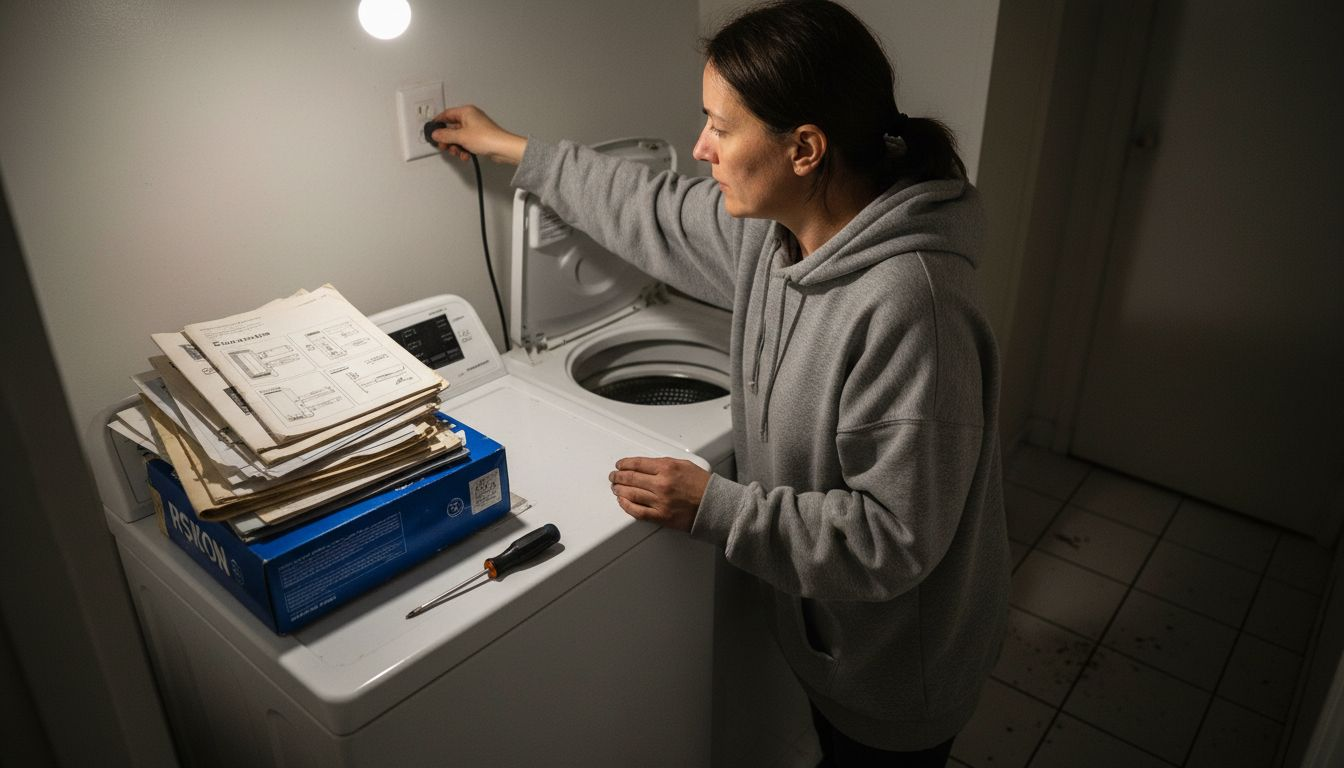
Step 2: Disconnect power and prepare the appliance
Safety is paramount when preparing for any appliance repair. Your primary goal in this step is to completely eliminate electrical risks and create a secure workspace for your repair project.
To start, you’ll need to disconnect power sources thoroughly. Follow these critical safety steps:
- Unplug the appliance from its electrical outlet
- Switch off the corresponding circuit breaker in your home’s electrical panel
- Use a voltage tester to confirm no electricity is flowing
- Remove any batteries or additional power sources
Before beginning work, prepare your workspace by creating a clean and organized area. Clear surrounding space and lay down protective materials like a drop cloth or old towels to catch any debris or small parts. Consider these workspace preparation steps:
- Move the appliance to a well-lit, stable area
- Ensure you have ample room to maneuver
- Have your tools and replacement parts within easy reach
Electrical safety is not optional – it’s the most critical aspect of any appliance repair.
Pro tip: Always take a photo of the appliance’s current configuration before disconnecting any components, which will help you reassemble everything correctly later.
Step 3: Remove damaged or faulty components
Now comes the critical stage of carefully extracting the problematic parts from your appliance. Your goal is to remove the damaged components precisely and systematically without causing additional damage to surrounding areas.
When removing faulty appliance parts, follow these strategic steps to ensure a clean and safe extraction:
- Take clear photos of the component’s original placement
- Label and organize any screws or small connectors you remove
- Use the appropriate screwdriver or wrench size for each fastener
- Work slowly and methodically to prevent accidental damage
- Keep track of the order in which components are disconnected
Depending on your specific appliance, you might encounter different types of components requiring careful removal:
Consider these differences between electrical and mechanical component handling during appliance repair:
| Aspect | Electrical Components | Mechanical Components |
|---|---|---|
| Tool Required | Multimeter, insulated pliers | Wrenches, regular screwdrivers |
| Risk | Shock or short circuit | Physical injury, stripped fastener |
| Prep Needed | Power off, check wiring labels | Clear workspace, match tool size |
| Typical Issue | Loose or exposed wires | Misaligned moving part |
- Electrical connections may need gentle disconnection
- Mechanical parts might require specific tool approaches
- Delicate electronic components demand extra caution
Precision and patience are your best tools when removing damaged appliance parts.
Pro tip: Place a small magnetic parts tray nearby to prevent losing tiny screws and keep your workspace organized during component removal.
Step 4: Install new appliance parts correctly
With your damaged components removed, it’s time to breathe new life into your appliance by carefully installing the replacement parts. Precision and attention to detail are crucial during this stage to ensure optimal performance and prevent future breakdowns.
Proper part installation requires a systematic approach:
- Compare the new part with the old one to confirm exact matching
- Align components precisely according to their original orientation
- Clean mounting surfaces before installation
- Inspect all connection points for proper fit
- Check manufacturer’s specifications for torque requirements
When installing different types of components, follow these key guidelines:
- For electrical connections, ensure tight and secure connections
- Mechanical parts should be seated without excessive force
- Verify alignment and movement of moving parts
- Test connections before final reassembly
Accurate installation is the difference between a successful repair and a potential future breakdown.
Pro tip: Apply a thin layer of dielectric grease on electrical connections to prevent corrosion and ensure long-lasting performance.

Step 5: Test appliance performance and safety
With your new parts installed, the final and most critical step is thoroughly testing your appliance to ensure it operates safely and efficiently. This stage will confirm that your repair work has successfully restored the appliance’s functionality.
Performance testing procedures require a systematic approach to verify complete functionality:
- Run the appliance through a full operational cycle
- Monitor for unusual sounds, vibrations, or heat generation
- Check all electrical connections and grounding points
- Verify that all control mechanisms work correctly
- Observe energy consumption and performance levels
Safety testing involves multiple critical checks:
- Inspect electrical cord and plug for any damage
- Test all safety mechanisms and automatic shutoff features
- Confirm no exposed wiring or loose connections
- Verify proper temperature and pressure regulation
- Listen for any irregular mechanical sounds
A comprehensive test reveals more than just whether the appliance works – it confirms your repair’s quality and safety.
Pro tip: Keep a fire extinguisher nearby during initial testing and avoid leaving the appliance unattended during its first full operational cycle.
Here’s a helpful summary comparing steps for a safe and effective appliance repair process:
| Step | Main Objective | Typical Challenge | Key Safety Concern |
|---|---|---|---|
| Gather Tools/Parts | Collect correct tools and parts | Incorrect part selection | Minimal physical risk |
| Disconnect Power | Eliminate power sources | Hidden power supply | Electrical shock risk |
| Remove Components | Extract damaged parts safely | Mixing up screws/connectors | Damage to appliance |
| Install New Parts | Position and connect replacements | Misalignment or loose fit | Faulty installation risk |
| Test Appliance | Verify operational safety and performance | Missed issues during testing | Fire or malfunction risk |
Make Appliance Repairs Simple and Stress-Free with Expert Help
Replacing appliance parts can feel overwhelming with safety concerns, exact part matching, and the precision required to avoid future issues. If you find yourself facing challenges like identifying the right components or testing appliance performance safely, remember you do not have to navigate these complex steps alone. Whether it is carefully disconnecting power sources or installing new parts correctly, professional technicians can give you peace of mind and save you time.

Get reliable, local appliance repair services in Orange County and Los Angeles County by visiting Appliances Repair MD Tech. Our licensed experts specialize in repairing refrigerators, washers, dryers, ovens, dishwashers, and handle HVAC and gas conversion needs too. Do not risk a faulty installation or overlook safety tests. Book your appointment online now and ensure your appliance works efficiently for years to come. Learn more about our trusted repair solutions at Appliance Repair Services and take the first step toward hassle-free appliance care.
Frequently Asked Questions
What tools do I need to replace appliance parts?
To replace appliance parts, you typically need a standard toolkit that includes screwdrivers (Phillips and flathead), an adjustable wrench, needle-nose pliers, and a multimeter for electrical testing. Gather all necessary tools before starting your repair to ensure a smooth process.
How do I ensure I buy the correct replacement parts?
To ensure you buy the correct replacement parts, locate your appliance’s model number, and verify that the part number matches your specific model. Taking a photo of the damaged component can help you confirm the exact match when shopping for parts.
What safety steps should I take before starting an appliance repair?
Before starting an appliance repair, always unplug the appliance, switch off the corresponding circuit breaker, and use a voltage tester to confirm no electricity is flowing. These precautions help eliminate electrical risks and create a safer working environment.
How can I properly install new appliance parts?
To properly install new appliance parts, compare the new part with the old one to ensure they match and clean the mounting surfaces before installation. Align components according to their original orientation and check all connections to secure a tight fit.
What should I do after installing new appliance parts?
After installing new appliance parts, run the appliance through a full operational cycle to test its performance and monitor for any unusual sounds or vibrations. Conducting these tests ensures that your repair is successful and the appliance is safe to use.
How can I prevent future appliance breakdowns after a repair?
To prevent future appliance breakdowns, inspect all connections for tightness and secure any loose components. Applying dielectric grease to electrical connections can help prevent corrosion and improve durability, contributing to long-lasting appliance performance.
Recommended
- Broan repair In Irvine Orange CA
- Hood Installation & Repair: Expert Fixes for Home Essentials
- Plumbing Drain Repair – Orange County, California – MDTECH APPLIANCE REPAIR
- Kitchen Faucet Repair – Orange County, California – MDTECH APPLIANCE REPAIR
- Passaggi manutenzione porte basculanti: guida completa