
Essential water heater maintenance tasks every homeowner should know
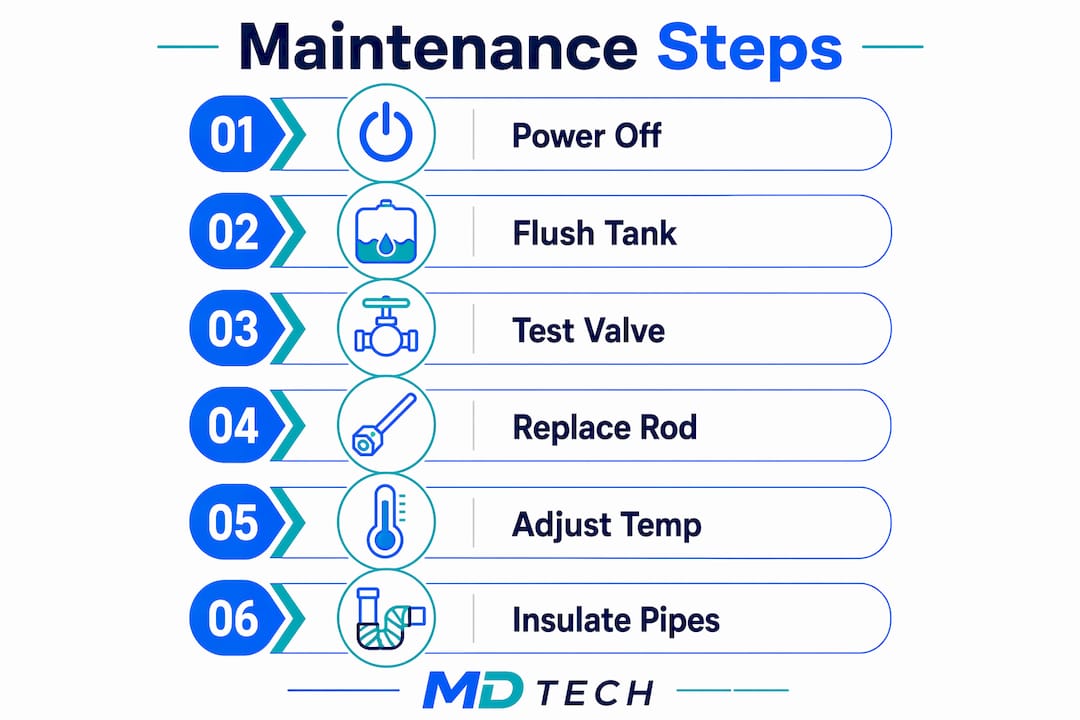
A well-maintained water heater lasts years longer, runs more efficiently, and rarely fails at the worst possible moment. The core tasks are straightforward: flush sediment from the tank, test the temperature and pressure (T&P) relief valve, inspect or replace the anode rod, and verify your temperature settings. The U.S. Department of Energy recommends flushing a quart of water from the tank every three months, checking the T&P valve every six months, and inspecting the anode rod every 1–3 years to prevent corrosion.
Here is what each task actually does for you:
- Tank flushing: Removes sediment that forces the heater to work harder and can promote bacterial growth, including Legionella.
- T&P valve testing: Confirms the safety valve will open under dangerous pressure, preventing a potential explosion.
- Anode rod inspection: The rod sacrifices itself to corrosion so your tank does not rust from the inside out. A depleted rod means a dying tank.
- Temperature adjustment: The EPA recommends setting your water heater to 120°F for most households, balancing scald prevention with bacterial control.
- Visual inspection: Check for leaks, corrosion, and loose connections every few months. Catching a small drip early beats a flooded utility room later.
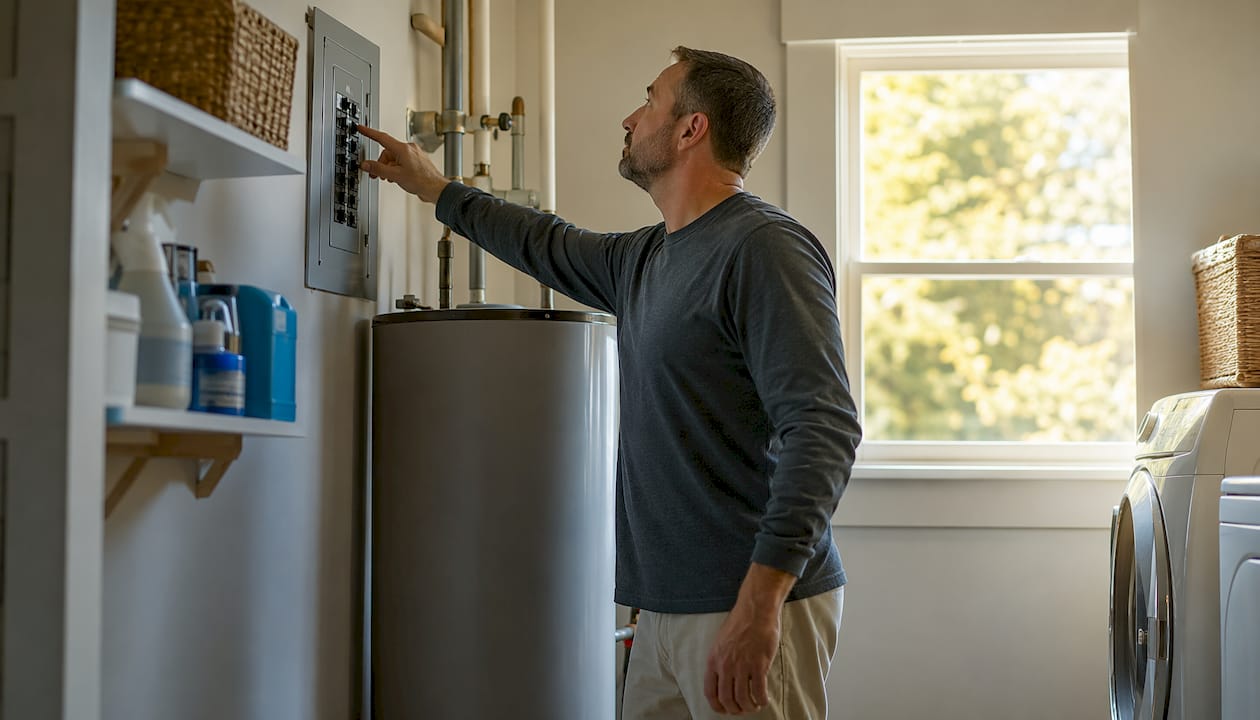
Pro Tip: Before touching anything on your water heater, cut power at the circuit breaker for electric units or turn the gas valve to “pilot” for gas models. Never skip this step, even for a quick inspection.
What types of water heaters exist and what parts should you know?
The type of water heater you own determines which maintenance tasks apply to you, so knowing the difference matters before you pick up a wrench.
Storage tank water heaters are the most common type in American homes. They hold a reservoir of hot water and reheat it continuously. Key components include the tank itself, one or two heating elements (electric) or a burner assembly (gas), an anode rod, a T&P relief valve, and a thermostat.
Tankless water heaters heat water on demand rather than storing it. They have no tank to flush but do require periodic descaling of the heat exchanger, especially in areas with hard water. Filters on the inlet lines need occasional cleaning too.
Heat pump water heaters (HPWHs) pull heat from surrounding air and transfer it to the water using a refrigerant loop. They are significantly more energy efficient than conventional electric models, but they add maintenance items: an air filter that needs cleaning every few months, a condensate drain line that requires annual attention, and an anode rod that should be inspected every 1–3 years. Proper installation also includes heat traps to prevent thermosiphoning, a detail that affects long-term efficiency.
Solar water heaters use collectors on the roof to capture heat. They require periodic inspection of collectors, piping, and heat exchangers, plus antifreeze fluid replacement periodically as recommended for pressurized systems for pressurized systems. That antifreeze check is not a DIY job.
Always pull out your owner’s manual before starting any maintenance. Model-specific quirks are real, and the manual is where manufacturers document them.
How do you know when your water heater needs attention?
Your water heater usually signals trouble before it fails completely. Recognizing those signals early is the difference between a $50 fix and a $1,200 replacement.
- Inconsistent hot water: Running out faster than usual or getting lukewarm water points to sediment buildup, a failing heating element, or a thermostat issue.
- Rumbling or popping sounds: Sediment at the bottom of the tank causes these noises as water heats beneath it. Flushing often resolves it.
- Discolored or metallic-tasting water: Rusty water usually means the anode rod is depleted and the tank itself is starting to corrode.
- Foul-smelling water: A sulfur or rotten-egg odor often indicates bacterial growth in a tank set too low or left unused.
- Leaks or pooling water: Any moisture around the base or connections warrants immediate inspection. A weeping T&P valve that does not fully close after testing requires a plumber, not a wait-and-see approach.
- Error codes on smart units: HPWHs with connected apps like the Rheem EcoNet will flag specific fault codes. Check the owner’s manual for what each code means before assuming the worst.
- Excessive condensation: Normal in humid conditions, but persistent condensation on a heat pump unit can indicate a clogged condensate drain.
Corrosion that has spread to the tank body or persistent electrical issues are not DIY territory. A professional inspection catches what a visual walkthrough misses.
What tools and safety steps do you need before starting maintenance?
Getting the right gear together before you start saves time and prevents accidents. For most routine water heater care, you need:
- A garden hose rated for at least 180°F (standard hoses can fail with scalding water)
- A screwdriver set (flathead and Phillips)
- A flashlight for inspecting dark corners around the unit
- Mild dish soap and a soft brush for filter cleaning
- A bucket and old towels for catching drips
- A vacuum for clearing debris around air intakes
- A digital thermometer to verify actual water temperature at the tap
Safety comes before every task. Shut off electrical power at the breaker or set the gas valve to “pilot” before you do anything else. Let the tank cool for several hours before draining. Wear heavy-duty rubber gloves and protective eyewear, and keep children and pets out of the work area. The water inside a standard tank can exceed 120°F and cause serious burns in seconds.
Pro Tip: Keep a simple maintenance log with dates, tasks completed, and anything unusual you noticed. Detailed service records support warranty compliance and help you spot recurring problems before they escalate, as Rheem’s professional maintenance recommendations note.
Know your limits. Many homeowners attempt DIY maintenance but lack the tools or experience to catch issues that require professional equipment, which increases the risk of unintentional damage. If something looks wrong and you are not sure why, stop and call a technician.
Step-by-step water heater maintenance guide for homeowners
Follow these procedures in order. Skip steps that do not apply to your heater type.
Flushing sediment from a storage tank
- Turn off power at the breaker (electric) or set gas to “pilot.” For safer draining, shut off power the night before so water cools overnight.
- Close the cold water inlet valve at the top of the tank.
- Open a hot water faucet on an upper floor to prevent a vacuum from forming inside the tank.
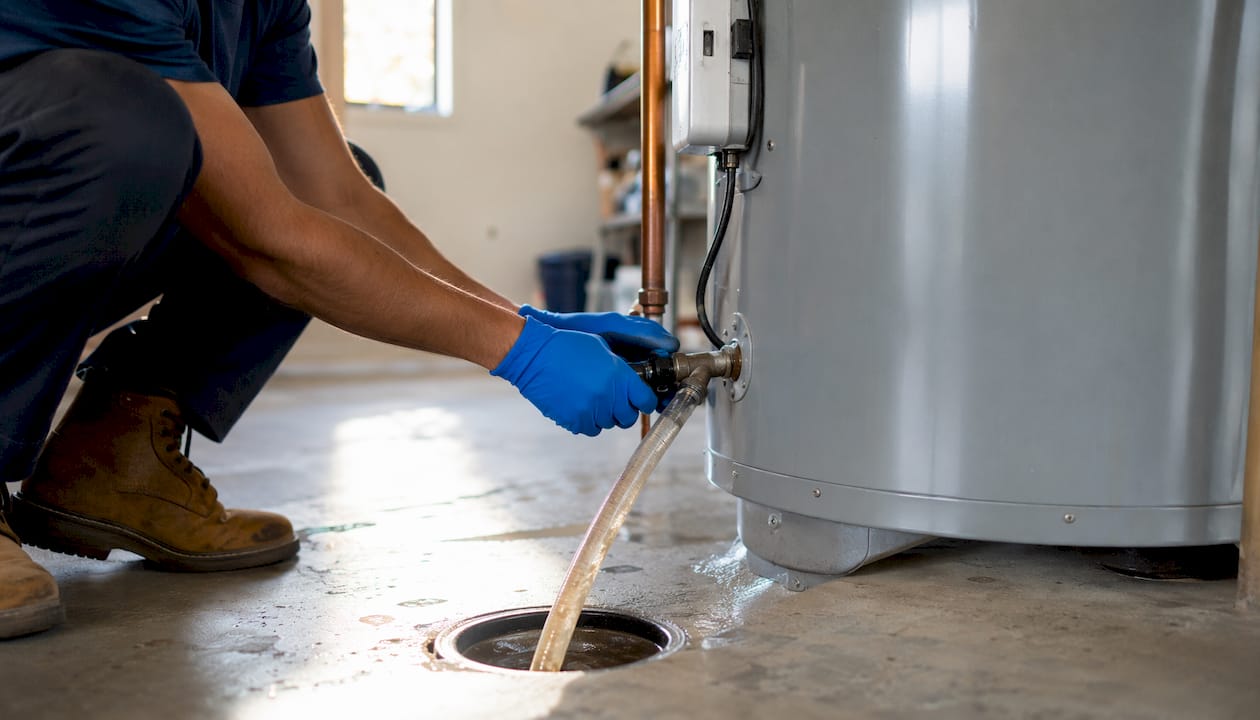
- Attach a garden hose (rated for 180°F) to the drain valve near the tank’s base and run it to a floor drain or outside, lower than the tank.
- Open the drain valve counterclockwise. Water will flow out hot, so keep hands clear.
- After the tank drains for 20 minutes, briefly open the cold inlet valve for about 10 seconds to stir up remaining sediment, then close it again.
- Once water runs clear, close the drain valve, remove the hose, and reopen the cold inlet valve.
- Keep the hot water faucet open until water flows smoothly, then close it.
- Restore power or relight the pilot per the manufacturer’s instructions.
Effective flushing relies on gravity draining to a lower elevation and requires air entry through an open hot water faucet to avoid vacuum lock inside the tank.
Pro Tip: Turn off the water heater the night before you plan to flush it. Draining cooler water is dramatically safer and reduces scald risk significantly.
Testing the T&P relief valve
Lift the lever handle on the T&P valve briefly and release it. Water should flow through the discharge line and the lever should snap back to its closed position. If the valve drips continuously after the test, do not ignore it. Shut off power, close the cold inlet, and call a licensed plumber. A valve that will not fully close is a safety hazard.
Inspecting and replacing the anode rod
The anode rod threads into the top of the tank, often hidden under a plastic cap. Use a socket wrench to remove it. If the rod is less than half an inch thick, coated in calcium, or heavily pitted, replace it. Some manufacturers require professional replacement to keep the warranty valid, so check your warranty terms before proceeding yourself.
Cleaning the air filter and condensate drain (heat pump water heaters)
Remove the air filter from the top of the unit. Before pulling it, press the power button to put the unit in standby mode and cut power at the breaker. Wash the filter with mild soap and water, let it dry completely, then reinstall. For the condensate drain, pour a cup of bleach into the access opening to kill algae and mold. If you see standing water in the drain pan, the line is likely clogged and needs clearing.
Adjusting temperature settings
Set the thermostat to 120°F for most households. Going higher helps control bacterial growth but raises scald risk, particularly for young children or elderly residents. A mixing valve at the point of use lets you store water hotter while delivering it safely.
Insulating the tank and pipes
Wrap accessible hot water pipes with at least R-3 pipe insulation to reduce heat loss. An insulating blanket on older storage tanks cuts standby heat loss noticeably, though most modern tanks already have adequate built-in insulation. Check the label before adding a blanket.
When should you call a technician instead of doing it yourself?
Annual professional servicing covers what routine homeowner care cannot. The EPA recommends having a professional service your water heater at least once a year to cover all aspects of the system. A certified technician inspects electrical connections, tests heating elements, checks wiring, and calibrates controls, tasks that require specialized tools and training.
- Electrical problems: Tripping breakers, a burnt smell, or any sign of wiring damage requires a licensed electrician or plumber, not a screwdriver.
- Refrigerant handling: Heat pump water heaters use refrigerant that only certified technicians can legally handle. A suspected refrigerant leak is never a DIY fix.
- Persistent leaks: A leak from the tank body itself usually means the tank needs replacement. A technician can confirm this and advise on your options, including the repair vs. replacement decision.
- Solar system antifreeze: Checking and replacing antifreeze in a pressurized solar system requires a certified solar professional.
- Smart system calibration: Annual software updates and performance calibration for connected units like the Rheem ProTerra are best handled by a certified technician who can also maintain records for warranty compliance.
Pro Tip: For any task involving pressurized systems, refrigerant lines, or electrical components, use a licensed technician. The cost of a professional visit is a fraction of what a botched DIY repair on a pressurized system can cost.
Choosing a qualified contractor matters. Ask for written cost estimates, check references, and verify the company understands local building codes. For homeowners in Orange County and Los Angeles County, Appliancesrepairmdtech connects you with licensed technicians who handle water heater inspections, plumbing repairs, and HVAC service with same-day availability.
If your water heater is showing warning signs or you are overdue for an annual inspection, the team at Appliancesrepairmdtech is ready to help. Book a service appointment online or explore the appliance parts replacement guide to understand what a repair involves before a technician arrives.
Key Takeaways
Consistent water heater maintenance, done on the right schedule for your heater type, is the single most effective way to extend appliance life and avoid emergency repairs.
| Point | Details |
|---|---|
| Flush the tank regularly | Drain sediment every three months (a quart) and do a full flush annually to maintain heating efficiency. |
| Test the T&P valve twice a year | Lift and release the lever every six months; a valve that will not close fully requires immediate professional attention. |
| Inspect the anode rod every 1–3 years | Replace it when depleted; check warranty terms before doing it yourself, as some manufacturers require a licensed plumber. |
| Heat pump units need extra steps | Clean the air filter every few months and pour bleach into the condensate drain annually to prevent algae buildup. |
| Schedule annual professional service | A certified technician covers electrical checks, refrigerant handling, and system calibration that go beyond DIY capability. |