
There is a common color pattern for thermostat wires: red for power, white for heat, yellow for cooling, green for the fan, and blue or black for the common wire. But it is a habit, not a standard. The reliable way to identify a wire is the letter on the terminal it is attached to, not the color of its insulation. This guide gives you the usual colors, the terminal letters that matter, and a safe way to check your own wall before you swap a thermostat.
TL;DR
- Colors are only a convention. Honeywell Home says there is no standard for which color controls which function, so go by the terminal label.
- The usual pattern: R (red) is 24-volt power, W (white) calls for heat, Y (yellow) calls for cooling, G (green) runs the fan, and C is the common wire.
- The C wire is most often blue or black, but its color is not fixed. Smart thermostats usually need it.
- Photograph the wiring and label each wire before you disconnect anything.
- If you see A, B, C or 1, 2, 3 terminals, have a dual-fuel system, or find thick line-voltage wires, stop and call an HVAC professional.
Table of Contents
- Why the color is only a hint
- The usual thermostat wire colors and terminals
- R, Rc and Rh: the power wires
- The C wire: what color is it and do you have one?
- Heat pump wiring: O/B, Aux and E
- How to read your wiring before you touch anything
- Common wiring setups, from 2 to 8 wires
- When your wiring does not match any guide
- Our perspective: what we see in Orange and Los Angeles County homes
- Wiring problems that look like a bad thermostat
- Need a hand with the swap?
- Related reading before you buy
- FAQ
- Sources
Why the color is only a hint
Most homes in Southern California run a low-voltage thermostat circuit. A small transformer in the furnace or air handler steps household power down to 24 volts AC, and thin wires carry that signal between the thermostat and the equipment. Each wire’s job is simply to complete one circuit: call for heat, call for cooling, run the fan.
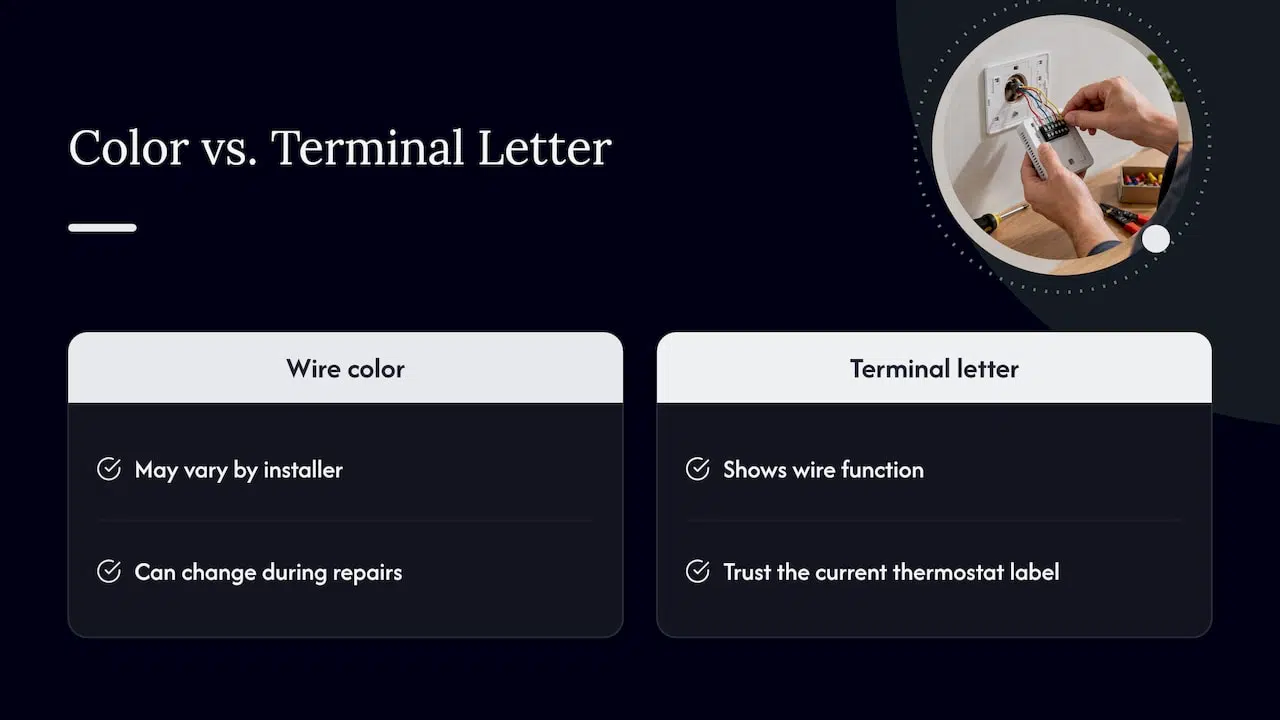
The colors help the installer keep track of which wire is which. Nothing forces an installer to follow the pattern. A previous owner, an electrician who ran out of white wire, or a builder who used a different cable may have used any color for any job. In an older house, wires have often been moved around over decades of repairs.
That is why the same guidance appears in manufacturer instructions: look at the terminal each wire is screwed into on your current thermostat, and treat that letter as the truth. If the old thermostat worked, the letters tell you what each wire does, whatever its color.
The usual thermostat wire colors and terminals
This table shows the common convention. Use it as a starting point for understanding your wall, never as a replacement for reading your own terminals.
| Terminal | Usual color | What it does |
|---|---|---|
| R | Red | 24-volt power from the transformer |
| Rc | Red | 24-volt power from the cooling transformer |
| Rh | Red | 24-volt power from the heating transformer |
| W (W1) | White | Calls for heat |
| W2 | White or another color | Second stage of heat, where installed |
| Y (Y1) | Yellow | Calls for cooling (compressor) |
| Y2 | Yellow or light blue | Second stage of cooling, where installed |
| G | Green | Runs the indoor fan |
| C | Blue or black | Common wire, a constant return path for power |
| O/B | Orange or blue | Reversing valve on a heat pump |
| Aux/E | Varies | Auxiliary or emergency heat on a heat pump |
A few notes on how to read it:
- A four-wire setup is often red, white, yellow and green: power, heat, cooling and fan. A fifth wire, usually blue or black, adds the common wire.
- Blue appears twice. It is often C on a furnace and air conditioner system, but it can be the B reversing valve wire on some heat pumps. That overlap is exactly why you read the terminal letter.
- Spare wires are normal. Cable is sold in set counts, so a five- or eight-wire cable with only four connected is common. An unused wire tucked behind the thermostat may be your C wire.
R, Rc and Rh: the power wires
These three letters confuse more people than any others, but the logic is simple. According to Honeywell Home’s wiring guidance, R is 24VAC from the heating transformer, and Rc is 24VAC from the cooling transformer.
What you do depends on how many red wires reach the wall:
- One red wire. Connect it to R and leave the small metal jumper between R and Rc in place. That one wire then powers both heating and cooling.
- Two red wires. This means separate transformers for heating and cooling. Connect the R or Rh wire to R, connect the Rc wire to Rc, and remove the jumper between them.
Leaving a jumper in place when two separate power wires are present ties two transformers together, which can damage equipment. If your old thermostat had two red wires, check whether it had a jumper, and do not copy it onto a new model without reading the instructions.
The C wire: what color is it and do you have one?
The common wire gives a thermostat a steady power path so its screen, Wi-Fi radio and sensors keep running. Basic mercury or battery-powered models never needed it. Most smart thermostats do.
The color is not set. Copeland’s Sensi support page notes it is most commonly blue or black, and tells you to check the labeled terminals on your current thermostat to see if a C wire is connected. Their guidance if you do not have one: an unused wire in the cable may be available, or you can install a C-wire conversion kit.
To find out what you have:
- Turn the system off at the thermostat and at the breaker.
- Remove the thermostat faceplate and look at the wall plate.
- Look for a terminal labeled C. If a wire is attached, you have a common wire.
- If there is no wire on C, count the wires in the cable. Any wire pushed back into the wall and not connected may be spare. It should have bare copper at the tip or a visible tag where it was cut.
- Check the other end at the furnace or air handler control board. A spare wire should land on a C terminal there too. If it does not, a technician can connect it.
A five-wire cable is the ideal for smart thermostat installs, as The Spruce notes in its smart thermostat installation guide. If your cable has only four wires, you have options: a conversion kit, a power adapter, or pulling new cable. If you are weighing the whole project, our smart thermostat guide for homeowners explains what these devices need and do.
Heat pump wiring: O/B, Aux and E
Heat pumps heat and cool with the same outdoor unit, so they need a way to reverse the refrigerant flow. That is the job of the reversing valve wire, labeled O or B depending on the manufacturer. Orange is the usual color for O, and blue is common for B.
Two cautions:
- O and B are not interchangeable. Thermostats have a setting for which one your heat pump energizes in cooling or heating. Choosing the wrong one makes the system heat when you want cool air, and the reverse.
- Heat pumps typically use Aux or E for backup or emergency heat, rather than W. If your wall has W2, Aux or E terminals, see the manufacturer’s instructions for that exact thermostat before changing anything.
If you are not sure whether you have a heat pump, a conventional air conditioner or a dual-fuel setup, our overview of types of HVAC systems is a good place to start.
How to read your wiring before you touch anything
The safest first step is a photograph, not a screwdriver. Honeywell Home’s instructions say to take a picture with the terminal markings visible, then use it as a reference while you remove and label each wire. Reconnect them according to the instructions for the new thermostat.
A simple routine that works:
- Switch off power. Turn the system off at the thermostat, then at the furnace or air handler switch or the breaker. The circuit is only 24 volts, but a slip can blow the low-voltage fuse on the control board.
- Photograph the old wiring. Get one wide shot and one close shot with every terminal letter readable.
- Label each wire by terminal. Use the sticker tags that come with the new thermostat, or masking tape and a pen. Label by the terminal letter, not the color.
- Note any jumpers. Especially the R to Rc jumper. Write down whether one was present.
- Release the wires one at a time. Do not let bare wire tips touch each other. Tape them to the wall so they do not slip into the cavity.
- Match the new terminals to your labels. Follow the new thermostat’s instructions, not the old wire colors.
- Restore power and test every mode. Run heat, cooling and fan separately and confirm each call produces the expected response.
A cut wire that falls back into the wall is the most common reason a simple swap becomes a service call. Tape or a clip on each wire costs nothing and prevents it.
Common wiring setups, from 2 to 8 wires
The number of wires tells you a lot about what you have.
- Two wires (R and W): Usually heat only, such as a gas wall furnace or a boiler. There is no cooling or fan control through the thermostat.
- Three wires (R, W, Y or G): Often a limited setup. Check the terminals closely.
- Four wires (R, W, Y, G): A typical furnace and air conditioner combination with no common wire.
- Five wires (R, W, Y, G, C): The same system with a common wire, which suits most smart thermostats.
- Six to eight wires: Heat pumps, two-stage equipment, separate heating and cooling transformers, or extra spares. These need careful label-by-label matching.
If your terminals do not look like any of the above, do not guess. Compare the labels on the wall plate with the printed instructions for your specific thermostat and system.
When your wiring does not match any guide
Some installations should not be a weekend project. Pause and call a professional HVAC contractor in these situations, based on Honeywell Home’s guidance:
- You see terminals labeled A, B, C or 1, 2, 3. That points to a communicating system, and a standard new thermostat may not be compatible with it.
- You have a dual-fuel system, such as a heat pump paired with a gas furnace, or you are simply unsure what you have.
- The wires are thick, or black or red and heavy. The same source says to expect thin 18-gauge solid-core wire. Thicker wires point to a line-voltage system, which low-voltage thermostats cannot control. Line voltage is household current, and mistakes carry a real shock and fire risk.
There is a bigger-picture reason too. The U.S. Department of Energy’s Building America HVAC guide warns that changing one HVAC component without accounting for how it interacts with the rest of the house can create safety issues. It also advises that your contractor should check with the local building department about applicable codes and any permits needed. For a plain thermostat swap that is rarely a concern, but for new equipment or modified ductwork it is.
Our perspective: what we see in Orange and Los Angeles County homes
We work in homes across Orange County and Los Angeles County, and the same thing comes up again and again: the wiring in the wall is rarely as tidy as the diagram on the box. Houses here have been remodeled, equipment has been replaced, and thermostats have been changed by several different hands. The wire colors reflect that history.
Our advice is practical:
- Trust terminals, not colors. If a wire is on Y and it is green, it is a Y wire.
- Take the photo even if the swap looks obvious. It is the cheapest insurance in the whole job.
- Do not force a smart thermostat onto a system that cannot power it. If there is no C wire and no spare, get the right fix instead of a workaround that causes random shutoffs.
- If the thermostat is not the problem, wiring will not fix it. A blank screen or no response is sometimes a dead transformer, a tripped safety switch or a compressor delay. Our guide on a thermostat that is not responding covers the compressor delay, and our HVAC troubleshooting tips cover the checks to run first.
We would rather you spend ten minutes confirming what you have than replace a working thermostat and still have no cooling in July.
— MDTECH
Wiring problems that look like a bad thermostat
Many “thermostat won’t work” calls trace back to wiring rather than the device. Watch for these:
- Blank screen after install. Usually no power. Check the R connection, the C connection, and the low-voltage fuse on the furnace control board.
- Fan runs constantly. A wire may be on G when it should not be, or the fan setting is on “On” rather than “Auto.”
- Cooling runs but heat never starts. The W wire may be loose or on the wrong terminal, or the heating side has no power. With two transformers, a missing Rh connection is a frequent culprit.
- System heats in cooling mode. On a heat pump, the O/B setting is reversed.
- Thermostat resets or drops Wi-Fi. A smart thermostat with no common wire may be starving for power.
A loose wire stripped too short, or one with corrosion on the tip, can also cause intermittent behavior. Trimming and re-stripping about a quarter inch of clean copper, with the power off, solves many of these cases.
Need a hand with the swap?
If you would like someone to confirm your wiring, find a C wire, or install a thermostat with the system tested end to end, our licensed technicians handle air conditioning and HVAC repair and air conditioning installation across Orange County and Los Angeles County. You can book online through the MDTECH home page. If cost is what you are weighing, our page on thermostat replacement costs explains what typically goes into the price.
Related reading before you buy
Choosing the thermostat is half the job. Our homeowner’s guide to thermostats explains how thermostat type affects efficiency, and our piece on thermostat placement shows why the location on the wall changes comfort. If you are moving a thermostat to a new spot, remember that the cable has to reach it, and that is a wiring job, not a color question.
FAQ
What color is the C wire on a thermostat?
The C wire is most commonly blue or black, but the color is not standardized. Look at your current thermostat and see whether a wire is attached to the terminal marked C. If there is none, an unused wire in the cable may work, or you can add a C-wire conversion kit.
What is the difference between R, Rc and Rh?
R is 24-volt power from the heating transformer, and Rc is 24-volt power from the cooling transformer. With a single red wire, connect it to R and leave the jumper between R and Rc in place. With two red wires, connect R or Rh to R and Rc to Rc, and remove the jumper.
Can I rely on wire colors when connecting a new thermostat?
No. There is no standard for which color controls which function, so a wire’s color can be misleading. Photograph the old wiring, label each wire by the terminal it came off, and match those labels to the terminals on the new thermostat.
When should I call a professional instead?
Call an HVAC contractor if you see A, B, C or 1, 2, 3 terminals, have a dual-fuel system, or are unsure what you have. Also stop if the wires are thick or the system runs on line voltage, because a low-voltage thermostat cannot control it.
Sources
- How to Wire a Thermostat | Thermostat Wiring Diagram, Honeywell Home
- What is a C-Wire or Common Wire, Sensi by Copeland
- How to Install a Smart Thermostat, The Spruce
- Building America Best Practices Series Vol. 14, U.S. Department of Energy