Appliance breakdowns can catch anyone off guard, yet nearly 40 percent of dryer repairs could be handled at home with the right approach. Dryers are built to last, but simple issues like worn parts or clogged vents often trigger bigger problems. Tackling your own dryer repair can save money and boost confidence, provided you know where to start and how to put safety first. This guide shows you practical steps to safely fix your dryer and keep it running smoothly.
Table of Contents
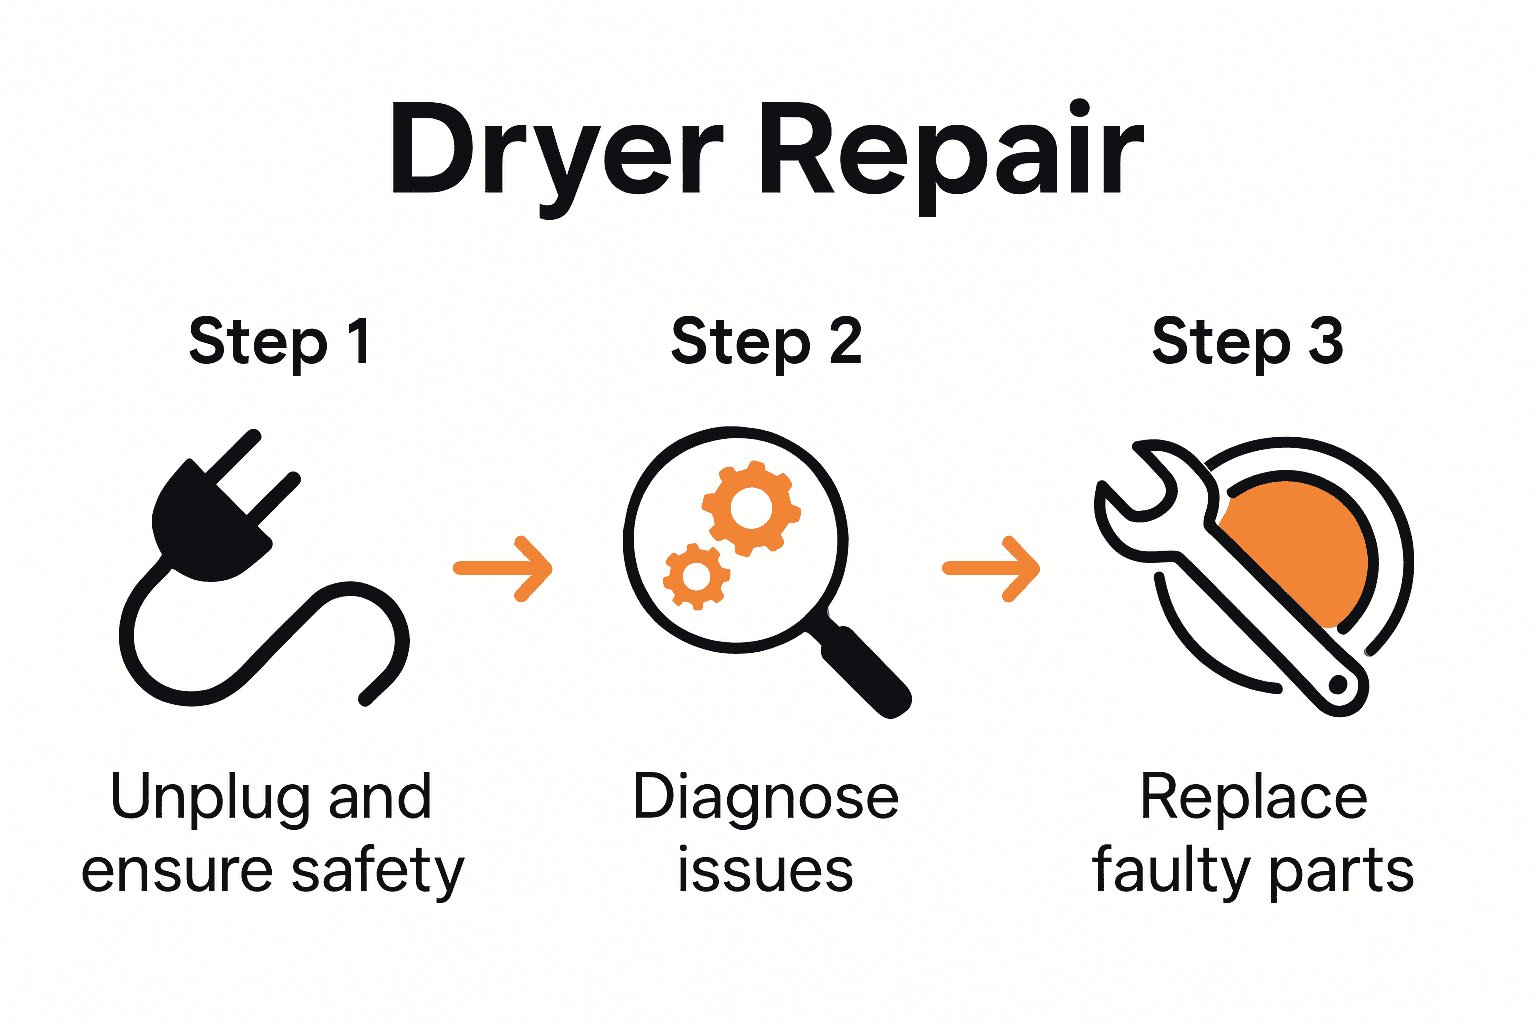
- Step 1: Prepare For Dryer Repair Safely
- Step 2: Diagnose Common Dryer Problems
- Step 3: Disassemble And Inspect Key Components
- Step 4: Replace Or Repair Faulty Parts
- Step 5: Reassemble And Test The Dryer
Quick Summary
| Key Point | Explanation |
|---|---|
| 1. Always ensure electrical safety. | Unplug the dryer completely to avoid electrical hazards before starting any repair work. |
| 2. Shut off gas supply if applicable. | For gas dryers, confirm the gas supply is turned off to prevent dangerous leaks and accidents. |
| 3. Document issues and observations. | Take notes or photos of any unusual sounds or wear to assist in diagnosis or when consulting professionals. |
| 4. Use manufacturer-approved replacement parts. | Always replace parts with manufacturer-approved options to ensure compatibility and maintain warranty coverage. |
| 5. Test the dryer thoroughly after repair. | After reassembly, run a complete test cycle and listen for unusual sounds to ensure proper functioning. |
Step 1: Prepare for Dryer Repair Safely
Before diving into dryer repairs, you need to set up a safe work environment that protects both you and your appliance. Safety isn’t just a suggestion here it’s absolutely critical. According to Fixr, the first step is always ensuring electrical safety by completely unplugging the dryer from its power source.
If you’re working with a gas dryer, the stakes are even higher. You’ll want to confirm the gas supply is fully shut off to prevent potential dangerous leaks. Wear protective gear like sturdy work gloves and safety glasses to shield yourself from unexpected injuries. As Right White Goods recommends, these simple precautions can make a massive difference in preventing accidents during your repair process.
One pro tip: always keep a fire extinguisher nearby when working with electrical or gas appliances. While it might seem overcautious, having quick access to emergency equipment can provide peace of mind and potentially save your home if something unexpected occurs. With these safety measures in place, you’re now ready to move forward with confidence and tackle your dryer repair systematically.
Step 2: Diagnose Common Dryer Problems
Diagnosing dryer problems requires a systematic approach and keen observation of your appliance’s performance. Your goal is to understand what might be causing the malfunction by carefully examining the symptoms and checking key components that frequently contribute to dryer issues.
Start by listening for unusual sounds when the dryer runs. Squealing could indicate a worn drum support roller or damaged belt. Thumping might suggest an unbalanced load or a problem with the drum rollers. Check for airflow restrictions by examining the lint filter and exhaust vent. A blocked vent can cause longer drying times and potentially create a fire hazard. Look for signs of wear on the drum belt look for cracks or fraying that might prevent smooth rotation. Inspect the heating element for visible damage or signs of burnout which can cause inconsistent heating.
One critical tip: document everything you observe. Take notes or even photos of any unusual wear, sounds, or performance issues. This documentation can be incredibly helpful if you decide to call a professional repair service or need to order replacement parts. Your detailed observations can save time and potentially reduce repair costs by providing precise information about the dryer’s condition. With these diagnostic steps complete, you are now ready to move toward understanding which specific repairs might be necessary.
Step 3: Disassemble and Inspect Key Components
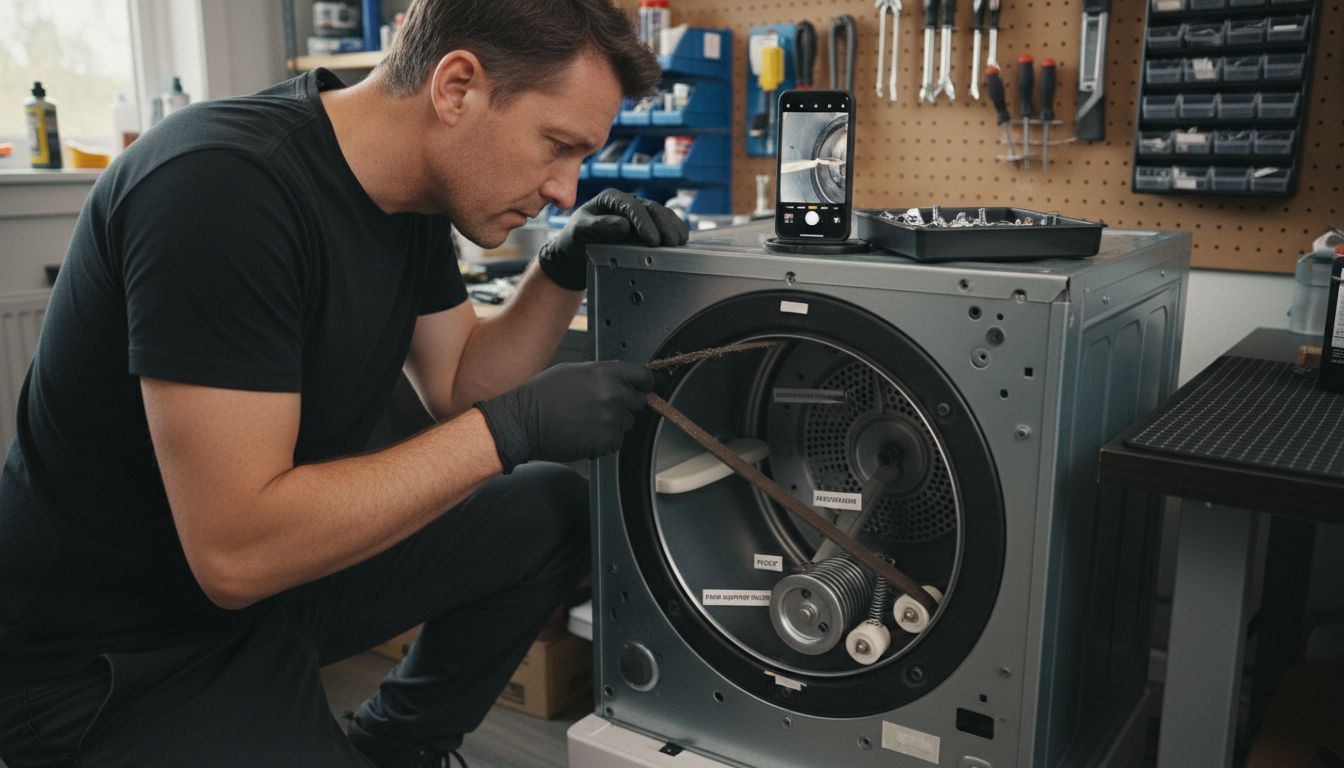
Now it is time to carefully investigate the inner workings of your dryer by systematically disassembling and examining its critical components. According to Fixr, the first step is removing the top and front panels to gain access to the internal mechanisms that power your appliance.
Start with the drum belt your primary focus. As recommended by Bosch Home, carefully inspect the belt for any signs of wear such as cracks, fraying, or stretching that might impede smooth rotation. Check the drum rollers and idler pulley to ensure they move freely without resistance. Examine the heating element and thermal fuse for any visible damage or signs of burnout. Look for discoloration scorch marks or any indication that these components are not functioning at optimal capacity.
A critical pro tip always take photos of the disassembly process. Before removing any components snap pictures from multiple angles. These reference photos will prove invaluable when you start reassembling the dryer and are unsure about the exact placement of each part. Keep your workspace organized by placing screws and small components in a magnetic parts tray to prevent losing anything during the inspection.
 With these detailed examinations complete you are now prepared to determine which specific parts might require replacement or repair.
Step 4: Replace or Repair Faulty Parts
With your careful inspection complete, you are now ready to tackle the most critical phase of dryer repair replacing or repairing the components that are causing performance issues. According to Fixr, the key is to use manufacturer approved parts to ensure proper functionality and compatibility with your specific dryer model.
Start by removing the damaged component carefully. If you are replacing the drum belt, ensure you thread it precisely around the drum and pulleys. When dealing with electrical parts like the heating element or thermal fuse, pay close attention to the connection points. As Bosch Home recommends, always consult your dryer service manual for detailed installation instructions. Some components require specific torque settings or alignment techniques that are crucial for proper operation.
One critical pro tip always buy genuine replacement parts directly from the manufacturer or an authorized dealer. Aftermarket parts might seem cheaper but can compromise your dryer performance or void existing warranties. Take your time during installation double check each connection and ensure everything is seated correctly before reassembling the entire unit. With these careful replacement steps complete you are now positioned to test your dryer and restore its optimal functioning.
Step 5: Reassemble and Test the Dryer
You are in the final stage of your dryer repair journey reattaching panels and preparing to verify that your hard work has successfully restored the appliance to full functionality. According to Fixr, the key is to carefully secure all panels and ensure every wire and connection is properly reattached before powering up the machine.
Begin by methodically replacing each panel you previously removed making sure they click into place firmly and are fully seated. As Bosch Home recommends restore power to the dryer and run a comprehensive test cycle. Pay close attention to the drum rotation checking that it moves smoothly without any unusual sounds or jerking motions. Verify the heating element is working correctly by confirming the dryer reaches and maintains appropriate temperatures during the cycle.
One critical pro tip listen carefully during the first test run. Unusual sounds like grinding scraping or persistent thumping could indicate that a component was not reinstalled correctly. If something seems off stop the dryer immediately and double check your work. Trust your ears and your instincts if the machine does not sound or feel right. This careful approach will help ensure you have successfully completed your dryer repair and restored the appliance to its optimal performance.
Ready to Fix Your Dryer With Confidence and Expert Support
Repairing your dryer can feel overwhelming when you face challenges like diagnosing faulty parts, ensuring electrical and gas safety, or replacing worn components. This step-by-step guide shows you the importance of careful inspection and reassembly but getting it done right takes experience and professional skill. Whether you spot unusual sounds, worn drum belts, or heating issues you cannot fully resolve on your own, reliable help is within reach.

Don’t risk safety or prolong inconvenience. Connect with licensed technicians who specialize in dryer repair and more across Orange County and Los Angeles County at Appliance Repair MD Tech. They provide fast, trustworthy service so you get your dryer working perfectly without guesswork or hassle. Visit Appliance Repair MD Tech today to book your appointment and bring ease back to your home chores. For every step from diagnosis to professional maintenance, expert help is just a click away.
Frequently Asked Questions
How do I safely prepare for dryer repair?
To prepare for dryer repair safely, start by unplugging the dryer from its power source to avoid electrical hazards. If it’s a gas dryer, ensure the gas supply is shut off, and wear protective gear like gloves and safety glasses. Additionally, keep a fire extinguisher nearby as a precaution.
What are common symptoms that indicate my dryer needs repair?
Common symptoms of a malfunctioning dryer include unusual noises such as squealing or thumping, longer drying times, and failure to heat. Check for airflow restrictions, worn drum belts, and inspect the heating element for visible damage. Document any symptoms you observe to assist in repairs or when seeking professional help.
How do I disassemble my dryer for inspection?
To disassemble your dryer, start by removing the top and front panels to access internal components. Carefully take note of the placement of screws and parts during disassembly, and keep them organized to aid in reassembly. Ensure you take photos as references to help you remember where everything goes.
How can I replace faulty dryer parts effectively?
To replace faulty dryer parts, first identify the damaged component and remove it carefully. Use manufacturer-approved replacement parts for compatibility and ensure all connections are seated correctly during reinstallation. Double-check your work before powering the dryer back on to confirm the repair was successful.
How do I test my dryer after a repair?
After reassembling your dryer, restore power and run a comprehensive test cycle to check for proper operation. Listen for any unusual sounds and observe the drum’s movement and heating performance. If you notice any irregularities during this test, stop the dryer immediately and reassess your work.
What should I do if my dryer is still not working after repairs?
If your dryer is still not working after repairs, review the steps you took to ensure all connections were made correctly and all components were reinstalled properly. Consider looking for any non-visible issues or repetitive symptoms before deciding whether to seek professional assistance. It’s important to be thorough in your inspection before concluding the repair attempt.
Recommended
- Broan repair In Irvine Orange CA
- Ge Fridge Repair And Installation In California
- Appliance Repair Whittier – MDTECH APPLIANCE REPAIR
- Tujunga Appliance Repair: Expert Fixes for Home Essentials
- Step by Step iPhone Repair Guide for Local Users | Dash Cellular Repair | Cell Phone, iPhone, Laptop Repair in Oklahoma
내년 흐름을 미리 알고 대비하니까 안정감이 생겨요.
gerçekten güzel bir yazı olmuş. Yanlış bildiğimiz bir çok konu varmış. Teşekkürler.
Wonderful web site Lots of useful info here Im sending it to a few friends ans additionally sharing in delicious And obviously thanks to your effort