Most American households rely on their dryers daily, yet nearly one in three service calls could be avoided with a few basic checks. For homeowners across Orange and Los Angeles counties, tackling dryer problems can reduce hassle and costly repairs. This clear, step-by-step approach offers real help to pinpoint and resolve common dryer issues before reaching out to a professional.
Table of Contents
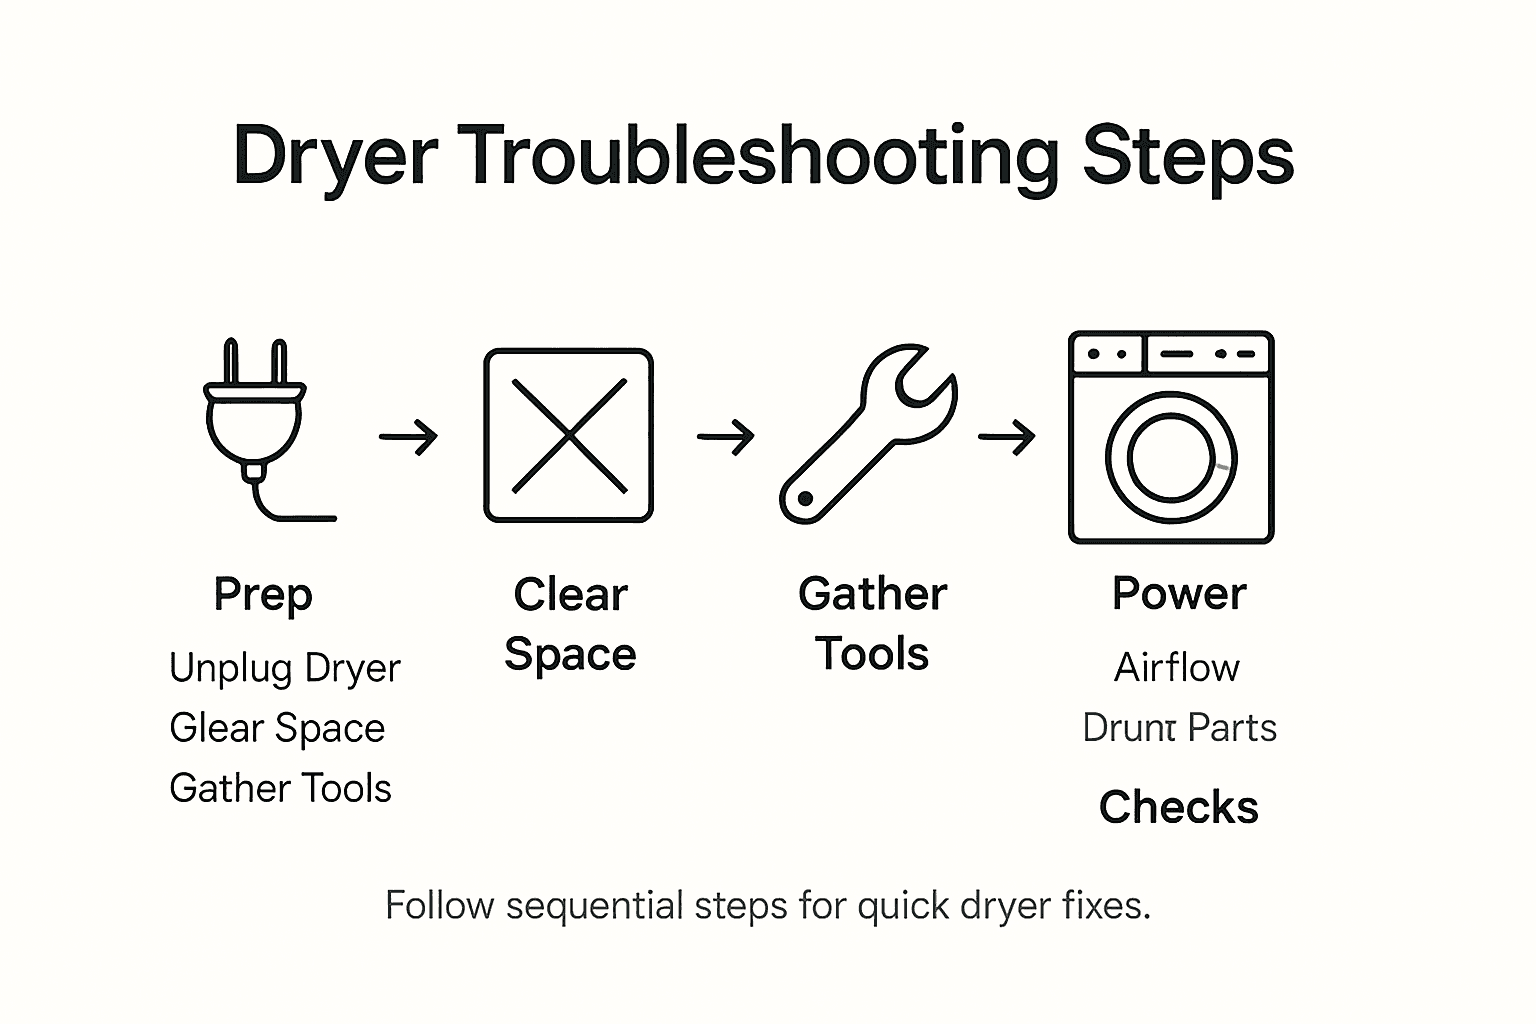
- Step 1: Prepare The Dryer And Workspace
- Step 2: Inspect Power And Connections
- Step 3: Check Airflow And Filter Blockage
- Step 4: Examine Drum And Mechanical Parts
- Step 5: Test Dryer Operation And Verify Results
Quick Summary
| Key Point | Explanation |
|---|---|
| 1. Ensure safety by preparing workspace | Unplug the dryer and clear the space before starting to prevent injuries and maintain organization during troubleshooting. |
| 2. Inspect power supply for issues | Check the power cord, outlet, and circuit breaker for damage or tripping to identify electrical problems. |
| 3. Maintain clear airflow to prevent risks | Clean the lint screen and check for blockages in the vent system to ensure safe and efficient dryer operation. |
| 4. Examine mechanical components carefully | Inspect the drum, rollers, and belts for wear and damage to identify potential performance failures. |
| 5. Test dryer operation thoroughly after repairs | Reconnect and run the dryer to verify functionality and confirm that all repairs were successful. |
Step 1: Prepare the dryer and workspace
Before diving into any dryer troubleshooting, you need a safe and organized workspace that sets you up for success. Proper preparation minimizes risks and ensures you can work efficiently and safely.
Start by unplugging your dryer completely from the electrical outlet. If you have a gas dryer, turn off the gas supply valve located near the appliance. This critical first step prevents potential electrical shocks or gas leaks while you investigate the problem. Clear a workspace around the dryer with good lighting and enough room to move comfortably. Gather basic tools like screwdrivers, pliers, and a multimeter, and place them within easy reach. Following safety protocols from appliance experts means protecting yourself with work gloves and safety glasses to prevent potential injuries during the diagnostic process.
Position your dryer so you can easily access its back panel and internal components. If possible, pull the dryer away from the wall to give yourself ample workspace. Have a clean towel or drop cloth nearby to place removed parts and prevent losing small screws or components during your troubleshooting.
Pro Tip: Take a quick smartphone photo of the dryer’s internal layout before you start disassembling anything, which can help you remember exactly how components fit together when reassembling.
Step 2: Inspect power and connections
Now that your workspace is prepared, it is time to investigate the electrical systems powering your dryer. Understanding power connections is crucial for diagnosing potential electrical issues that might prevent your appliance from functioning correctly.
Begin by carefully examining the power cord for any visible signs of wear, fraying, or damage. When inspecting electrical components, follow manufacturer safety recommendations by first ensuring the circuit breaker is turned off. Check the wall outlet for burn marks, discoloration, or signs of overheating that could indicate underlying electrical problems. Verify the outlet is functioning properly by plugging in another device to confirm it is providing consistent power. For gas dryers, additionally check that the electrical outlet powering the control panel is operational.
Next, locate your home’s circuit breaker panel and confirm the dryer circuit has not tripped. Gently push the dryer circuit breaker to the fully off position, then firmly reset it to the on position. This can sometimes resolve intermittent power issues. If the breaker immediately trips again when reset, this could signal a more serious electrical problem requiring professional investigation.
Pro Tip: Keep a voltage tester or multimeter nearby to quickly verify electrical connections and outlet functionality during your diagnostic process.
Step 3: Check airflow and filter blockage
Proper airflow is crucial for your dryer to function efficiently and safely. Understanding how to identify and resolve blockages can prevent potential fire hazards and improve your appliance’s performance.
Maytag manufacturer guidelines highlight the critical importance of maintaining clear ventilation paths to prevent overheating and potential safety risks. Start by removing the lint screen and thoroughly cleaning it with warm water and mild soap. Pay close attention to any visible lint buildup or residue that might obstruct airflow. Inspect the lint screen housing for accumulated lint and use a vacuum attachment or soft brush to remove any trapped debris.
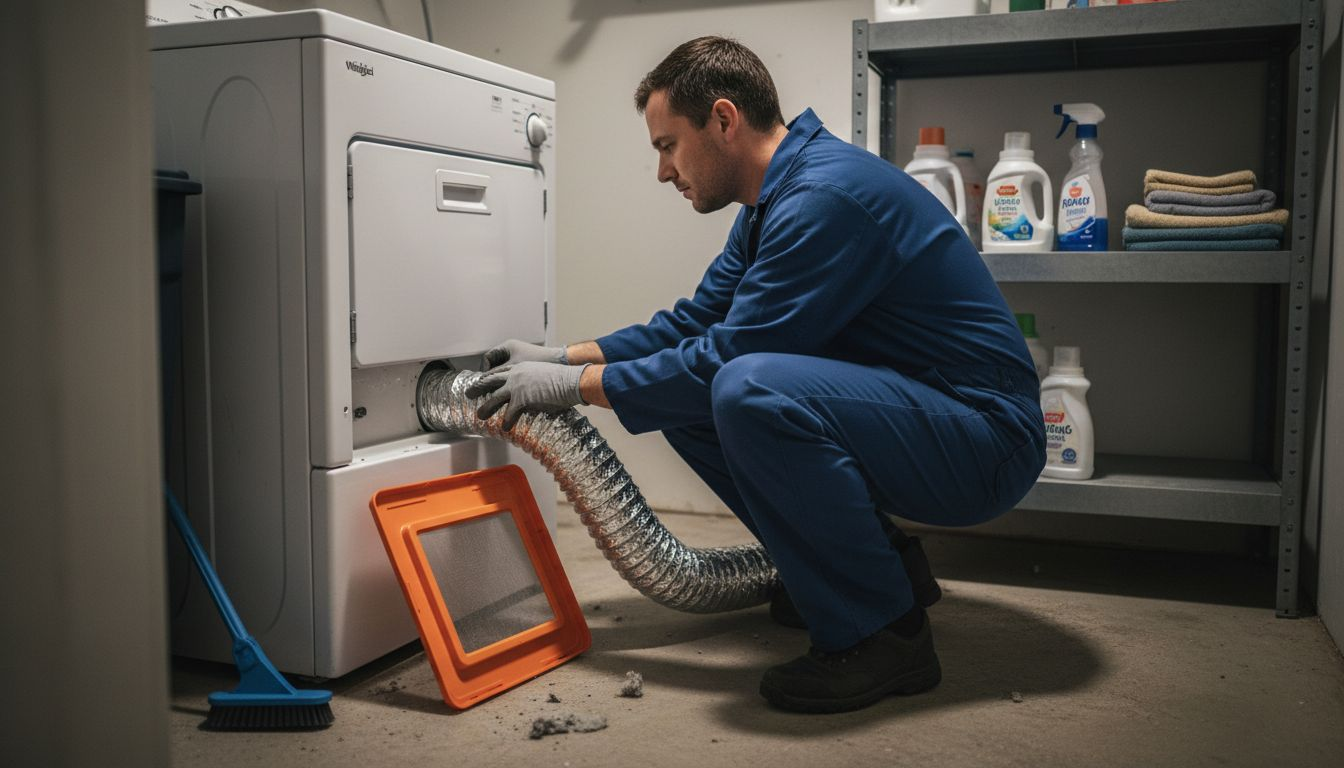
Next, examine the entire ventilation system. Carefully disconnect the vent hose from both the dryer and the exterior wall vent. Check for any signs of crushing, kinking, or excessive lint accumulation. Look for potential blockages that might restrict air movement, such as bird nests, debris, or significant lint buildup. If the vent hose appears damaged or excessively compressed, consider replacing it to ensure optimal airflow. For gas dryers, proper ventilation is especially critical to prevent dangerous gas buildup and potential carbon monoxide risks.
Pro Tip: Consider using a specialized dryer vent cleaning brush or hiring a professional for a comprehensive vent cleaning at least once a year to maintain optimal dryer performance and safety.
Step 4: Examine drum and mechanical parts
With your dryer partially disassembled, it is time to perform a comprehensive inspection of the internal mechanical components that drive its operation. Understanding the condition of these critical parts will help you diagnose potential performance issues.
Professional repair guides recommend a systematic approach to examining mechanical components, starting with the drum and its supporting mechanisms. Begin by manually rotating the drum to check for smooth movement and listen for any unusual sounds like grinding, squeaking, or thumping. Inspect the drum rollers for signs of wear or damage. These small wheels support the drum’s rotation and can cause significant performance problems when they become worn. Check the drive belt for fraying, cracking, or excessive slack. A damaged belt can prevent the drum from turning correctly and may cause your dryer to stop functioning entirely.
Carefully examine the glide bearings and seals around the drum. These components reduce friction and allow smooth rotation. Look for visible signs of wear such as uneven surfaces, cracks, or material buildup that could impede movement. For gas dryers, pay extra attention to the motor and pulley system, ensuring all connections are secure and components move freely without resistance. If you notice any significant wear or hear persistent unusual sounds during your inspection, these could indicate that specific mechanical parts require replacement.
Pro Tip: Take clear smartphone photos of each component before removal to help you remember their exact positioning during reassembly.
Step 5: Test dryer operation and verify results
After carefully inspecting and potentially repairing your dryer, the final critical step is to thoroughly test its operation and confirm that all mechanical systems are functioning correctly. This verification process will help ensure your repair efforts have successfully resolved the initial problem.
Specialized diagnostic techniques can help safely evaluate your dryer without risking electrical damage, starting with using a multimeter to check component continuity. Begin by reconnecting all electrical connections and securing panels. Plug in the dryer and select a standard heat cycle. Listen carefully for consistent drum rotation, normal operational sounds, and observe whether the drum heats appropriately. Watch for any unusual vibrations, strange noises, or inconsistent tumbling that might indicate remaining mechanical issues.
If your dryer model offers a diagnostic mode, utilize this feature to run a comprehensive system check. Some manufacturers provide built-in testing protocols that can quickly reveal underlying problems. Pay close attention to any error codes displayed on the control panel. These codes can provide specific insights into potential electrical or mechanical faults. Run a full cycle and monitor temperature consistency, airflow, and overall performance. If you notice any persistent issues or unexpected behaviors, it might be time to consult a professional repair technician who can perform more advanced diagnostics.
Pro Tip: Keep a detailed log of your observations during testing, including specific sounds, temperatures, and cycle durations, which can help diagnose any recurring problems.
This table highlights common signs of dryer problems and what they might indicate:
| Symptom | Possible Cause | Suggested Action |
|---|---|---|
| Dryer won’t start | Power issue or tripped breaker | Inspect cord, reset breaker |
| Clothes not drying | Blocked airflow or clogged vent | Clean vent and lint screen |
| Loud noises | Worn drum rollers or belt | Inspect and replace parts |
| Unusual smells | Lint buildup or overheating | Check for blockages, clean vent |
| Drum won’t turn | Broken or loose drive belt | Check and replace belt |
Here’s a quick summary of the main troubleshooting steps and what each checks:
| Step | Focus Area | Key Objective |
|---|---|---|
| 1 | Workspace Preparation | Ensure safety and organization |
| 2 | Power & Connections | Identify electrical or connection issues |
| 3 | Airflow & Blockage | Prevent fire risks and overheating |
| 4 | Drum & Mechanical | Detect worn belts or parts |
| 5 | Operation Testing | Confirm successful repair and operation |
Expert Dryer Repairs When You Need Them Most
Struggling with a dryer that won’t start, overheats, or makes loud noises can be frustrating and disrupt your daily routine. This article’s detailed troubleshooting steps like checking power connections, inspecting airflow blockages, and testing mechanical parts highlight common pain points that many homeowners face. Instead of spending hours diagnosing issues or risking your safety, trust professionals who understand the critical importance of safety protocols and thorough diagnostics to restore your dryer’s performance swiftly.

Get reliable, local appliance repair with licensed technicians ready to solve your dryer problems in Orange County and Los Angeles County. Whether it’s a broken belt, clogged vent, or electrical fault, book your expert service appointment now and experience fast, trustworthy repair backed by years of experience. Don’t wait until small issues become costly. Visit Appliances Repair MD Tech and let skilled professionals handle your appliance repair needs with care and efficiency.
Frequently Asked Questions
What should I do first when troubleshooting my dryer?
To start troubleshooting your dryer, prepare a safe and organized workspace. Unplug the dryer from the electrical outlet or turn off the gas supply if it’s a gas dryer, and gather essential tools like screwdrivers and a multimeter to begin your inspection.
How can I check if my dryer is receiving power?
Inspect the power cord for visible damage and check the wall outlet for burn marks or discoloration. Plug in another device to test the outlet’s functionality, and ensure the circuit breaker for the dryer hasn’t tripped.
What steps do I need to take for checking airflow and vent blockage?
Begin by cleaning the lint screen and inspecting the lint screen housing for trapped debris. Follow this by disconnecting the vent hose from the dryer and the exterior wall vent to check for kinks, crushing, or lint accumulation that may restrict airflow.
How can I tell if the drum and mechanical parts of my dryer need repair?
Manually rotate the drum to check for smooth movement, and listen for unusual sounds like grinding. Inspect the drum rollers and the drive belt for signs of wear or damage, as these components are critical for proper operation.
What should I do after inspecting and repairing my dryer to ensure it works correctly?
After repairs, reconnect all components and plug in the dryer to test its operation. Run a standard cycle and monitor for consistent drum rotation and normal sounds to confirm that all systems are functioning properly.
How can I use error codes to troubleshoot my dryer effectively?
If your dryer model has a diagnostic mode, use it to run a system check and display any error codes. Take note of these codes, as they provide specific insights into electrical or mechanical faults that need addressing.