No one expects to walk into their laundry room and find water pooling under the washing machine. For homeowners in Orange and Los Angeles Counties, aging washer hoses face extra stress from frequent use and the mineral-rich hard water unique to Southern California. Regular inspection and timely replacement of these hoses can prevent costly leaks and protect your home’s structure from avoidable water damage.
Table of Contents
- Washer Hoses And Why They Fail
- Types Of Washer Hoses And Lifespans
- Recognizing Signs Of Hose Deterioration
- Risks And Damage From Faulty Hoses
- Prevention Tips And Replacement Guidelines
Key Takeaways
| Point | Details |
|---|---|
| Hose Types Impact Longevity | Choose stainless steel braided hoses for greater durability and resistance to water damage, especially in hard water areas. |
| Inspect Regularly | Perform inspections every six months to identify signs of wear, such as cracks and bulges, to prevent catastrophic failures. |
| Proper Installation Prevents Damage | Ensure hoses are installed without sharp bends and secured properly to avoid pinching and kinking that accelerates wear. |
| Replacement Timing is Crucial | Replace standard rubber hoses every 5 years, regardless of their appearance, to mitigate risks of failure and costly water damage. |
Washer Hoses and Why They Fail
Your washer hoses are under constant stress. Every wash cycle exposes them to water pressure, temperature changes, and repeated flexing that most homeowners never think about until water suddenly appears under the machine. In Southern California’s dry climate, hoses face an additional challenge: the mineral-rich hard water common throughout Orange and Los Angeles Counties accelerates deterioration far faster than you might expect. Understanding what causes hoses to fail is the first step toward protecting your home from potentially thousands of dollars in water damage.
The primary culprits behind washer hose failure include corrosion, aging, repeated flexing, and abrasion. Corrosion eats away at hoses from the inside out, particularly in areas with hard water that deposits minerals inside the tubing. The outer reinforcement layers can develop cracks and soft spots that aren’t visible from a quick glance. Aging is inevitable. Even quality hoses degrade over time as rubber becomes brittle, losing its flexibility and ability to withstand pressure. The constant back-and-forth motion of the washing machine itself causes hoses to bend, stretch, and flex thousands of times annually. This repeated motion weakens the material, similar to how bending a paperclip repeatedly until it eventually snaps. Sharp kinks, improper securing to the machine, or hoses crushed against walls and cabinets accelerate this damage significantly. According to research on hose failure risks, damage symptoms include outer braid corrosion, soft spots, and visible leaks. Many failures also stem from what appears to be minor handling issues that compound over years.
One often overlooked factor is how hoses are installed and positioned. If your washing machine sits in a tight space, the hoses may be bent at sharp angles right where they connect to the wall or machine. This creates a pressure point that weakens the hose dramatically. Similarly, if a hose gets caught and kinked during laundry room reorganization, that damaged section may not leak immediately, but it will eventually fail under pressure. The rubber loses its structural integrity at that point. In some cases, damaged reinforcements and soft spots develop from being stepped on, pinched by furniture, or simply rubbed against rough edges for years.
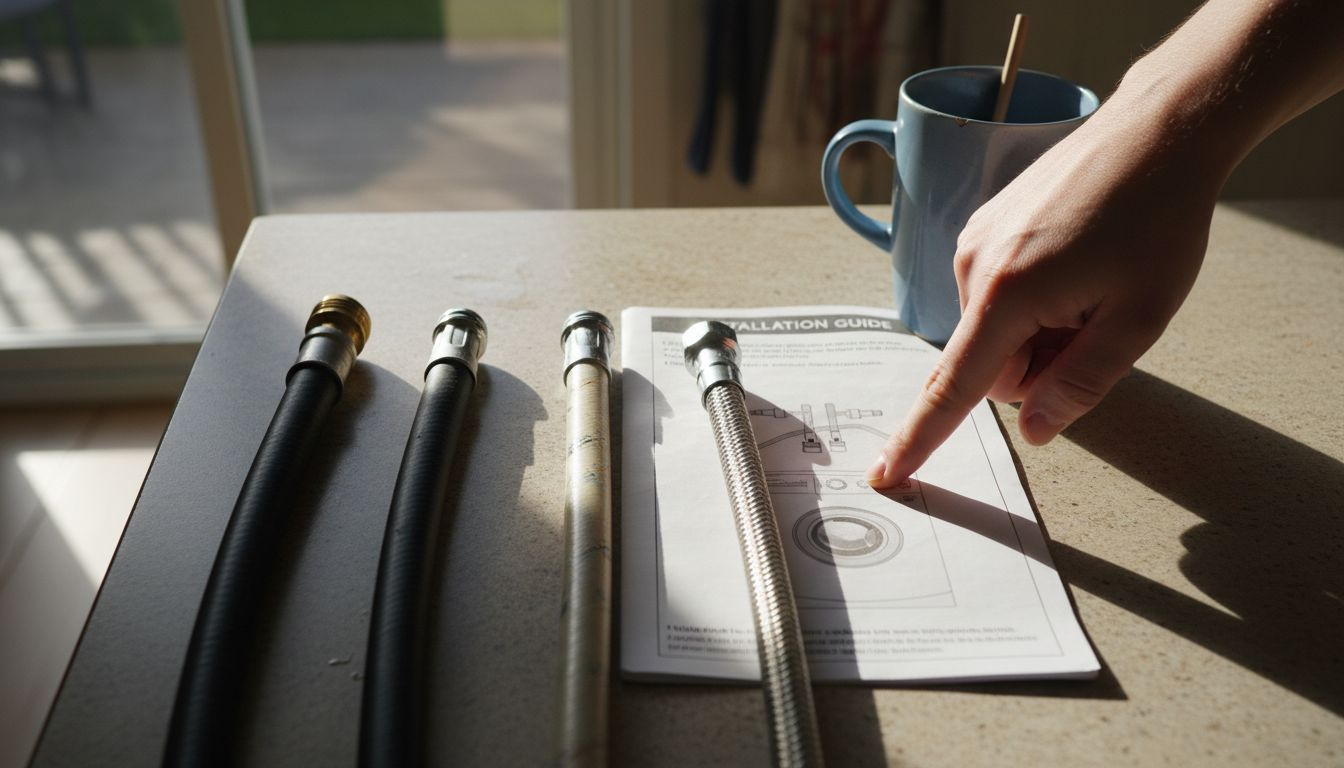
Pro tip: Check your washer hoses right now by turning off the water supply, removing them from the machine, and looking for cracks, discoloration, bulges, or crusty mineral deposits. If you see any of these signs, replace the hoses immediately rather than waiting for a leak to discover the problem.
Types of Washer Hoses and Lifespans
Not all washer hoses are created equal, and the type you choose directly affects how long your washing machine can run without risking a catastrophic leak. When you walk into a hardware store or look online, you’ll find several distinct varieties, each with different durability profiles and price points. Understanding these options helps you make an informed decision that protects your Orange or Los Angeles County home from water damage while avoiding overpaying for features you don’t need.
The most common hose types are rubber hoses, reinforced rubber hoses, and stainless steel braided hoses. Standard rubber hoses are the least expensive option but also the most vulnerable. These typically last around 5 years or less, depending on your water quality and how much stress the hoses experience. If you have hard water like most Southern California residents, mineral buildup accelerates degradation significantly. Reinforced hoses add a layer of synthetic material or nylon weaving around the rubber core, extending lifespan somewhat, but they still require replacement within similar timeframes. Stainless steel braided hoses, by contrast, offer superior durability and burst resistance. The metal braiding provides structural support that prevents splitting and ruptures, making them far more resistant to both physical damage and corrosion. According to research on stainless steel hose durability, these hoses often last around 10 years or longer, roughly double the lifespan of rubber alternatives. The extra upfront cost typically pays for itself through fewer replacement cycles and reduced water damage risk.
Here is a comparison of washer hose types, highlighting their durability and practical considerations:
| Hose Type | Typical Lifespan | Durability Features | Suitability for Hard Water |
|---|---|---|---|
| Standard Rubber | Up to 5 years | Prone to bursts, lowest cost | Poor |
| Reinforced Rubber | 5-7 years | Added strength, moderate price | Moderate |
| Stainless Steel Braided | 8-10+ years | High burst resistance, longest life | Excellent |
Your choice should consider several practical factors. Space constraints matter—if your washer sits in a tight corner, the stiffer stainless steel braiding might make installation more difficult than flexible rubber. Water pressure from your home’s supply line matters too. Older homes in areas like downtown Los Angeles sometimes have irregular water pressure that stresses hoses more intensely than newer suburban installations. Material selection should also account for local water temperature and mineral content. Hard water areas benefit most from stainless steel options because the braiding resists mineral accumulation better than rubber. According to guidance on hose selection and material compatibility, routine inspection is essential regardless of type. Don’t wait for the 5 to 10 year mark to inspect your hoses. Check them annually for signs of wear, especially if you’ve noticed hard water deposits, discoloration, or any visible degradation in the outer layers.
Pro tip: When replacing hoses, upgrade to stainless steel braided if your budget allows, even if your current hoses are rubber—the longer lifespan and burst resistance make them worth the investment for peace of mind and protection against flooding.
Recognizing Signs of Hose Deterioration
Water damage claims from washer hose failures represent some of the most preventable losses homeowners face. The problem is that most people don’t know what to look for until they find puddles on the laundry room floor. By that point, the damage is already done. Catching deterioration early gives you the chance to replace hoses before they fail catastrophically. Learning to spot the warning signs takes just a few minutes, and it could save you tens of thousands of dollars in repairs to flooring, drywall, and adjacent rooms.
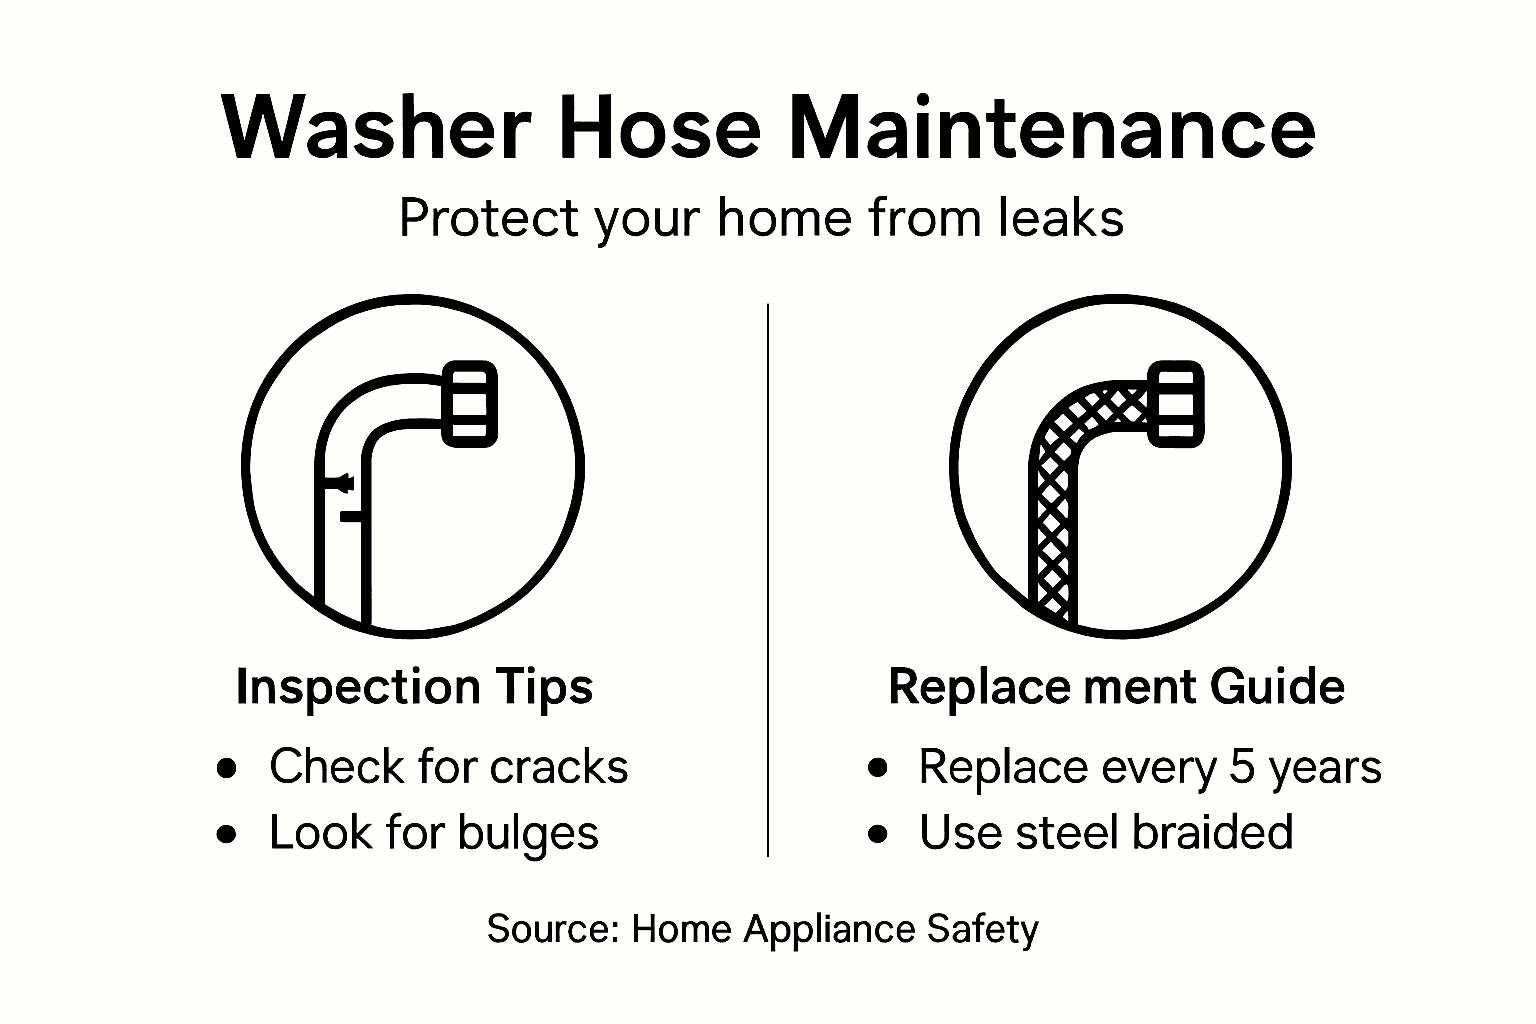
Start by examining the outer surface of your hoses for visible damage. Look for cracks, fraying, bulges, and discoloration, which are the most obvious red flags. Cracks in the outer covering allow water to seep through, and what starts as a small drip will expand as pressure increases. Frayed braiding on stainless steel hoses indicates that the protective layers are compromised. Bulges in the hose walls suggest internal pressure buildup or material weakness, and these almost always lead to rupture within days or weeks. Discoloration, especially white or reddish crusty deposits, indicates mineral corrosion from hard water working its way through the material. If you notice soft spots when you squeeze the hose gently, that’s another critical warning sign. A healthy hose should feel firm throughout its length. Soft areas indicate that the rubber has begun to deteriorate and can no longer maintain its structural integrity. You should also inspect the fittings at both ends where the hose connects to your machine and water supply. According to research on external hose deterioration indicators, corroded fittings and damaged seals are just as dangerous as damage to the hose itself. Look for rust, corrosion, or loose connections that move when you gently wiggle them.
Don’t forget to check flexibility and listen for warning sounds. Bend the hose gently along its length. If you encounter rigid sections that resist bending, internal deterioration has likely begun. Healthy hoses flex smoothly without resistance. Any leaks, even tiny drips, demand immediate replacement. A leak that appears small now will grow under pressure during the next wash cycle. When inspecting, pay special attention to areas where hoses are kinked, pinched, or pressed against sharp edges. These spots deteriorate faster than the rest of the hose. According to inspection guidelines for detecting abrasions and cracks, immediate replacement is necessary if you find any of these warning signs. Don’t put off this replacement hoping the hose will last another few months.
Pro tip: Mark your calendar to inspect your washer hoses every six months, specifically checking for the five critical signs: cracks, bulges, soft spots, white mineral deposits, and loose fittings—catching problems early prevents costly water damage.
Risks and Damage from Faulty Hoses
A single hose failure can cost you more than you initially paid for your washing machine. While industrial applications face hazardous chemical leaks, residential hose failures create a different but equally serious problem: water intrusion into your home’s structure. The financial and personal consequences of a faulty washer hose extend far beyond the cost of replacing the hose itself. In Orange and Los Angeles Counties, where real estate values are high and water damage claims are frequent, understanding these risks should motivate immediate action on any hoses showing wear.
Water damage from a burst hose doesn’t just wet your laundry room. Water flows into subflooring, soaks into wall cavities, and migrates to adjacent rooms. Once water reaches wood framing, drywall, and insulation, you’re looking at mold growth within 24 to 48 hours. Remediation involves removing affected materials, treating the area with antimicrobial solutions, and replacing structural components. A single hose failure can trigger damage claims exceeding $10,000 to $50,000 or more, depending on how long the water went undetected. If your washing machine sits on the second floor or above a finished basement, the damage compounds exponentially. Water cascading through ceilings affects multiple rooms simultaneously. Beyond structural damage, there’s the personal disruption. Your home becomes uninhabitable during remediation, requiring temporary housing and living expenses while contractors address the damage. Your homeowner’s insurance may cover some costs, but many policies include significant deductibles and exclusions for preventable failures resulting from inadequate maintenance.
This table summarizes the major risks of washer hose failure and the resulting impacts:
| Failure Cause | Immediate Result | Long-Term Impact |
|---|---|---|
| Hose burst | Sudden flooding | Water damage, mold growth |
| Undetected leaks | Gradual moisture buildup | Structural weakening |
| Fitting corrosion | Rapid leak or detachment | Appliance damage |
| Cracked outer layer | Slow drips | High repair costs |
The health and safety risks deserve equal attention. Mold thriving in damp walls can trigger respiratory issues, allergies, and asthma attacks in family members, particularly children and elderly relatives. Long-term exposure to mold and water damage increases susceptibility to infections and other health complications. Beyond mold, standing water attracts pests and creates conditions for bacterial growth. According to research on hose failure consequences, faulty hoses pose significant safety and environmental risks through catastrophic failures and improper connections. While residential washers don’t involve industrial hazardous materials, the principle applies: a failed hose creates conditions you cannot control. Property damage ripples beyond your immediate laundry space. Water-logged drywall loses structural integrity. Flooring buckles and warps. Electrical systems in affected areas require inspection and potential replacement. A hose failure can also damage your washing machine itself, requiring expensive repairs or full replacement if water reaches electronic components. Implementing a risk management strategy through regular inspection protects your investment and your family.
Pro tip: Install a water shutoff valve immediately behind your washing machine so you can stop water flow in seconds if a hose ruptures, significantly limiting the damage before water spreads throughout your home.
Prevention Tips and Replacement Guidelines
Prevention is exponentially cheaper than dealing with water damage. A pair of new hoses costs between $30 and $100, while water damage restoration routinely exceeds $15,000. The math is simple, yet most homeowners neglect this basic maintenance until disaster strikes. Building a simple prevention routine takes less than 30 minutes per year and protects your entire home. The good news is that preventing hose failure doesn’t require professional expertise or special tools.
Start with proper installation and positioning. When your washer is installed, ensure hoses connect directly from the wall supply lines without sharp bends. Avoid routing hoses behind the machine where they can get pinched or kinked. Hoses should have a gentle curve, not a tight angle. If your laundry room is cramped, take time to arrange the space so hoses have room to breathe. Secure hoses with clips or ties to prevent them from moving around during the spin cycle, but don’t cinch them so tightly that you restrict water flow. Check fittings where hoses connect to the machine and water supply. These connections should be hand-tight but not over-tightened, which can damage the rubber. According to guidelines for hose selection and preventive measures, avoiding sharp bends and securing hoses properly are essential to preventing failures. Additionally, select hoses appropriate for your specific application and water conditions. Stainless steel braided hoses suit most residential applications in Southern California, particularly in hard water areas.
Replacement timing is crucial. Standard rubber hoses should be replaced every 5 years regardless of condition. Even if they look fine, internal degradation may have already begun. Reinforced hoses can last slightly longer, while quality stainless steel braided hoses often reach 8 to 10 years. If you see any signs of wear, cracks, bulges, soft spots, or mineral deposits before the timeline arrives, replace them immediately. Don’t gamble on hoses that are already showing age. A performance-based maintenance approach includes scheduled inspections every six months, documenting their condition, and replacing hoses upon reaching defined wear thresholds. Keep a maintenance log noting when you last inspected and replaced hoses. This simple documentation helps you track what you’ve done and reminds you when replacement is approaching.
Create a practical inspection checklist you actually use:
- Visually examine the entire outer surface for cracks, bulges, and discoloration
- Squeeze the hose along its length to detect soft spots or rigid areas
- Check fittings for corrosion, rust, or loose connections
- Verify hoses are not kinked, pinched, or pressed against sharp edges
- Look for any evidence of previous leaks or water staining
Perform this inspection at least twice yearly, ideally before winter when cold temperatures stress hoses more intensely, and before summer when indoor temperatures peak. If you discover any issues, replace the hoses that day rather than delaying. The inconvenience of a quick replacement is nothing compared to discovering water damage weeks later.
Pro tip: When replacing hoses, photograph your current setup before disconnecting anything so you can reference the configuration when installing new hoses, and always keep spare hoses on hand to avoid prolonged periods without protection.
Protect Your Home From Costly Washer Hose Failures Today
Washer hose deterioration can lead to sudden flooding, expensive water damage, and frustrating disruptions in your household. The challenges discussed in the article highlight critical pain points like cracking, bulging, and corrosion caused by hard water and repeated flexing. Don’t wait until you see a leak or face the aftermath of damaged flooring and mold growth. Protecting your home starts with professional care you can trust.

Take control now by connecting with experienced appliance repair technicians who understand the importance of proper hose inspection, timely replacements, and safe installations. Our team at Appliance Repair MD Tech serves Orange and Los Angeles Counties with fast and reliable service for washers and related appliances. Whether you need expert advice on maintaining hoses or immediate repair to prevent flooding, schedule your appointment online for peace of mind and comprehensive support that safeguards your home.
Explore how professional maintenance and repairs can save you thousands by visiting our main service page. Don’t let a simple hose problem turn into a disaster. Act now and keep your laundry area safe and dry.
Frequently Asked Questions
What are the signs that my washer hoses need to be replaced?
Look for visible damage such as cracks, fraying, bulges, discoloration, and soft spots. Also, check the fittings for corrosion or loose connections. Regular inspections can help you catch these issues before they lead to leaks.
How often should I inspect my washer hoses for wear?
It’s recommended to inspect your washer hoses at least twice a year. Checking them yearly for signs of wear, especially signs of mineral deposits or leaks, can help prevent unexpected failures.
What type of washer hoses are best for preventing leaks?
Stainless steel braided hoses offer the greatest durability and burst resistance, making them a wise choice for preventing leaks. While they may cost more upfront, they often last longer than rubber or reinforced rubber hoses.
How can proper installation of washer hoses prevent leaks?
Ensure that the hoses are installed with gentle curves rather than sharp bends. Proper securing and positioning of hoses prevent pressure points that can lead to deterioration and eventual leaks.