Nearly 80 percent of American households experience washer breakdowns every year, turning laundry day into a frustrating chore. The right approach makes even the most stubborn appliance fixes manageable and safe, saving time, stress, and the cost of unnecessary service calls. By following proven steps and using reliable techniques, you can confidently transform washer problems into DIY victories while keeping your home running smoothly.
Table of Contents
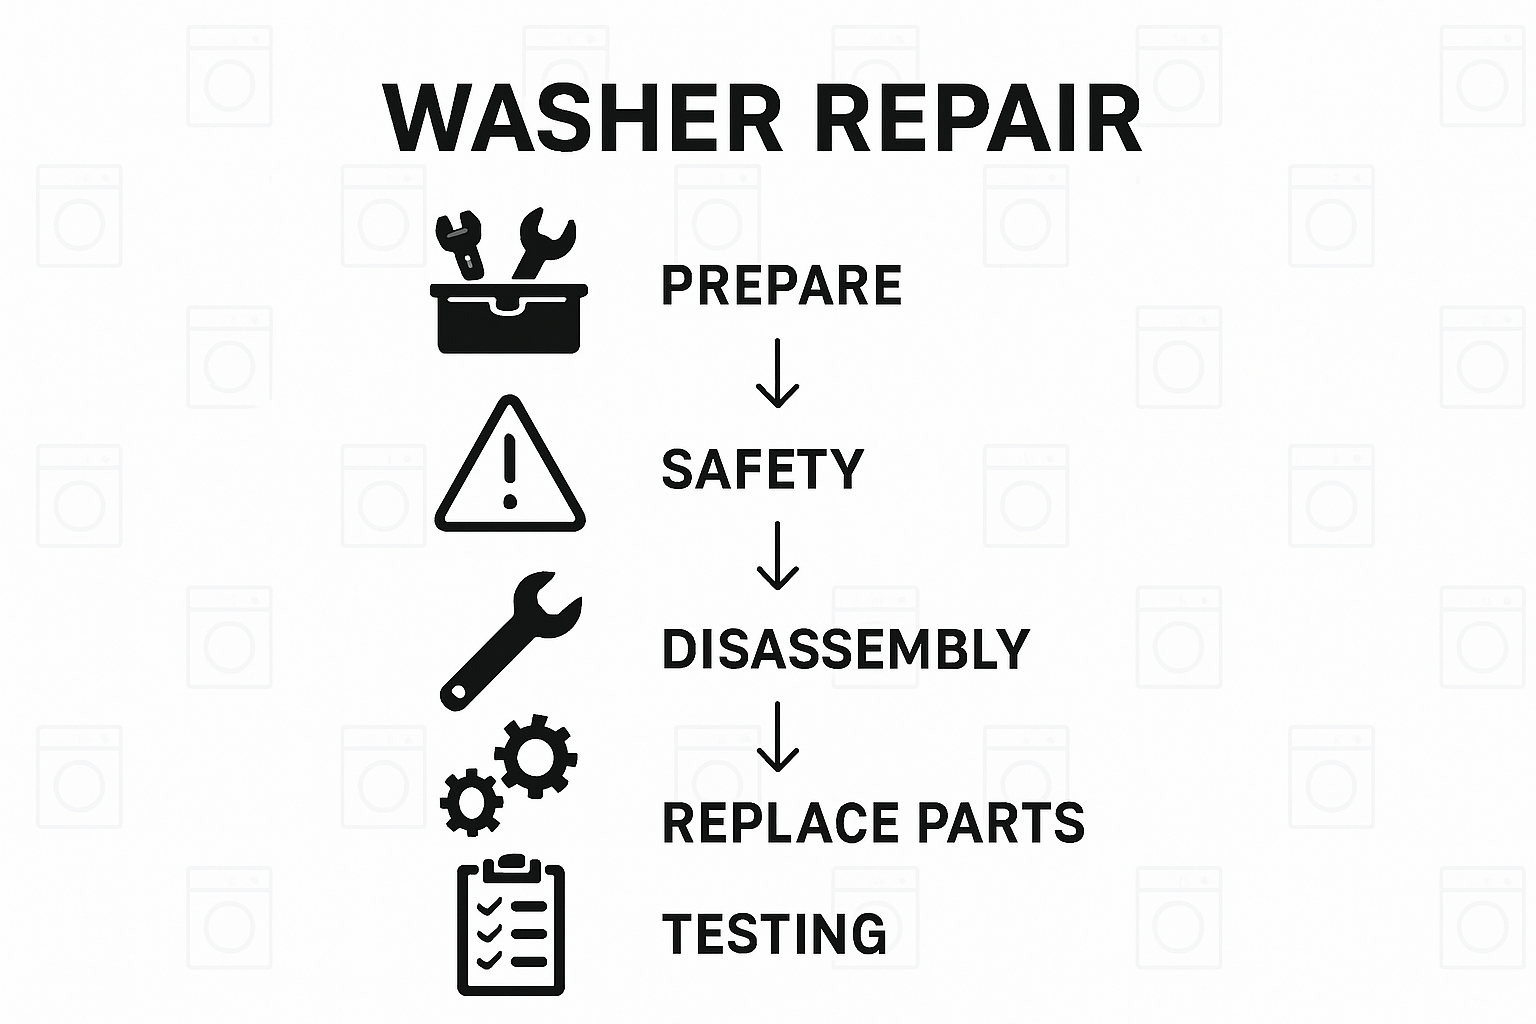
- Step 1: Prepare Tools And Ensure Safety
- Step 2: Diagnose Common Washer Issues
- Step 3: Disassemble The Washer For Inspection
- Step 4: Replace Or Repair Faulty Components
- Step 5: Reassemble And Test Your Washer
Quick Summary
| Key Point | Explanation |
|---|---|
| 1. Assemble Essential Tools First | Required tools include wrenches, pliers, a multimeter, gloves, and a flashlight. Ensure you have everything before starting repairs for efficiency. |
| 2. Prioritize Safety Measures | Always unplug your washer before inspection. Use protective gear such as gloves and glasses to avoid injuries from electrical hazards or sharp parts. |
| 3. Diagnose Issues Through Observation | Listen for unusual sounds and check for leaks or inadequate spinning. Document symptoms as they may indicate specific mechanical failures needing attention. |
| 4. Carefully Disassemble the Washer | Follow systematic steps to remove panels and components. Keep track of screws and connections by taking pictures and organizing them to aid reassembly. |
| 5. Test After Reassembly | After reassembling, power on the washer and run a test cycle. Look for any irregularities and ensure all functions operate correctly for successful repair. |
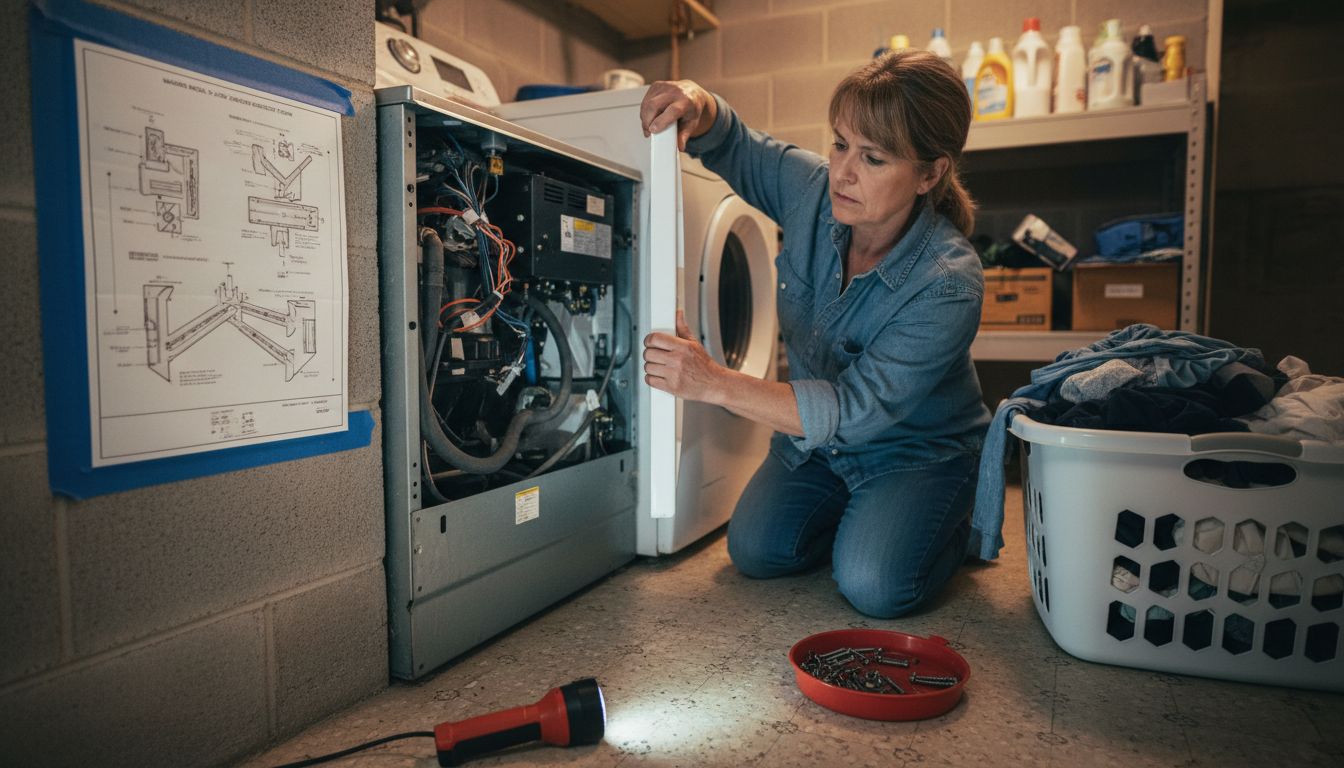
Step 1: Prepare Tools and Ensure Safety
Before diving into washer repair, gathering the right tools and prioritizing safety can transform a potentially frustrating project into a manageable DIY task. Essential tools for DIY appliance repairs are more than just random equipment they are your roadmap to successful home appliance maintenance.
Start by assembling a comprehensive toolkit that includes adjustable wrenches, needle nose pliers, channel lock pliers, a sturdy multimeter, work gloves, safety glasses, a bright flashlight, and screwdrivers with multiple head types. Pro tip wear protective gear like cut resistant gloves and safety glasses to shield yourself from potential electrical hazards or sharp metal edges. Your safety gear is not optional its mandatory.
Before touching any electrical components unplug the washer completely and verify the power is off using your multimeter. Check the area around your work space for potential trip hazards keep your workspace clean and organized. A clutter free environment reduces accidents and helps you focus on precise repair work. Stay alert stay safe and methodical in your approach.
Ready for the next step? Make sure your tools are within reach and your safety gear is on lets get to work solving that washer problem.
Step 2: Diagnose Common Washer Issues
Detecting the root cause of washer problems requires systematic observation and understanding of potential failure points. Comprehensive washing machine repair guides reveal that most issues stem from a handful of predictable mechanical or electrical malfunctions that homeowners can identify with careful inspection.
Start by listening and watching your washer during its cycle. Unusual noises like grinding, thumping, or squealing can indicate specific problems water leaks suggest potential seal or hose issues while inadequate spinning might signal drive belt or motor complications. Check for visible water pooling around the machine drainage problems often emerge from clogged filters or compromised water drain pump connections which can interrupt the machines normal water evacuation process.
Pay special attention to subtle symptoms like extended cycle times incomplete water drainage or clothes remaining excessively wet. These signals often precede more serious mechanical failures. Document your observations including when problems occur exact cycle stages and any accompanying sounds or visual irregularities. This information becomes crucial diagnostic data when consulting a professional repair technician or attempting DIY fixes.
Are you ready to dig deeper into specific washer symptoms and their potential solutions? Grab your notebook and lets start unraveling the mystery behind your washers performance challenges.
Step 3: Disassemble the Washer for Inspection
Disassembling a washer requires precision patience and methodical approach. Detailed front load washing machine disassembly guides provide critical insights into navigating the complex internal structure of modern washing machines.
Begin by unplugging the washer and placing a soft protective mat on the floor to prevent scratching. Most washers follow a similar disassembly pattern remove the top panel first by locating and removing screws typically hidden under trim pieces or labels. For front loading models carefully detach the console by releasing mounting screws and gently pulling the panel away. Accessing internal water drain pump components requires strategic panel removal and careful tracking of each screw and connection.
Caution is paramount during disassembly. Take clear photos of each step and organize screws in a magnetic parts tray to prevent losing critical hardware. Work systematically moving from exterior panels to interior mechanisms keeping your workspace clean and organized. Remember some manufacturers use unique fastening methods so examine each connection carefully before applying force.
Ready to explore the washers inner workings? Keep your tools close your patience close and your curiosity even closer as we unravel the mechanical mysteries inside your appliance.
Step 4: Replace or Repair Faulty Components
Determining whether to repair or replace washer components requires careful evaluation of damage extent performance impact and potential repair complexity. Comprehensive washing machine component replacement guides provide critical insights into navigating these critical repair decisions.
Start by thoroughly inspecting each component for signs of wear damage or malfunction. The water drain pump is often a primary suspect for operational issues. Detailed disassembly instructions for front load washer components reveal specific techniques for safely removing and replacing critical internal mechanisms. When assessing repair feasibility consider factors like component age existing wear total repair cost and potential future reliability.
Before purchasing replacement parts verify the exact model number and cross reference specifications. Some repairs might seem straightforward but can quickly become complex without proper preparation. Take photographs of the original component placement and connections before removal. This documentation becomes invaluable if reassembly becomes challenging. Electrical components motor assemblies and pump systems often require precise alignment and connection protocols that demand meticulous attention to detail.
Feeling ready to transform from observer to appliance repair expert? Your patience preparation and newfound knowledge are about to turn that malfunctioning washer into a perfectly functioning machine.
Step 5: Reassemble and Test Your Washer
The final stage of washer repair demands precision patience and a methodical approach to ensure everything returns to its original configuration. Comprehensive front load washing machine reassembly guidelines emphasize the critical importance of reinstalling components exactly as they were removed.
Begin by carefully reviewing your earlier photographs and notes to ensure correct component placement. Systematically reattach panels starting from the interior mechanisms working outward. Detailed washing machine component reconnection instructions recommend tightening screws in a cross pattern to maintain even pressure and prevent misalignment. Double check each connection ensuring electrical wires are securely fastened and no components are loose or improperly seated.
Prepare for the moment of truth by connecting power and running a test cycle. Start with a short wash cycle to verify proper operation monitor for unusual sounds leaks or irregular movements. Keep a close eye on water flow drainage and overall machine performance. If everything functions smoothly congratulations you have successfully completed a complex washer repair. Should any issues persist do not hesitate to consult a professional technician who can provide advanced diagnostic support.
Ready to celebrate your appliance repair success? Take a deep breath and watch your newly repaired washer spring back to life.
Expert Washer Repair Support When You Need It Most
Tackling washer repairs on your own can feel overwhelming even with clear step-by-step guidance like this article provides. From diagnosing hidden issues to safely disassembling your machine and confidently replacing parts every step demands attention to detail and technical know-how. If you find yourself stuck or want to avoid costly mistakes our team of licensed technicians in Orange County and Los Angeles County is ready to help you get your washer running smoothly again.

Don’t let washer troubles disrupt your daily routine. Benefit from fast, reliable service and expert repairs by visiting Appliances Repair MD Tech today. Whether you need a thorough inspection or immediate part replacement our trusted professionals deliver quality results. Schedule your repair easily online and experience the peace of mind that comes from working with specialists who understand every technical challenge outlined in guides like these. Let us handle the tough parts so you can enjoy a fully functioning washer with no hassle.
Explore more about our comprehensive appliance repair solutions here: Appliance Repair Services, and be confident you are choosing expertise backed by years of experience.
Frequently Asked Questions
What tools do I need for washer repair?
To repair a washer, you need essential tools such as adjustable wrenches, needle nose pliers, a multimeter, safety glasses, and screwdrivers. Gather all these tools and ensure your safety gear is on before starting your repair process.
How do I diagnose common washer issues?
Diagnosing washer problems involves listening for unusual sounds, observing any leaks, and tracking signs of poor performance. Take notes on the issue, including when it occurs and any strange noises, to help identify the root cause effectively.
What should I do before disassembling my washer?
Before disassembling your washer, ensure it is unplugged and your workspace is clear of hazards. Lay out a soft protective mat to prevent scratching and take photographs of the washer’s configuration to guide you during reassembly.
How can I determine if a washer component needs replacement?
Assess each component for wear and damage. If a part shows significant deterioration or lacks functionality, consider replacing it, keeping in mind the age and cost-effectiveness of the repair compared to buying a new unit.
What steps should I follow for reassembling my washer?
When reassembling your washer, refer to your photographs and notes to ensure proper placement of each component. Attach panels starting from the inside out and check all connections, tightening screws evenly to maintain alignment.
How do I test my washer after repair?
After reassembling your washer, reconnect the power and run a short test cycle. Monitor for any unusual sounds or leaks to confirm the repair was successful and that the washer operates as intended.