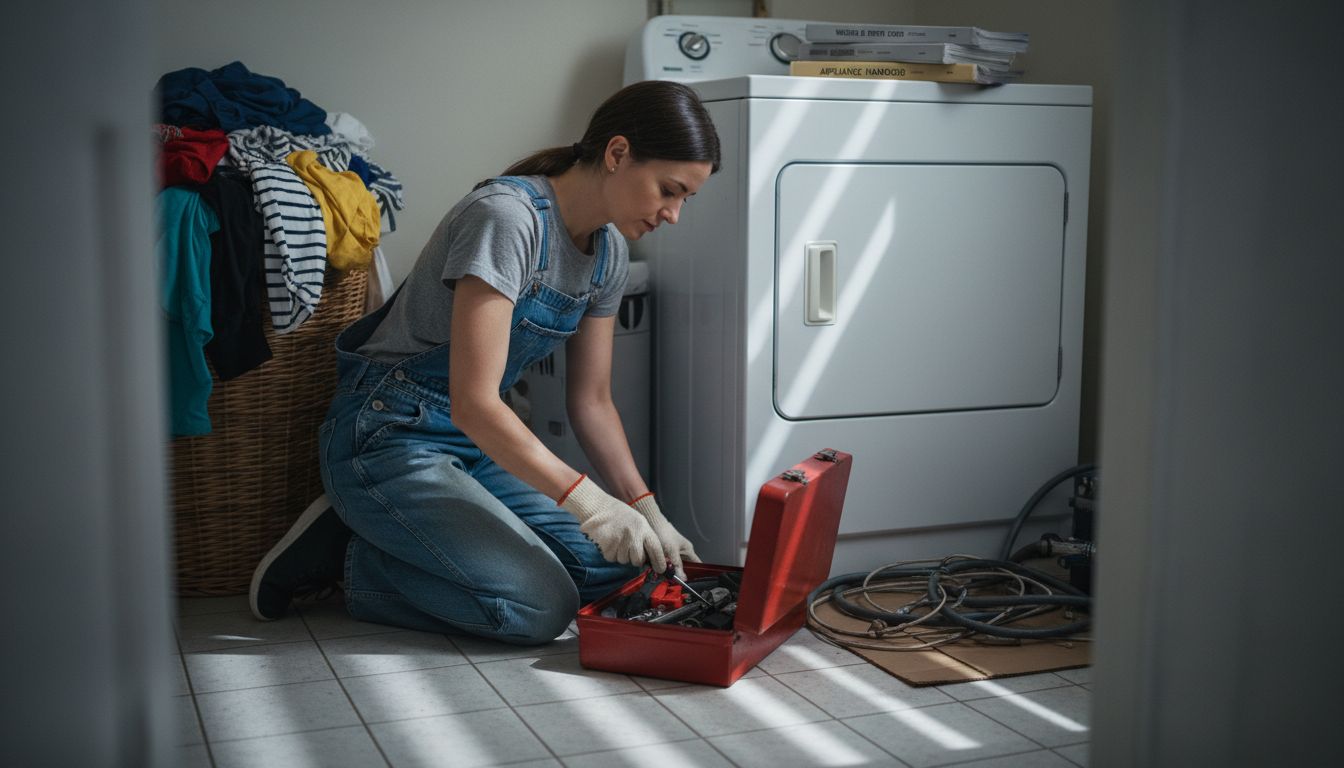
Over forty percent of American households deal with at least one appliance malfunction every year. Deciding whether to fix it yourself or call for help can be stressful and expensive. Knowing how to spot early warning signs and use reliable diagnostic resources puts you in control and helps you avoid unnecessary costs. This guide offers practical steps to handle common appliance problems safely, with tips that help protect your home and peace of mind.
Table of Contents
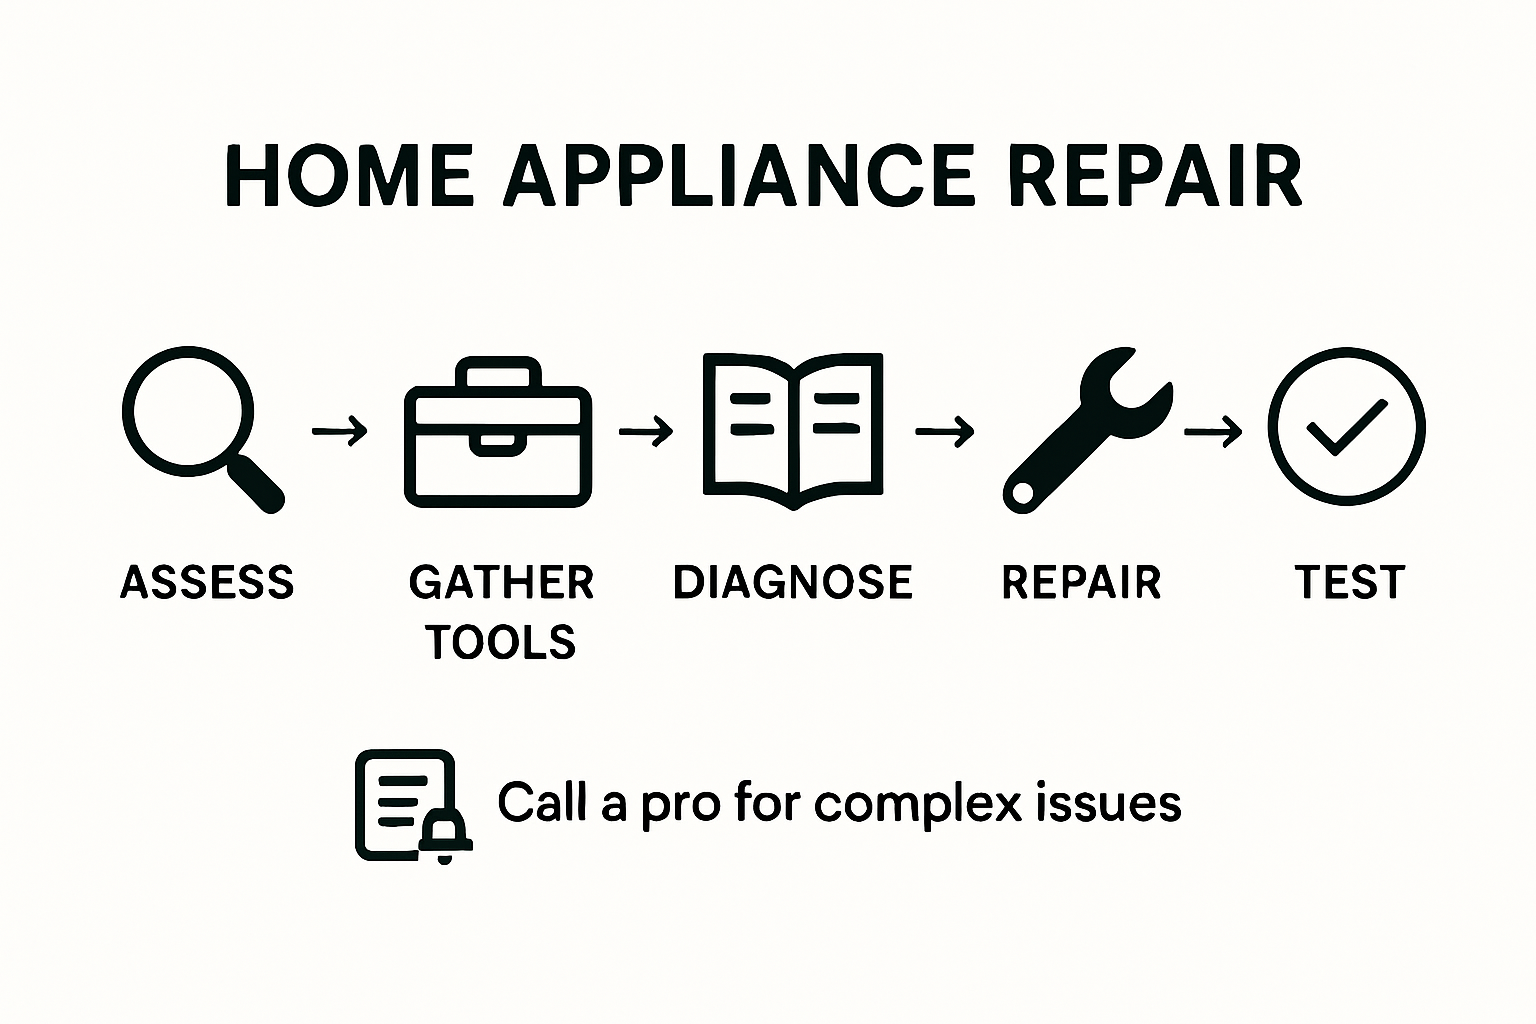
- Step 1: Assess Common Appliance Problems at Home
- Step 2: Gather Necessary Tools and Safety Equipment
- Step 3: Diagnose Faults Using Appliance Brand Resources
- Step 4: Perform Essential Repairs or Adjustments
- Step 5: Test and Verify Appliance Functionality
Quick Summary
| Key Point | Explanation |
|---|---|
| 1. Identify early appliance issues | Recognize signs like unusual noises, temperature changes, or dirty filters to prevent costly repairs. |
| 2. Assemble essential repair tools | Gather safety gear and tools like screwdrivers, multimeters, and insulated equipment to ensure safe repairs. |
| 3. Use manufacturer resources for diagnostics | Access specific model numbers and technical documentation from manufacturers for accurate troubleshooting guidance. |
| 4. Execute repairs methodically | Follow step-by-step instructions and always work in a safe environment, ensuring power sources are disconnected. |
| 5. Test appliances post-repair | Conduct thorough tests after repairs to confirm functionality and address any issues immediately to ensure safety. |
Step 1: Assess Common Appliance Problems at Home
Homeowners can save significant time and money by learning how to effectively diagnose basic appliance issues before calling a professional repair service. Understanding the warning signs of potential malfunctions helps you address problems early and prevent more extensive damage.
Starting with your refrigerator, Consumer Reports highlights common problems like water and ice dispensing failures that can indicate underlying mechanical issues. Check for unusual noises, temperature inconsistencies, or reduced cooling performance. For washing machines, pay attention to drainage problems which often signal pump or hose blockages. Listen for abnormal sounds during cycles and watch for standing water after a wash.
According to the American Apartment Owners Association, dishwashers frequently experience cleaning performance issues that can stem from clogged spray arms, worn gaskets, or malfunctioning water inlet valves. Inspect the interior for food debris, check the spinning arms for obstructions, and ensure proper water temperature and detergent distribution.
Quick diagnostic tips can save you expensive repair bills:
- Listen for unusual sounds
- Monitor performance changes
- Check for visible signs of wear or damage
- Clean filters and moving parts regularly
If you notice persistent problems or cannot identify the root cause, scheduling a professional inspection becomes your next best step.
Step 2: Gather Necessary Tools and Safety Equipment
Before diving into appliance repairs, assembling the right tools and safety equipment is crucial for protecting yourself and ensuring a successful repair. Proper preparation can make the difference between a smooth fix and a potential hazard.
The Major Appliance Repair Tools, Equipment, and Materials List recommends a comprehensive toolkit that includes essential hand tools like screwdrivers, pliers, wrenches, and multimeters. For electrical appliances, invest in insulated tools that prevent accidental shock. You will also need specialized appliance repair tools such as nut drivers, socket sets, and diagnostic meters to accurately assess and resolve mechanical issues.
Appliance repair safety procedures emphasize the importance of personal protective equipment to minimize risks. Always wear safety glasses to protect against potential debris, thick work gloves to prevent cuts and burns, and non conductive footwear. Ensure your workspace is well ventilated and has a clear area for tools and parts.
Essential safety and repair toolkit includes:
- Insulated screwdrivers
- Adjustable wrench
- Multimeter
- Safety glasses
- Thick work gloves
- Electrical tape
- Flashlight
- Socket set
Before starting any repair, disconnect the appliance from power sources and verify the electrical circuit is completely inactive.
Step 3: Diagnose Faults Using Appliance Brand Resources
Successfully troubleshooting household appliances requires more than basic mechanical knowledge. You will need to leverage specific manufacturer resources and diagnostic tools to accurately identify and address potential issues.
The Association of Home Appliance Manufacturers emphasizes the critical importance of accessing authorized service provider resources when diagnosing appliance problems. Start by locating your specific appliance model number typically found on a metal plate inside the refrigerator door, washing machine lid, or behind the kickplate. This unique identifier will help you access precise technical documentation, wiring diagrams, and troubleshooting guides directly from the manufacturer.
Consumer Reports recommends consulting manufacturer instructions as the most reliable method for diagnosing kitchen appliance issues. Most brands offer online support portals where you can download user manuals, watch diagnostic videos, and access step-by-step troubleshooting workflows. These resources often include:
- Detailed error code explanations
- Recommended diagnostic procedures
- Safety warnings specific to your model
- Potential repair solutions
Before proceeding with any repairs, carefully cross reference your specific symptoms with the manufacturer’s official documentation to ensure accurate diagnosis and prevent potential further damage.
Step 4: Perform Essential Repairs or Adjustments
Once you have diagnosed the specific appliance issue, executing precise repairs requires careful attention and methodical approach. Understanding the difference between minor adjustments and complex repairs will help you decide whether to proceed independently or seek professional assistance.
Consumer Reports highlights common appliance problems that homeowners can potentially address themselves, such as replacing worn door seals, cleaning clogged filters, or realigning misaligned components. For refrigerators, check the door gasket for proper sealing and replace if cracked or brittle. In washing machines, inspect hoses for leaks and ensure drain pipes are clear of obstructions.
Handyman experts emphasize the importance of understanding root causes before attempting repairs to prevent recurring issues. When performing adjustments, always:
- Disconnect power sources completely
- Work in a well illuminated area
- Use manufacturer recommended replacement parts
- Follow step by step guidance from technical manuals
- Take photographs of the original configuration before disassembly
If you encounter complex electrical or mechanical problems beyond basic maintenance, recognize your limitations and contact a professional appliance repair technician to avoid potential safety risks or further damage.
Step 5: Test and Verify Appliance Functionality
After completing repairs, thoroughly testing your appliance is crucial to ensure safe and effective operation. A comprehensive functionality check will help you confirm that your repairs have successfully resolved the original issue.
The Electrical Safety Foundation International recommends systematic testing protocols to verify appliance performance and safety. Begin by reconnecting the appliance and powering it on gradually. Observe its initial startup cycle carefully, watching for unusual sounds, unexpected movements, or inconsistent performance. Run a complete operational cycle and monitor each function meticulously, paying close attention to temperature regulation, motor performance, and electrical responsiveness.
Indiana Electric Cooperatives emphasize the importance of comprehensive post repair inspection to prevent potential electrical hazards. Your verification process should include:
- Checking all control panels and digital displays
- Testing multiple operational modes
- Listening for abnormal mechanical sounds
- Monitoring temperature and performance consistency
- Verifying electrical stability without circuit interruptions
If any irregularities persist after your repair attempt, discontinue use immediately and consult a professional appliance repair technician to prevent potential safety risks or further equipment damage.
Trusted Local Appliance Repair Support for Homeowners in Orange County and Los Angeles
Dealing with appliance problems can disrupt your daily routine and add stress to your busy life. Whether it’s a refrigerator not cooling properly or a dishwasher struggling to clean effectively, recognizing common faults is just the first step. The challenge lies in gathering the right tools, performing safe repairs, and ensuring your appliance works perfectly again. At Appliances Repair MD Tech, we understand these pain points and offer expert solutions tailored for homeowners in OC and LA. Our licensed technicians bring reliable repair, installation, and maintenance services to quickly restore your household appliances.

Don’t let unexpected appliance issues take over your day. Benefit from professional appliance repair, installation, and HVAC services designed to save you time and prevent costly damage. Visit Appliances Repair MD Tech now to schedule your service. With our expertise in popular brands and comprehensive local coverage, you can trust us to keep your home running smoothly.
Frequently Asked Questions
How can I diagnose common appliance problems at home?
To diagnose common appliance problems, start by observing unusual sounds, performance changes, or visible signs of wear. For instance, check if your refrigerator is not cooling properly or if your washing machine has standing water after a cycle. Use this information to identify potential issues and decide if professional help is needed.
What tools do I need for basic appliance repairs?
You need essential tools like screwdrivers, pliers, wrenches, and a multimeter for basic appliance repairs. Gather insulated tools for electrical repairs to ensure safety. Assemble the tools in a well-lit workspace to prepare for repairs efficiently.
Where can I find manufacturer resources for troubleshooting appliances?
Manufacturer resources for troubleshooting can usually be found in user manuals or online support portals specific to your appliance model. Access these resources by locating the model number on the appliance and searching for related documentation directly from the manufacturer.
What steps should I follow to perform appliance repairs?
Begin by disconnecting power to the appliance, then carefully follow the manufacturer’s repair guidelines. Make minor adjustments, like replacing worn door seals or cleaning filters. If you encounter complex issues, consult a professional to avoid further damage.
How can I test my appliance after completing repairs?
After completing repairs, reconnect the appliance and run a thorough functionality test to ensure proper operation. Observe the startup cycle for any unusual sounds, and check all controls and performance settings. If any issues persist, discontinue use and seek professional assistance.
When should I consider calling a professional for appliance repairs?
Consider calling a professional if you encounter electrical issues, complex mechanical failures, or if the problem persists despite your efforts. If you feel unsure or if the repair process exceeds basic maintenance, it’s safer to seek expert help to prevent safety risks and additional damage.