
TL;DR:
- A Whirlpool washer repair manual provides model-specific diagnostic procedures, wiring diagrams, and part replacement steps needed for safe repairs.
- Homeowners should use the exact model and serial number to access the correct manual, avoiding generic guides that lack detailed wiring and torque specs.
A Whirlpool washer repair manual is a model-specific technical document that provides step-by-step diagnostic procedures, wiring diagrams, and part replacement instructions for safe and accurate repairs. Homeowners who skip the manual and rely on generic advice risk misdiagnosis, wasted parts, and voided warranties. The correct whirlpool washer repair manual, matched to your exact model number, is the single most reliable resource for Whirlpool washer troubleshooting. Appliancesrepairmdtech works with homeowners across Orange County and Los Angeles County who use these manuals daily to extend appliance life and cut repair costs before calling a technician.
How to find the correct Whirlpool washer repair manual for your model
The model and serial number are the two pieces of information that determine which washing machine repair manual applies to your machine. Using the wrong manual is not just unhelpful. It can lead you to replace a part that was never faulty.
Where to find your model and serial number
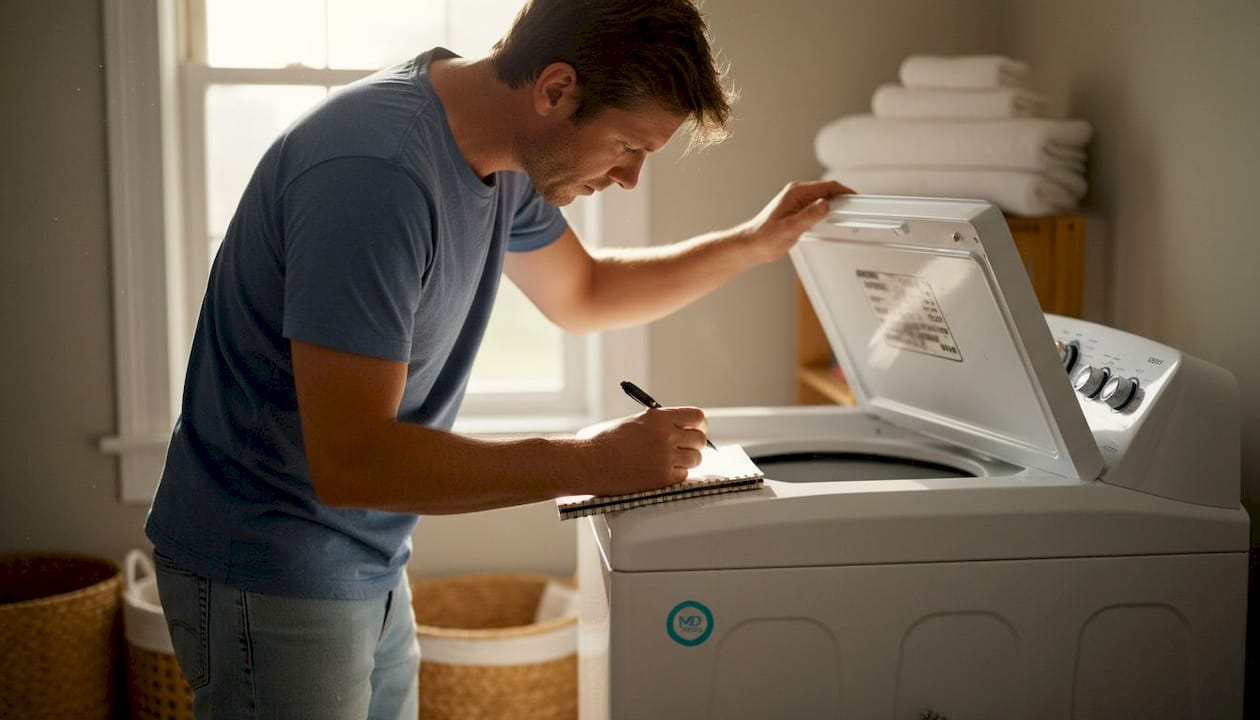
Whirlpool places the model and serial number label in three common spots depending on washer type. Check these locations first:
- Top-load washers: Look behind the lid, on the inside rim of the door frame, or along the upper back panel.
- Front-load washers: Open the door and check the inner door frame or the lower front panel near the kick plate.
- All models: The rear panel sometimes carries a second label if the primary one has worn off.
Exact digits are required to access manufacturer-issued manuals as of june 2026. A partial model number returns incorrect or incomplete documentation. Photograph the nameplate with your phone the moment you find it. Store the image in a labeled album so you never have to pull the machine away from the wall again.
Pro Tip: Write the model and serial number on a piece of tape and stick it inside the washer lid. Every technician or family member who works on the machine will thank you.
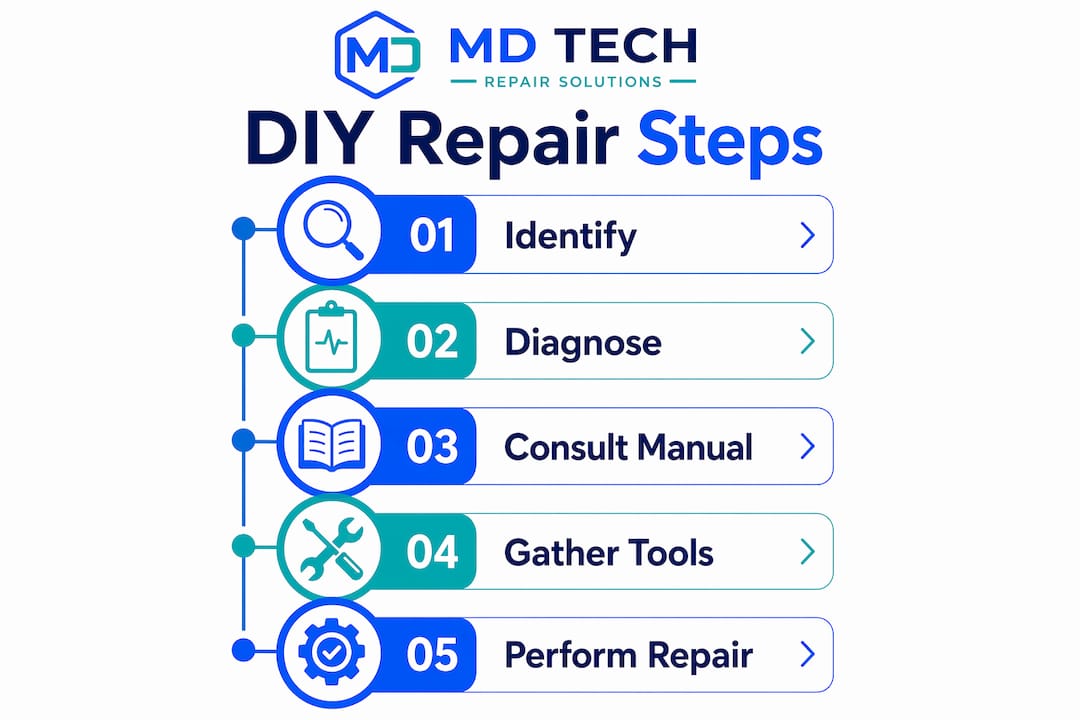
Once you have the full model number, visit the official Whirlpool product support site or a trusted appliance parts repository to download the correct service manual. Avoid generic “universal” guides. They omit model-specific wiring layouts, torque specs, and diagnostic sequences that matter when you are mid-repair.
What do Whirlpool washer error codes mean?
Error codes are the washer’s built-in diagnostic language. Each code points to a specific system fault, and your Whirlpool washer service manual translates that code into a repair path.
Common error codes like F5 E2 and F9 E1 point to door latch failures or drainage blockages that are often fixable without professional help. Knowing what a code means before you open the machine prevents guesswork and unnecessary part orders.
The most frequent codes homeowners encounter include:
- F5 E2: Door latch not engaging. The fix is usually realigning the door strike, clearing debris from the latch mechanism, or replacing the latch assembly.
- F9 E1: Long drain time or no drain. Check the drain hose for kinks, clear the pump filter of lint and debris, and confirm the standpipe height does not exceed 96 inches.
- F8 E1 / LO FL: Low water flow. Inspect inlet hoses for kinks, clean the inlet screens, and verify household water pressure is adequate.
- F7 E1: Basket speed sensor fault. This often signals a worn drive belt or a motor control issue that warrants closer inspection.
- Sud / Sd: Excess suds detected. Switch to HE-rated detergent and run a rinse cycle to clear the drum.
Your repair manual lists the exact diagnostic steps for each code in sequence. Follow them in order. Skipping steps is the fastest way to replace a part that was not the root cause. For updated error code troubleshooting specific to Orange County and LA homeowners, Appliancesrepairmdtech publishes current guidance that complements official manual procedures.
Which DIY Whirlpool washer repairs are safe in 2026?
Not every repair belongs in a homeowner’s hands. The line between a safe DIY fix and a dangerous one is drawn by voltage, gas, and sealed systems.
2026 safety standards advise DIYers to avoid any repair involving high-voltage electrical panels or gas connections. Electrocution and explosion risks in those areas require a licensed technician. That boundary is firm regardless of how confident you feel or how clear the manual instructions appear.
Repairs that are safe for homeowners
Tier 1 and Tier 2 DIY-safe repairs for Whirlpool washers include:
- Replacing inlet hoses and checking for leaks
- Cleaning the drain pump filter
- Swapping a worn drive belt
- Replacing a lid switch or door latch assembly
- Leveling the machine to stop vibration
- Replacing a drain pump on models with accessible pump housings
These tasks involve low-voltage components or no electrical contact at all. Your repair manual’s safety section will flag each procedure with the appropriate precautions.
Repairs that require a licensed technician
- Control board replacement involving mains voltage wiring
- Motor replacement on direct-drive models with complex harness routing
- Any repair touching gas supply lines
- Sealed bearing replacement requiring press tools and alignment equipment
Pro Tip: Always unplug the washer and wait at least 5 minutes before touching internal wiring. Capacitors store charge after power is cut, and “off” does not mean safe. A non-contact voltage tester confirms zero charge before you proceed.
Best practices for using your repair manual during a project
Preparation separates a clean repair from a costly mistake. DIY success depends heavily on reviewing instructions multiple times, confirming the diagnosis, and having a helper available for moving heavy components. Read the full procedure at least twice before picking up a tool.
Follow this sequence for any repair project:
- Read the full procedure first. Identify every tool, part, and safety step before you begin.
- Confirm your diagnosis. Cross-reference the error code with the manual’s diagnostic flowchart. Do not order parts based on a single symptom.
- Photograph before you disassemble. Take pictures of wire harness routing, hose positions, and bracket placements. Reassembly photos save significant time.
- Organize removed parts by sequence. Using an egg carton to hold screws in removal order prevents mix-ups during reassembly. Label each compartment with a marker.
- Watch model-specific videos in addition to reading. Watching multiple repair videos for your exact Whirlpool model helps you anticipate part layouts that diagrams alone may not convey clearly.
- Treat stuck fasteners carefully. Apply penetrating oil and wait before forcing a rusted screw. Stripping a fastener turns a simple repair into a major one.
Troubleshooting works best when you view the washer as a system of inputs and outputs rather than a collection of symptoms. Water enters, gets heated, agitates, drains, and spins. Tracing a fault through that sequence eliminates unnecessary part replacements. For a structured walkthrough of this approach, the step-by-step washer repair guide from Appliancesrepairmdtech covers the full diagnostic flow in plain language.
Pro Tip: If a repair requires more than two hands or involves lifting the machine, ask for help. Back injuries from solo appliance work are far more expensive than the repair itself.
Know when to stop. If the manual’s diagnostic steps point to a control board, motor winding failure, or sealed bearing, that is the signal to call a professional. Completing 80% of a repair and then damaging a critical component costs more than starting with a technician.
Key Takeaways
A Whirlpool washer repair manual matched to your exact model number is the most reliable tool for accurate diagnosis, safe DIY repairs, and extending your washer’s service life.
| Point | Details |
|---|---|
| Match manual to model number | Use the exact model and serial number to access the correct manufacturer-issued repair manual. |
| Error codes guide diagnosis | Codes like F5 E2 and F9 E1 identify specific faults; follow the manual’s diagnostic steps in sequence. |
| Know your DIY limits | Safe repairs include hoses, filters, and drive belts; high-voltage and gas repairs require a licensed technician. |
| Prepare before you start | Read the full procedure twice, photograph disassembly, and organize parts by removal order. |
| System thinking prevents waste | Tracing faults through the washer’s input-output flow reduces unnecessary part replacements. |
What 15 years of appliance repair work taught me about manuals
Most homeowners who call Appliancesrepairmdtech after a failed DIY attempt share one thing in common. They skipped the manual or used a generic one that did not match their model. The repair looked straightforward on a video, the part was cheap, and the confidence was high. Then the machine came apart in a way the video never showed.
The manual is not a formality. It is the difference between a repair that holds and one that creates a second problem. I have seen homeowners replace drain pumps on machines with F9 E1 codes when the actual fault was a kinked drain hose behind the wall. The manual’s diagnostic flowchart would have caught that in five minutes.
The other mistake I see constantly is rushing reassembly. Disassembly feels satisfying. Reassembly is where the real skill lives. Photographs taken before the first screw comes out are worth more than any diagram in the manual. Take more than you think you need.
My honest recommendation: use the official Whirlpool service manual, supplement it with model-specific video, and stop the moment the repair exceeds your tool set or comfort level. Calling a professional at that point is not a failure. It is the right call. The warning signs that a repair needs professional attention are worth reviewing before you start any project.
— MDTECH
When Appliancesrepairmdtech can take it from here
Appliancesrepairmdtech serves homeowners across Orange County and Los Angeles County with professional washer repair, parts sourcing, and installation services. Whether you have completed your diagnosis and need the right replacement part or you have reached the limit of what the manual covers, the team is available for fast, scheduled appointments.
The appliance parts replacement guide on the Appliancesrepairmdtech site walks you through sourcing and installing components correctly, with guidance on what to check before and after installation. For repairs that go beyond DIY scope, licensed technicians are available to pick up exactly where your manual-based troubleshooting left off. Book online or call directly to get a same-day or next-day appointment across the service area.
FAQ
What is a Whirlpool washer repair manual?
A Whirlpool washer repair manual is a model-specific technical document that includes wiring diagrams, diagnostic flowcharts, error code definitions, and step-by-step part replacement procedures for a specific washer model.
Where do I find my Whirlpool washer model number?
The model number is located behind the lid on top-load models, on the inner door frame of front-load models, or on the rear panel. Photograph it immediately for future reference.
Can I fix a Whirlpool washer F9 E1 error code myself?
Yes, in most cases. The F9 E1 code indicates a drainage problem caused by a clogged filter, kinked drain hose, or blocked pump. Clear the obstruction and run a drain cycle to confirm the fix.
How long should I wait after unplugging before touching internal parts?
Wait at least 5 minutes after unplugging to allow capacitors to discharge fully. Use a non-contact voltage tester to confirm zero charge before touching any wiring.
Which Whirlpool washer repairs should I never attempt myself?
Avoid any repair involving mains-voltage control boards, motor winding replacements, or gas connections. These require a licensed technician under 2026 safety standards.