Sink Installation
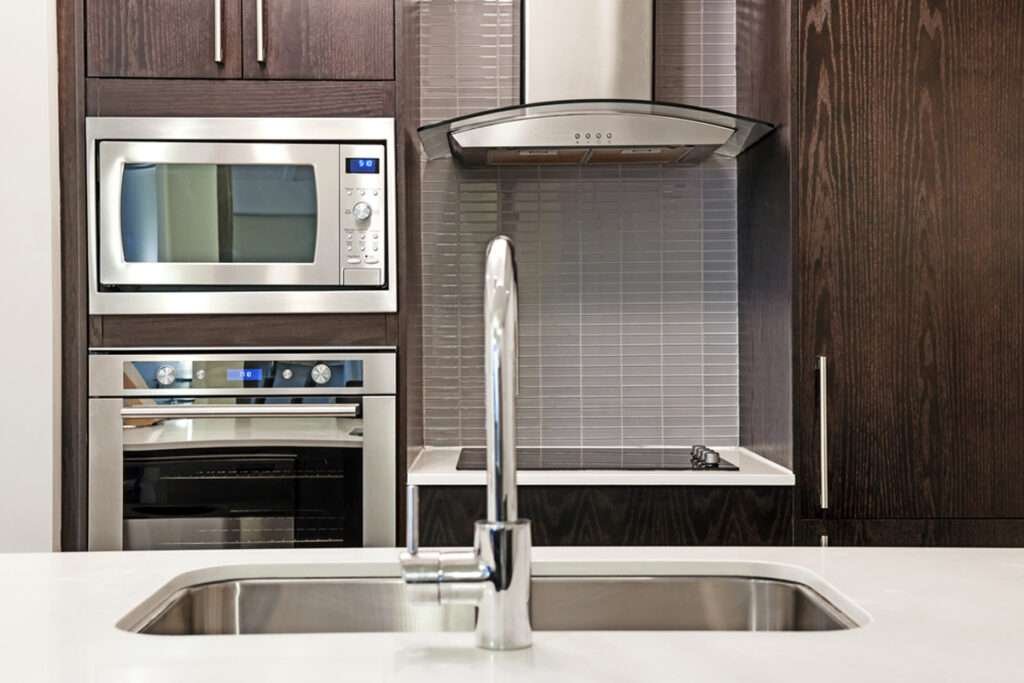
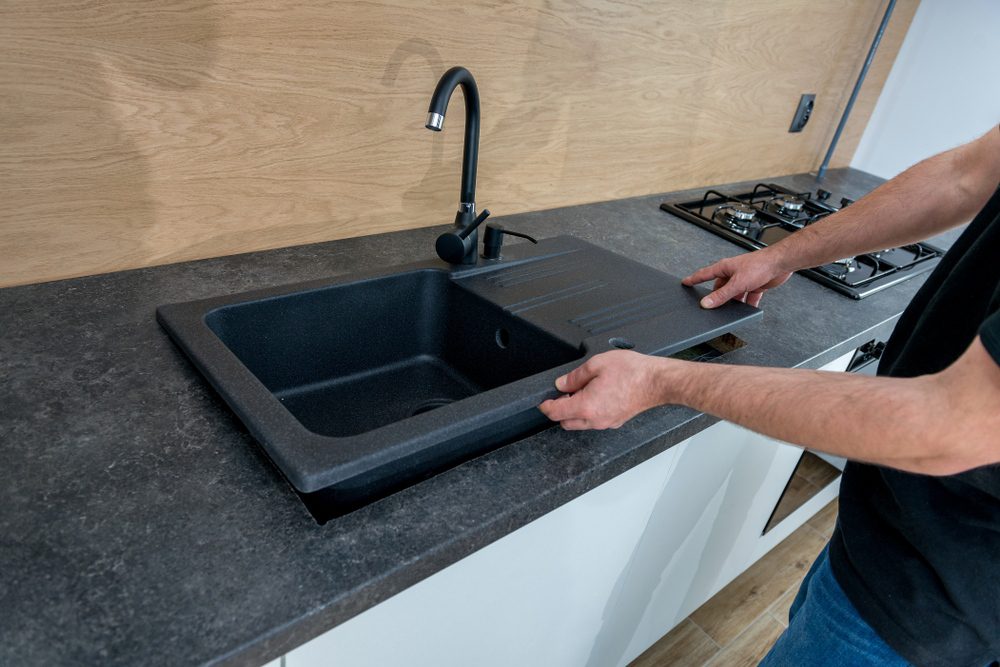
Sink Installation in Irvine Orange County CA https://www.youtube.com/watch?v=32W4RAWapFU Best Sink Installation in Irvine, Lake Forest, Laguna Hills, and more Cities in Orange County or Los Angeles County of CA Importance of Proper Sink Installation When it comes to kitchen functionality, proper sink installation is paramount. A well-installed sink not only enhances your cooking and cleaning experience but also prevents costly damage in the long run. For instance, a friend once experienced a minor leak that turned into a water-damaged cabinet—all due to incorrect installation. Here are some key reasons why you should prioritize this: Prevent Leaks: Proper sealing and secure fittings reduce the risk of leaks. Enhanced Durability: A correctly installed sink withstands daily use better. Aesthetics: A perfectly aligned sink creates a pleasing visual flow in your kitchen. So, whether you’re revamping your space or simply replacing an old fixture, ensuring your sink is installed correctly can save time, money, and headaches in the future. Types of Sinks Top-Mount Sinks Top-mount sinks, also known as drop-in sinks, are a popular choice for many homeowners. As the name suggests, these sinks are installed from above the countertop, making them quite easy to replace or install. I remember helping a friend with their kitchen renovation, and we opted for a top-mount sink for its simplicity. Here are some benefits: Ease of Installation: Perfect for DIY enthusiasts; you simply drop it into a pre-cut hole. Variety of Styles: They come in numerous materials and finishes, complementing any kitchen design. Accessibility for Repairs: Visibility of the mounting hardware makes future repairs a breeze. Undermount Sinks On the other hand, undermount sinks are mounted beneath the countertop, creating a seamless look. This option has gained popularity for its modern aesthetics, and my sister recently updated her kitchen with one. The cleanup is effortless, as it allows debris to be swept directly into the sink without any edges. Here’s why undermount sinks shine: Sleek Appearance: Creates a streamlined surface that’s easy on the eyes. Easy Cleanup: Food and spills can be wiped directly into the sink. Countertop Compatibility: Perfect for solid surface countertops like granite or quartz. Ultimately, the choice between top-mount and undermount sinks often comes down to personal preference and style objectives. Choosing the Right Sink for Your Kitchen Considerations for Sink Material Selecting the right material for your sink is crucial, as it directly affects durability and maintenance. During my own kitchen renovation, I spent days researching materials and finally chose stainless steel for its resilience and sleek appearance. Here are some popular options to consider: Stainless Steel: Easy to clean and resistant to stains and heat. Composite: Available in various colors and durable, resisting chips and scratches. Ceramic: Classic look but can be prone to chipping if mishandled. Each material has its unique characteristics, so it’s best to consider your usage style and personal taste when making a decision. Size and Configuration Options Size and configuration also play vital roles in sink selection. Whether you have a spacious kitchen or a cozy galley style, it’s essential to find the right fit. My friend, for example, recently switched to a larger farmhouse sink, which transformed her kitchen’s functionality. Here are some considerations: Single vs. Double Bowl: Decide if you prefer one large basin for washing big pots or two for multitasking. Depth: A deeper sink can help accommodate larger items but ensure it fits comfortably into your counter height. Ultimately, considering both size and material ensures you choose a sink that enhances your kitchen experience while fitting your lifestyle. Preparing for Sink Installation Removing Old Sink Before you can enjoy your new sink, it’s essential to properly remove the old one. This step can often be trickier than expected, as I learned during my first DIY project. It’s crucial to ensure that the water supply is turned off and to have the right tools handy. Here are the steps I followed: Disconnect Water Supply: Use an adjustable wrench to loosen the fittings on the water supply lines. Detach Drain Assembly: Remove the drain trap and any stopper mechanisms. Unscrew the Sink Clips: If your sink is a top-mount, carefully unscrew the clips securing the sink to the countertop. Taking your time during this process prevents damage and makes installation easier. Upgrading Plumbing if Necessary Sometimes, the existing plumbing may not be compatible with the new sink, as was the case when my neighbor upgraded their kitchen. Here are a few points to consider: Check Pipe Condition: Look for signs of wear or leaks and replace damaged parts. Adjust Pipe Size: Ensure that the plumbing configuration matches the new sink’s requirements, whether it’s a single or double basin. Add Shutoff Valves: Installing new shutoff valves can make future maintenance easier. By preparing adequately for sink installation, you set the stage for a smooth transition that will enhance your kitchen’s functionality and aesthetics. Sink Installation Process Securing the Sink in Place Once you’ve prepped your area by removing the old sink and addressing any plumbing needs, it’s time to secure your new sink in place. This step is crucial, as I vividly remember when I helped a friend install her undermount sink. If not done correctly, it could lead to misalignment or leaks. Here’s how to ensure a secure fit: Apply Sealant: Start by applying a bead of silicone sealant around the sink cutout. Position the Sink: Carefully lower the sink into the hole, pressing down to create a tight seal. Use Clips or Brackets: Install necessary clips or brackets to hold the sink securely against the countertop. Taking your time here makes all the difference in the long run. Connecting Water Supply and Drainage With the sink secured, the next step is connecting the water supply and drainage. This part can be a little daunting, but my experience has taught me that a little patience goes a long way. Here’s a step-by-step guide: Connect the Water Supply Lines: Match the hot and cold lines to their respective connections on the sink and tighten them with a wrench. Attach the Drain Assembly: Position the drain flange in the sink drain hole, applying plumber’s putty around the edges before securing it from below. Test for Leaks: Once everything is connected, turn on the water supply and carefully check for any leaks, tightening connections as needed. Making sure